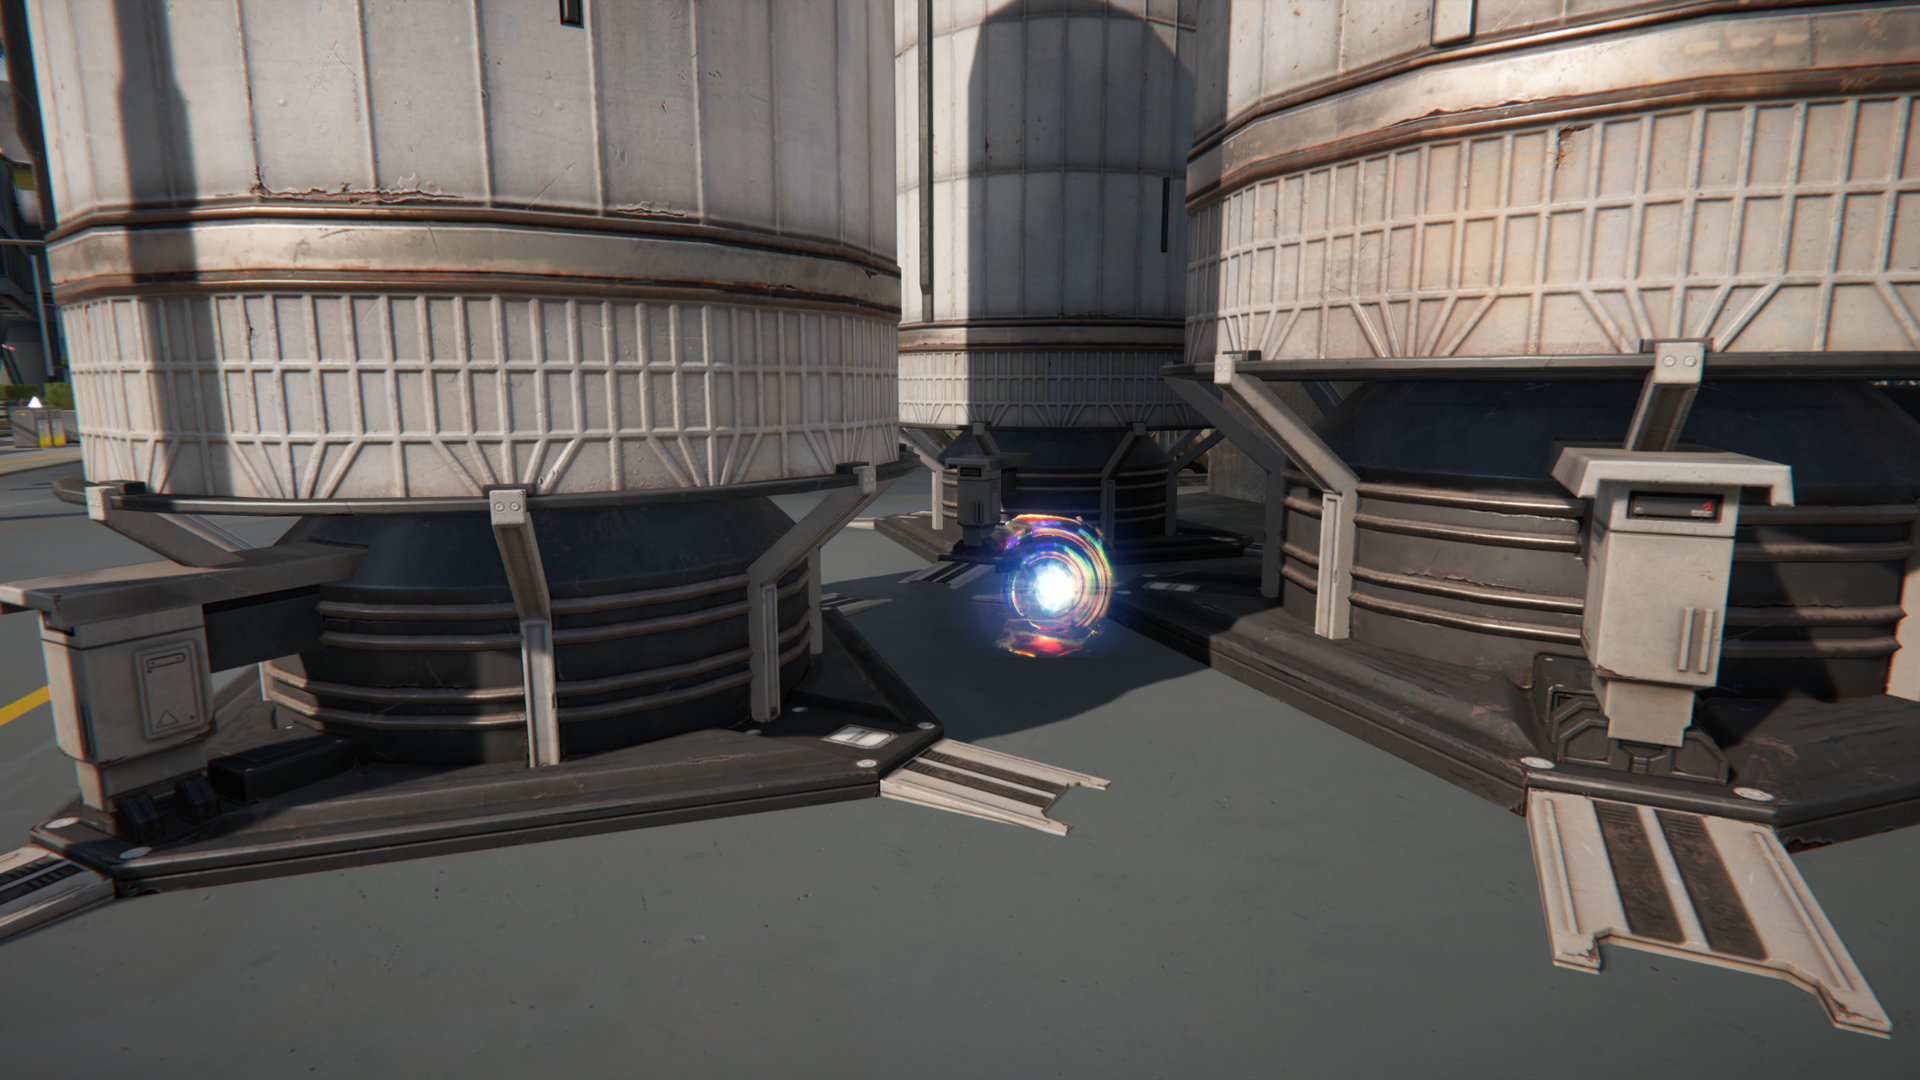
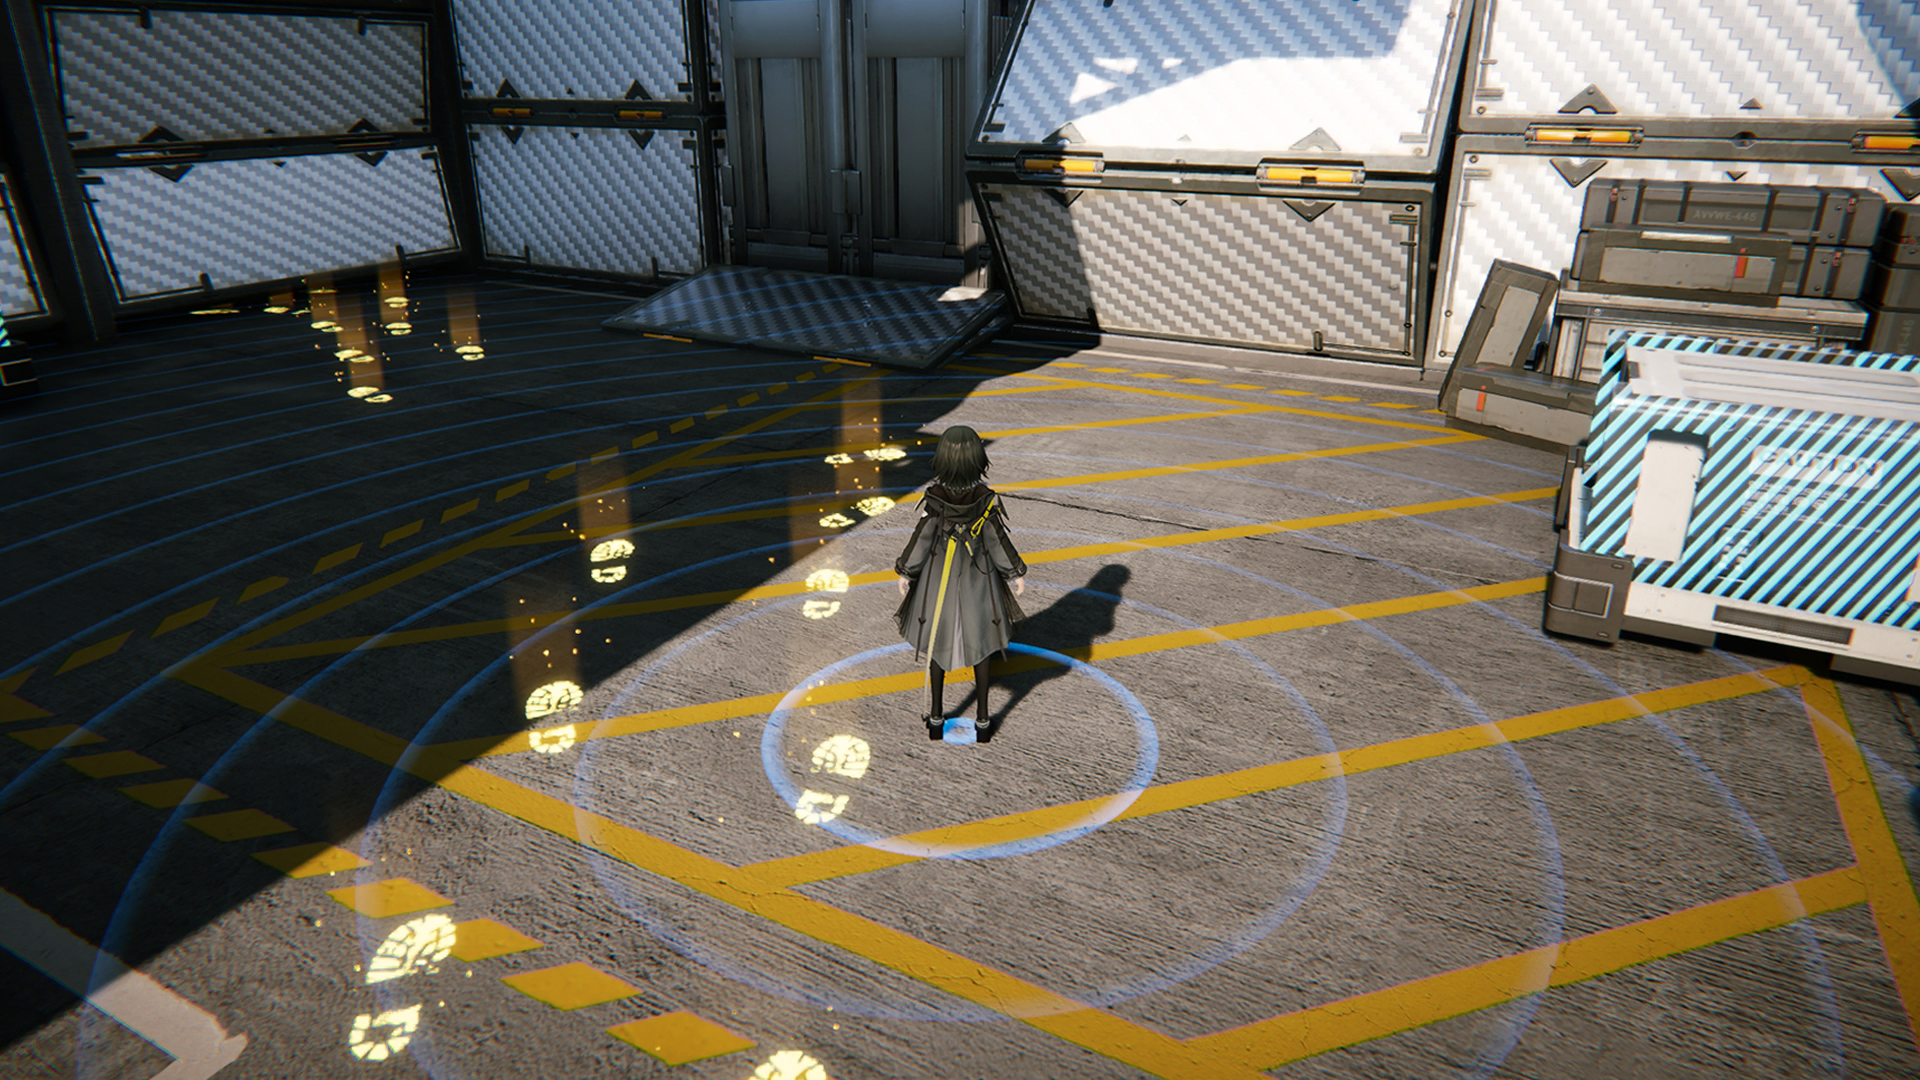
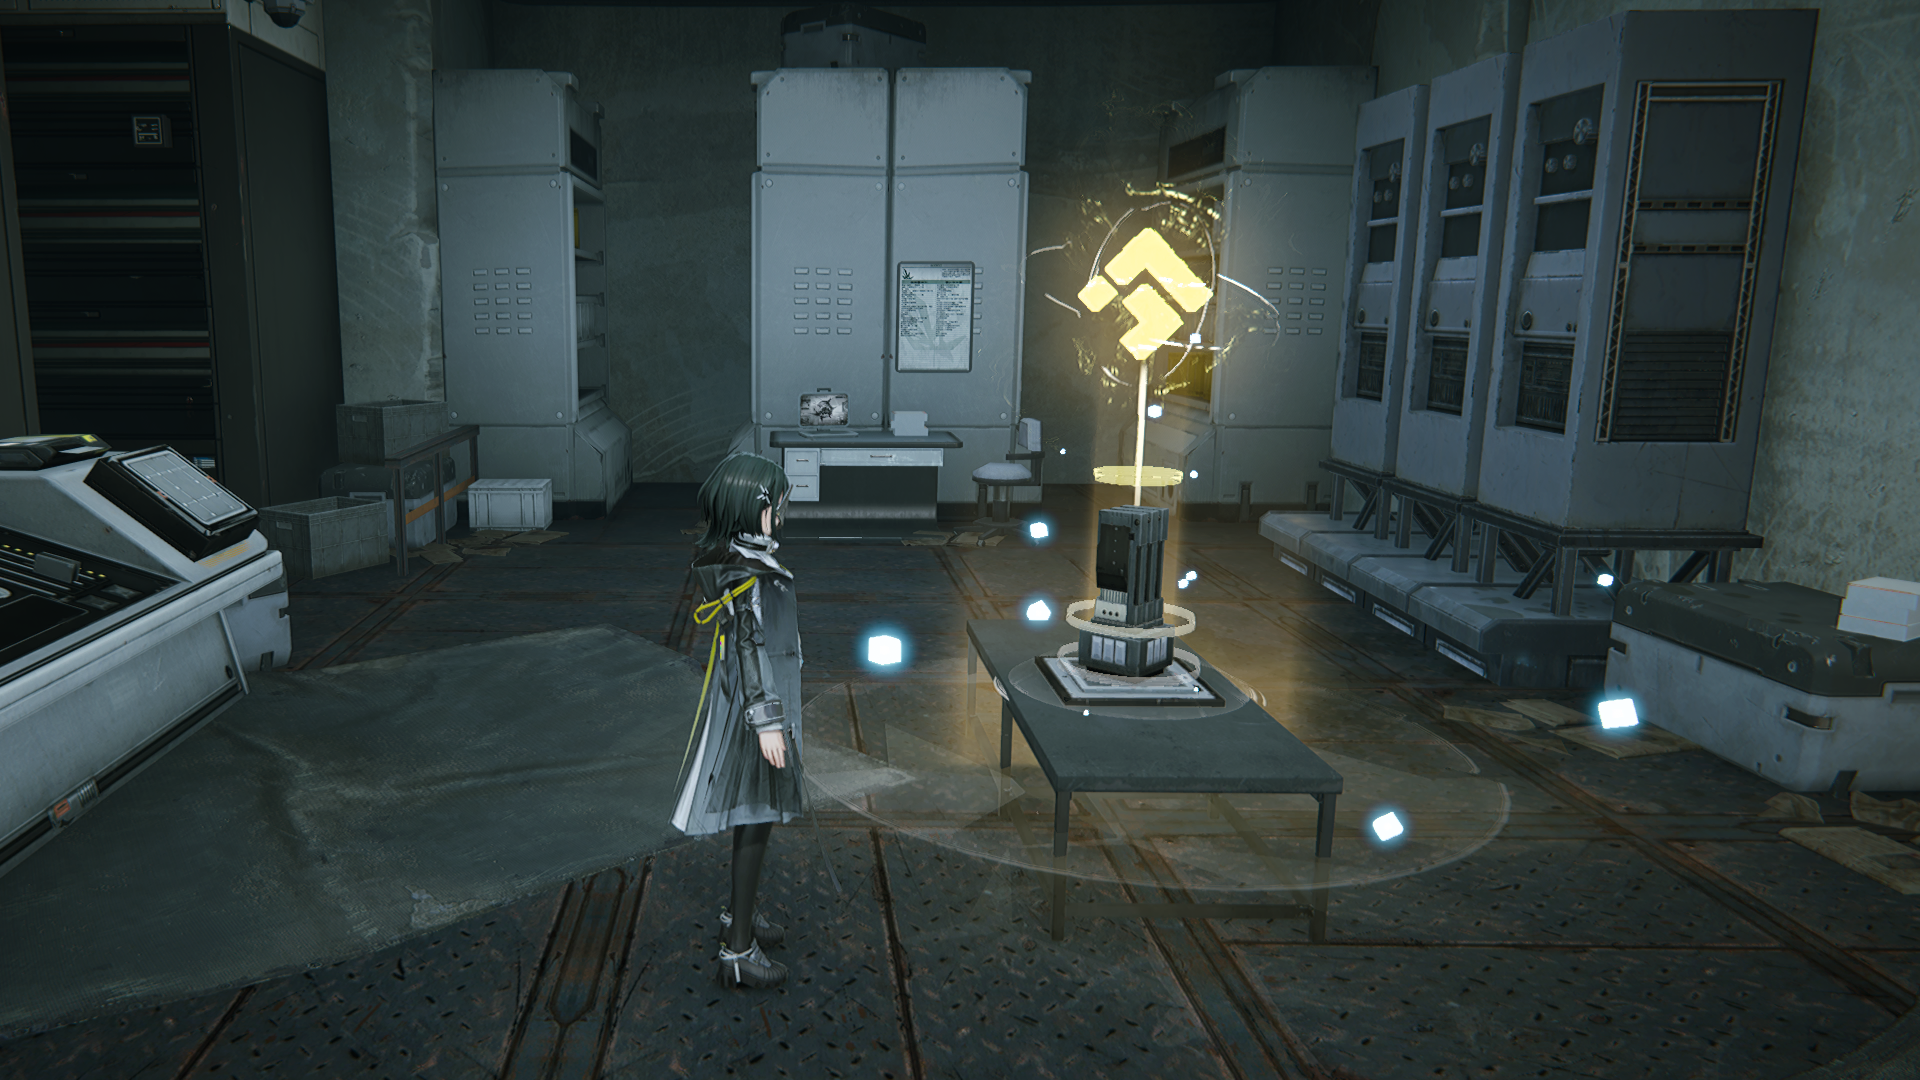
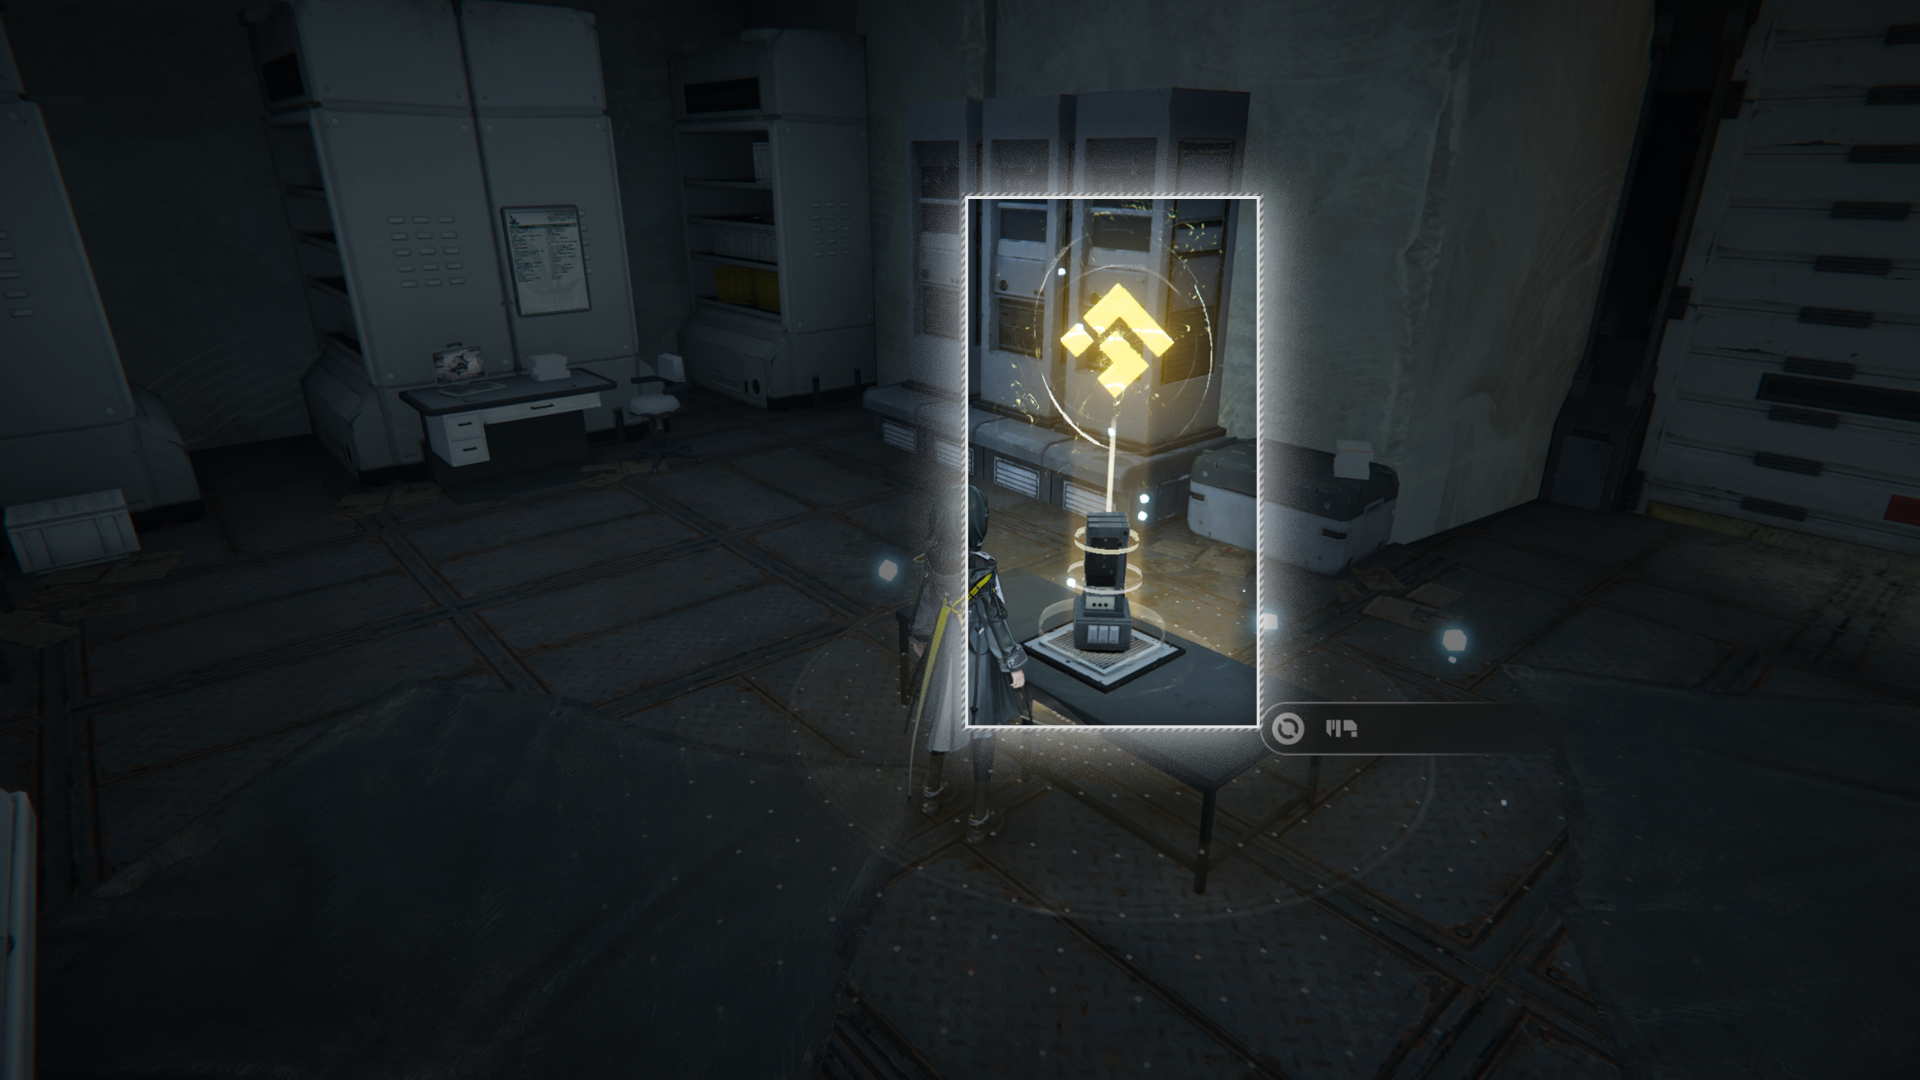
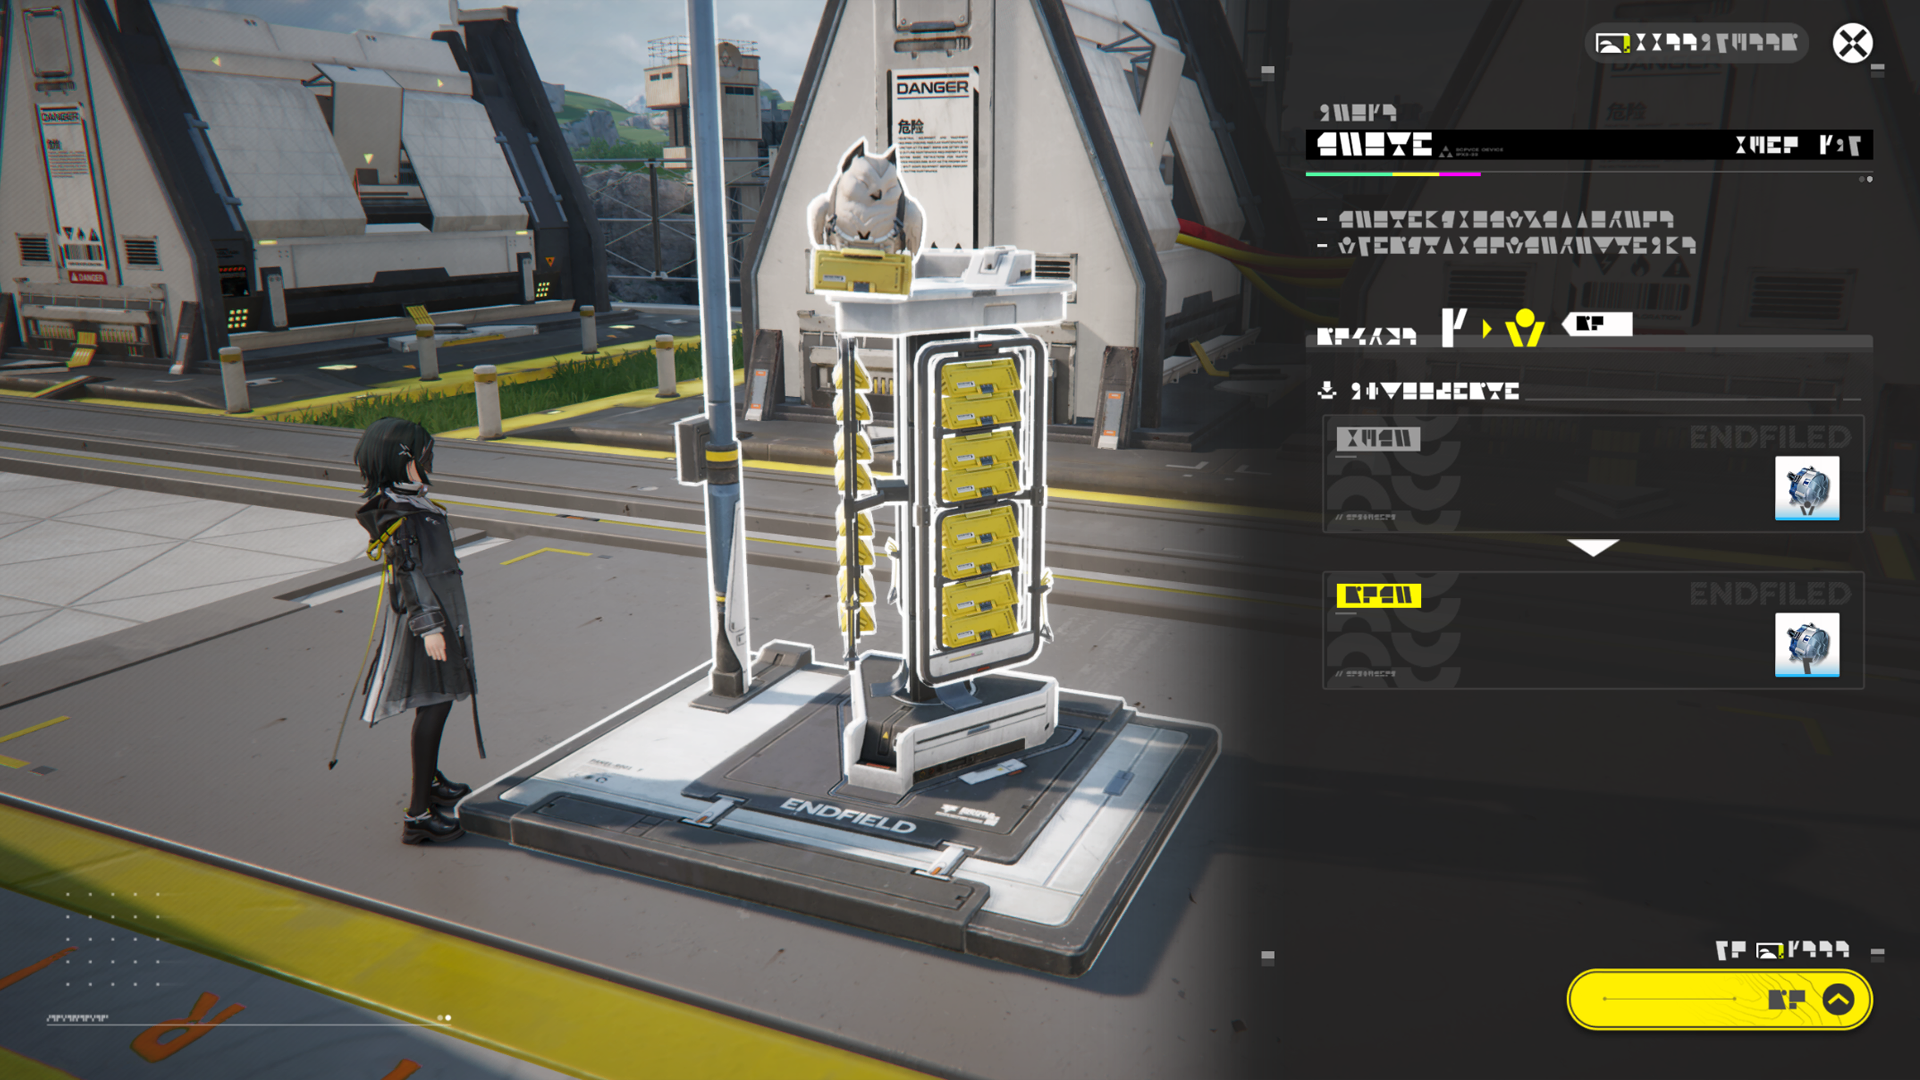
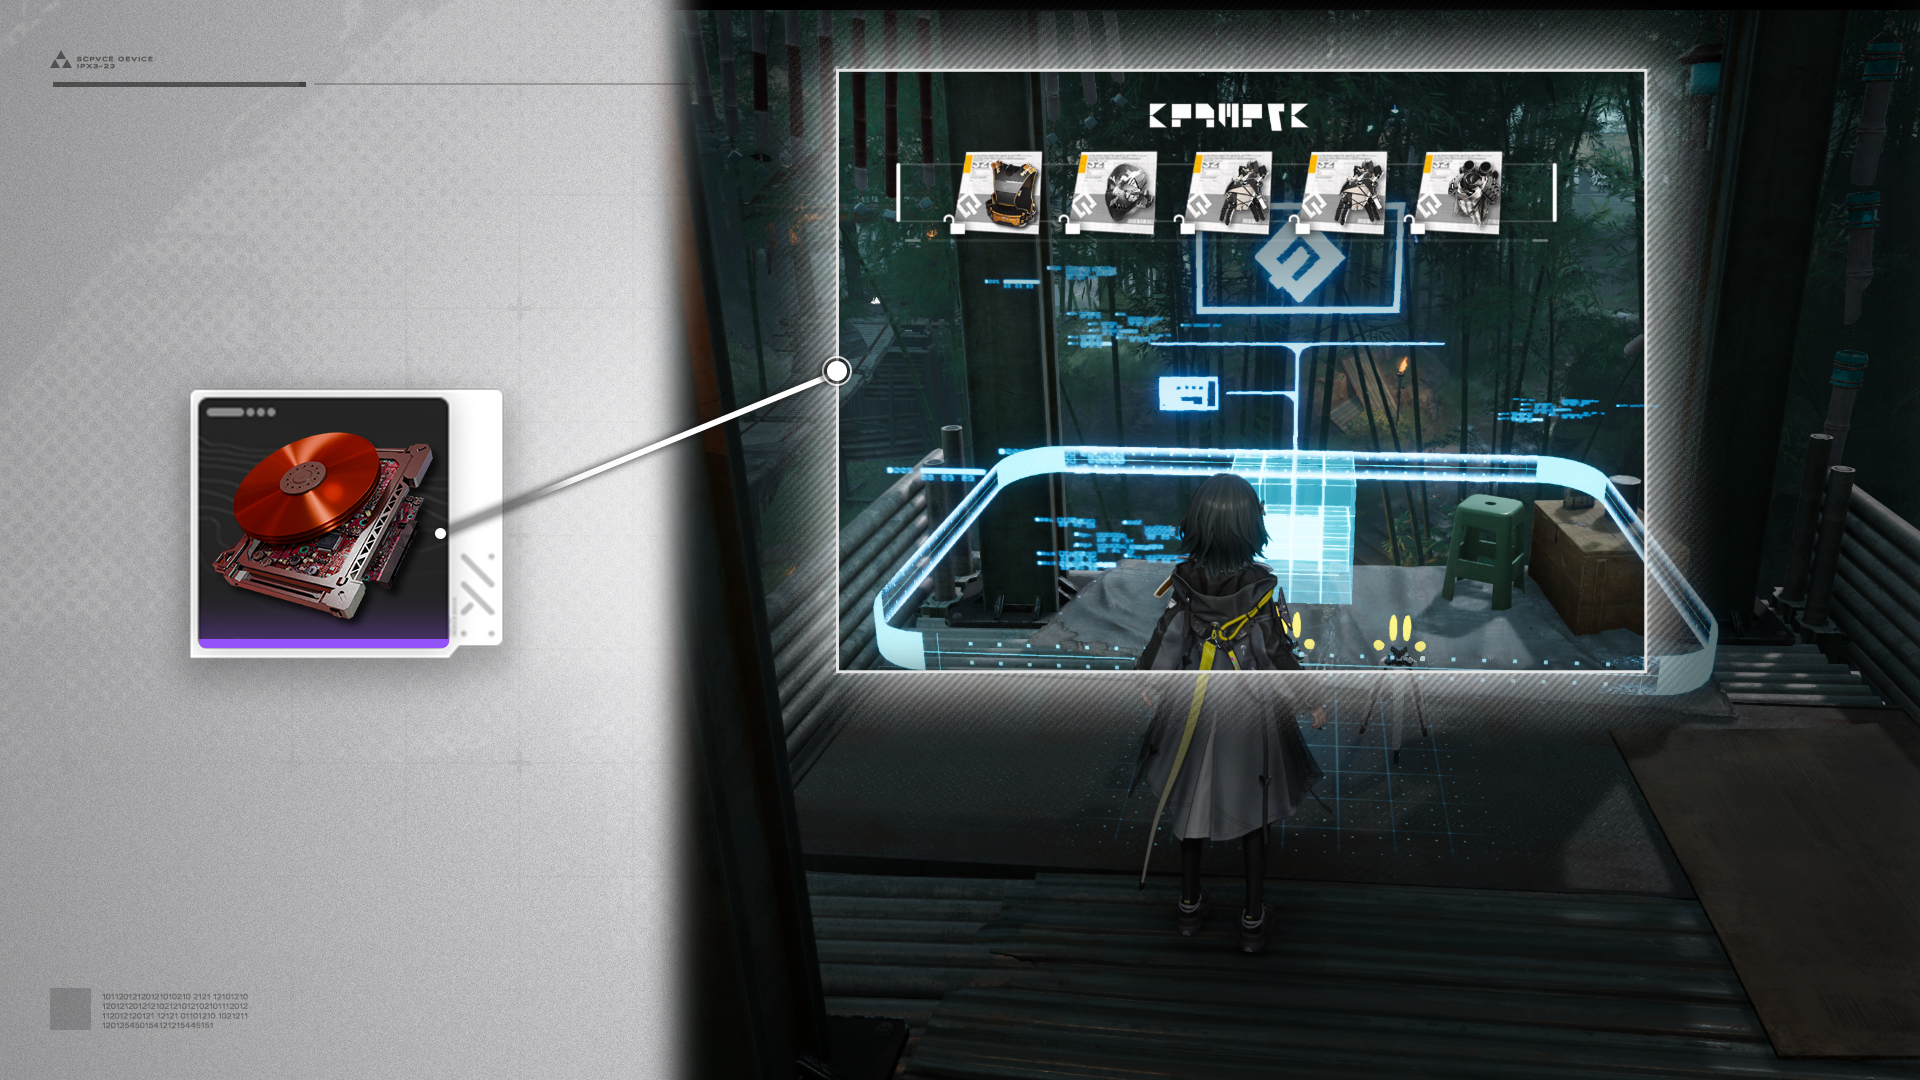
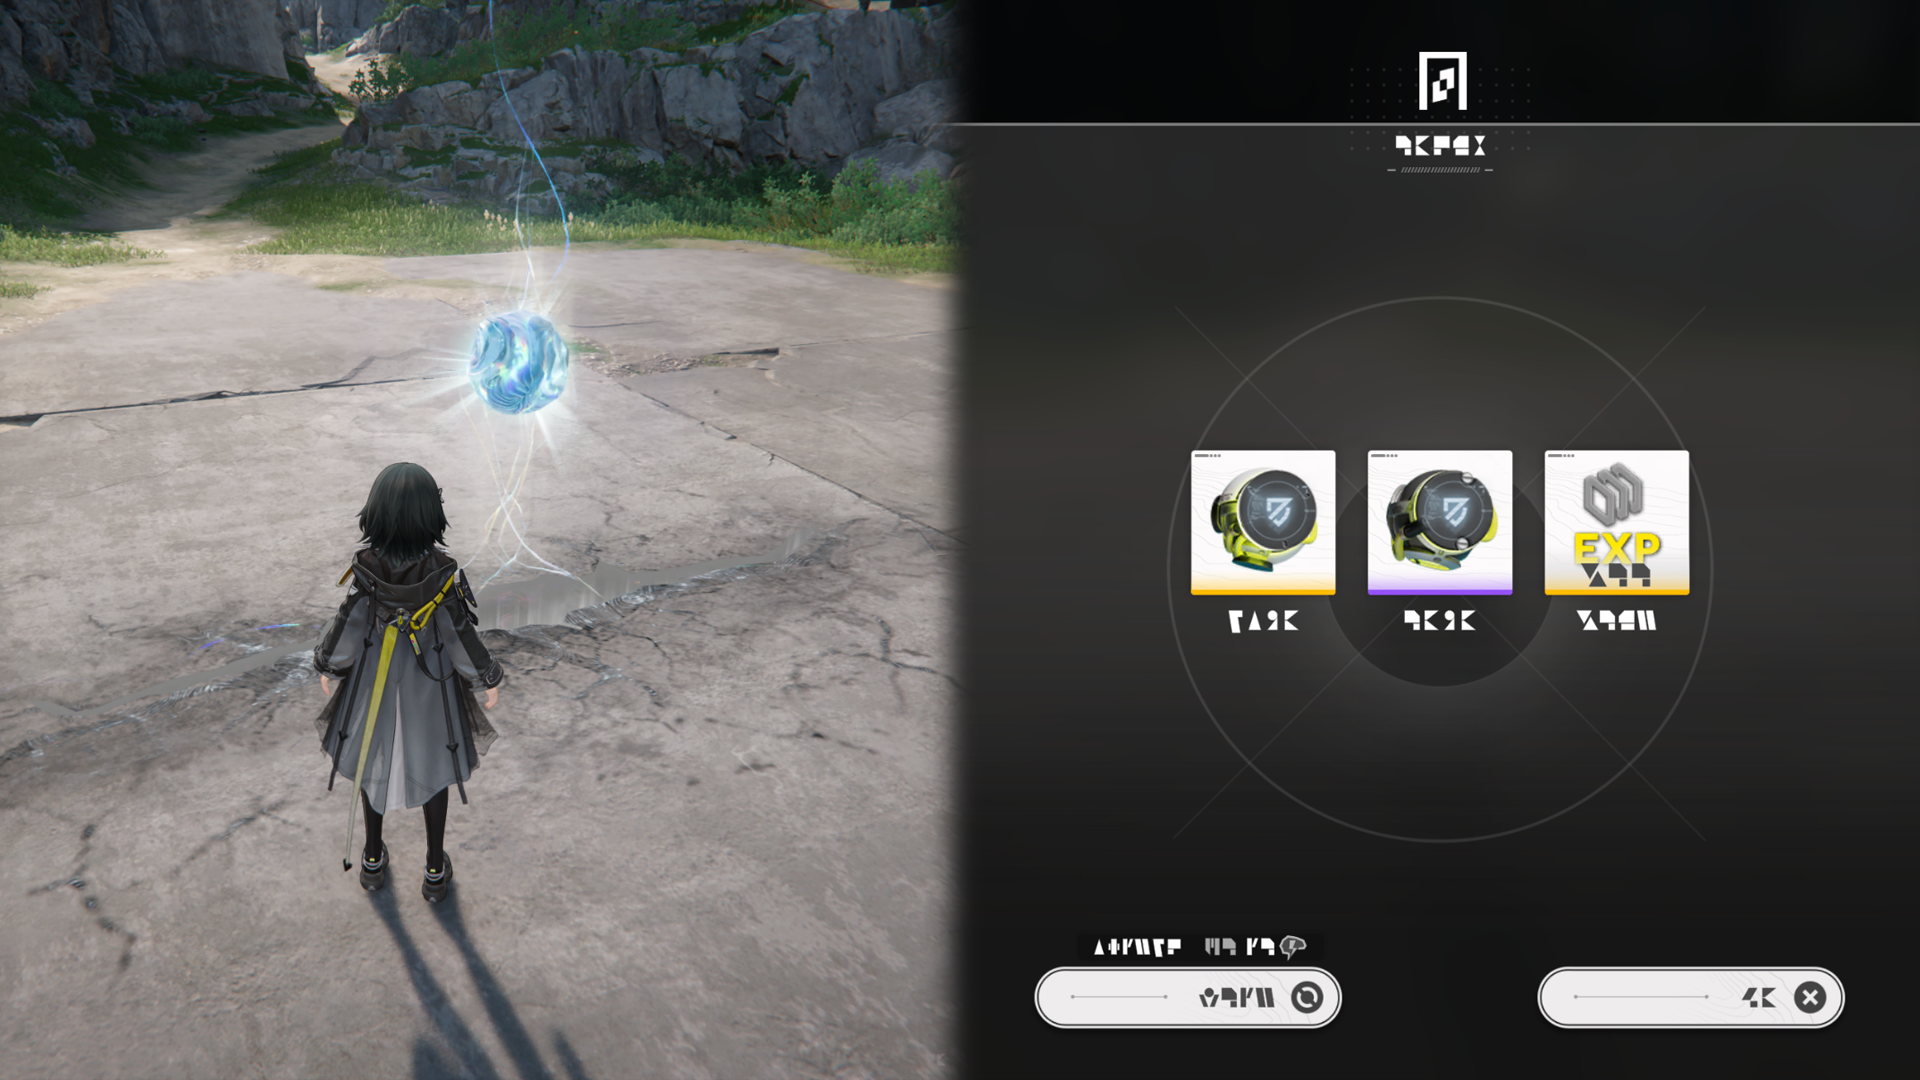
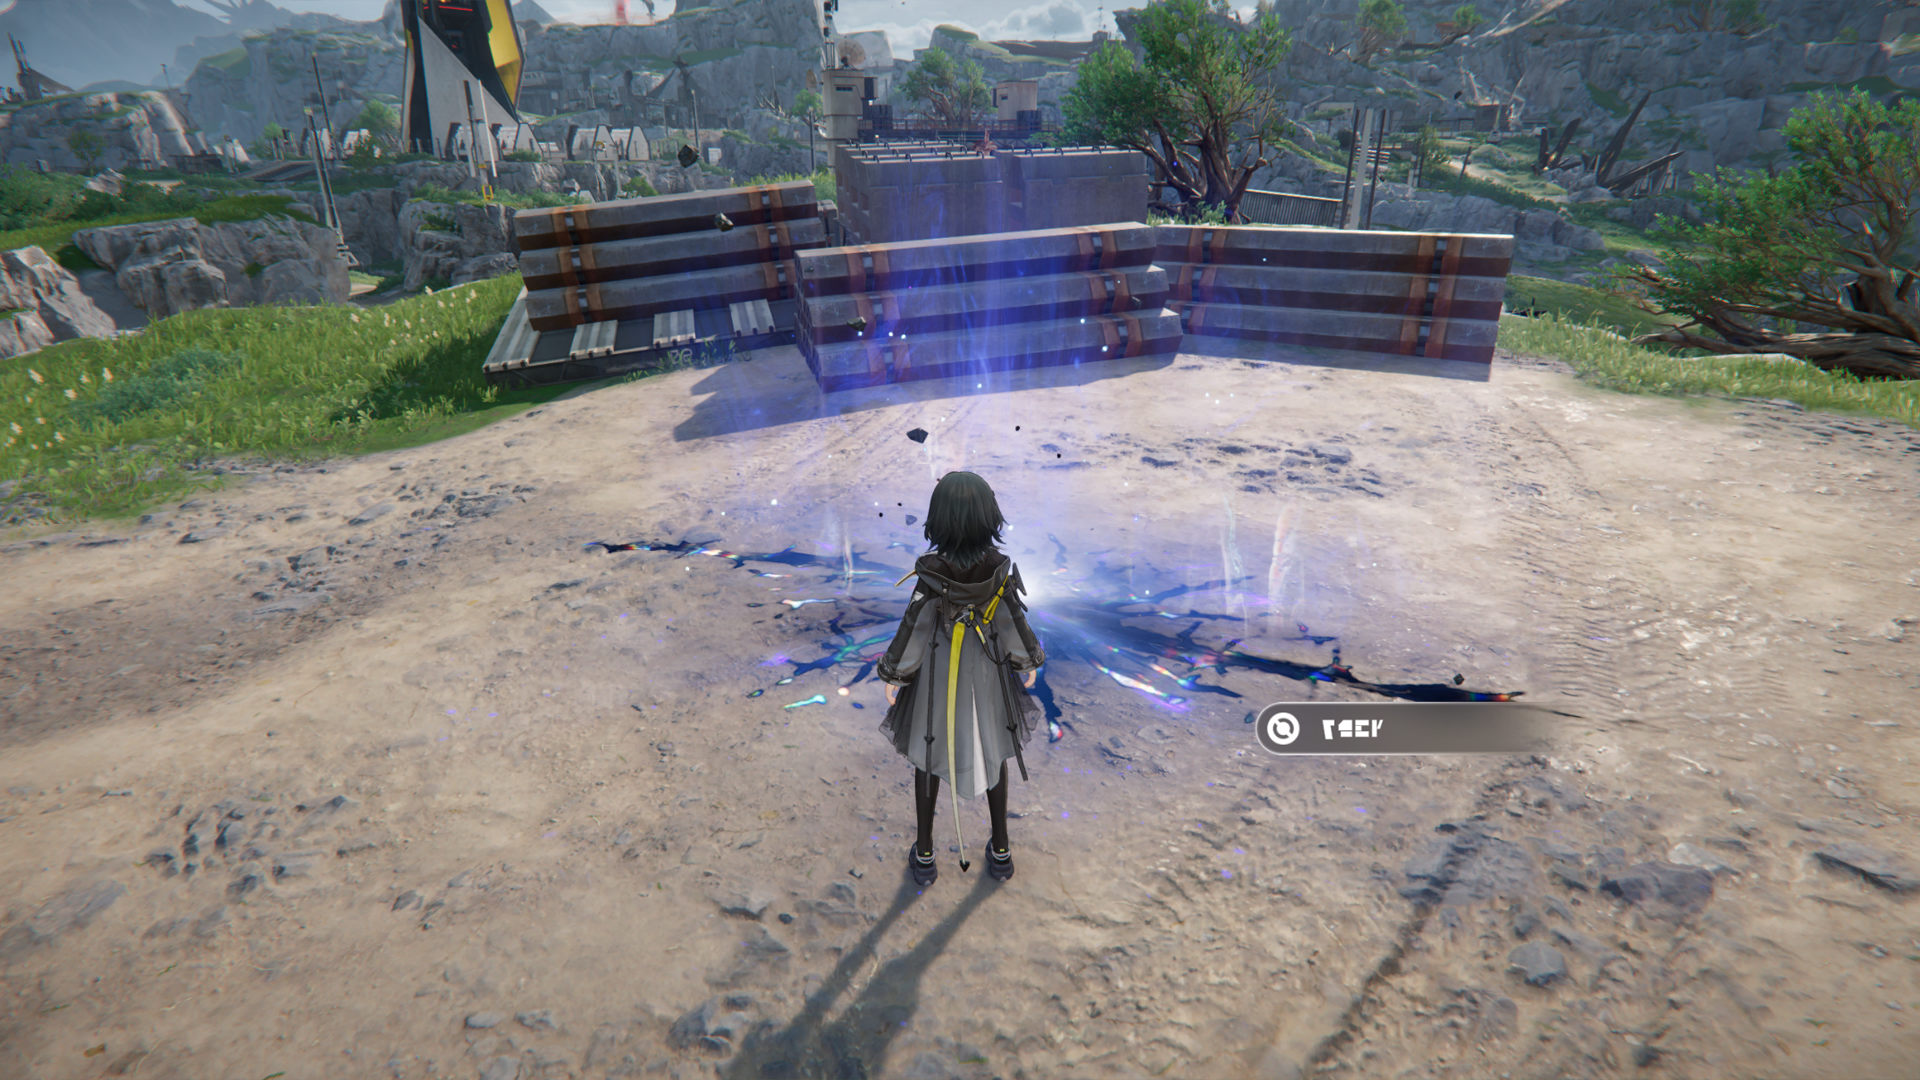
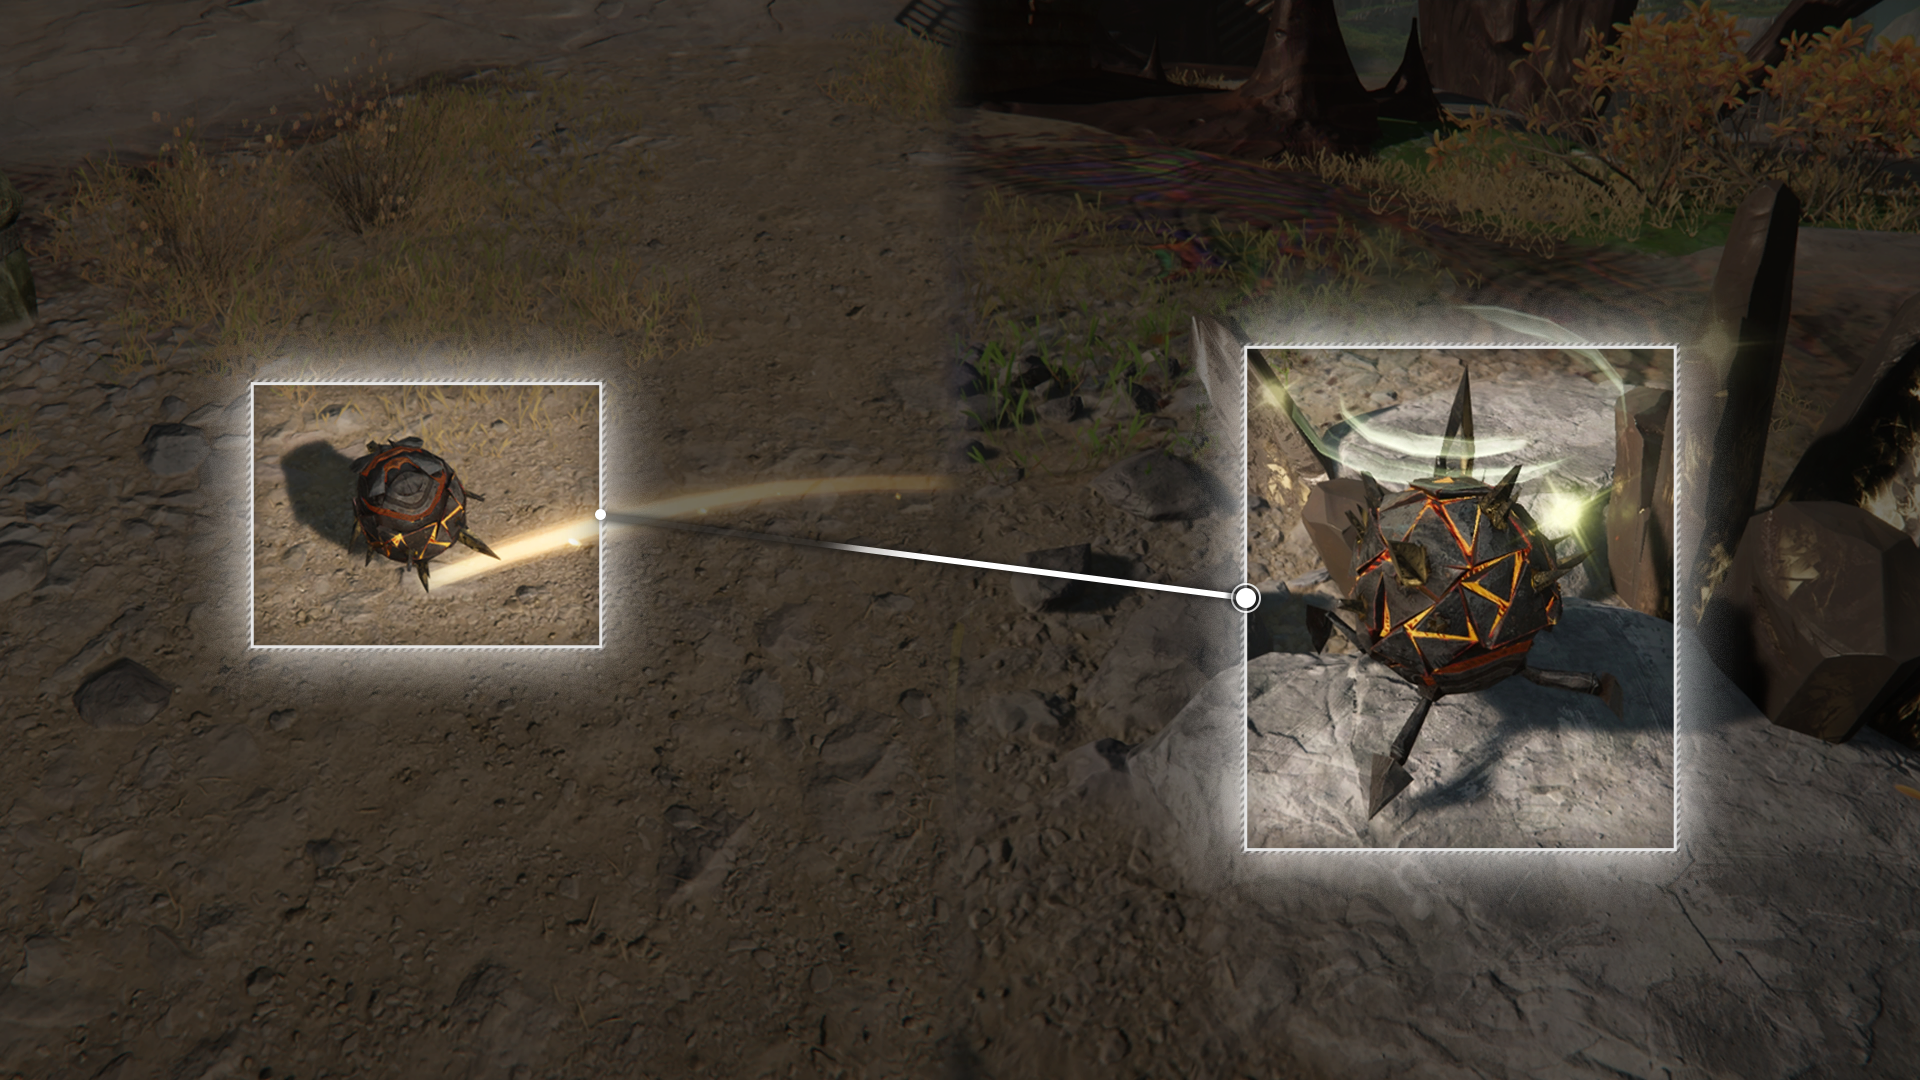
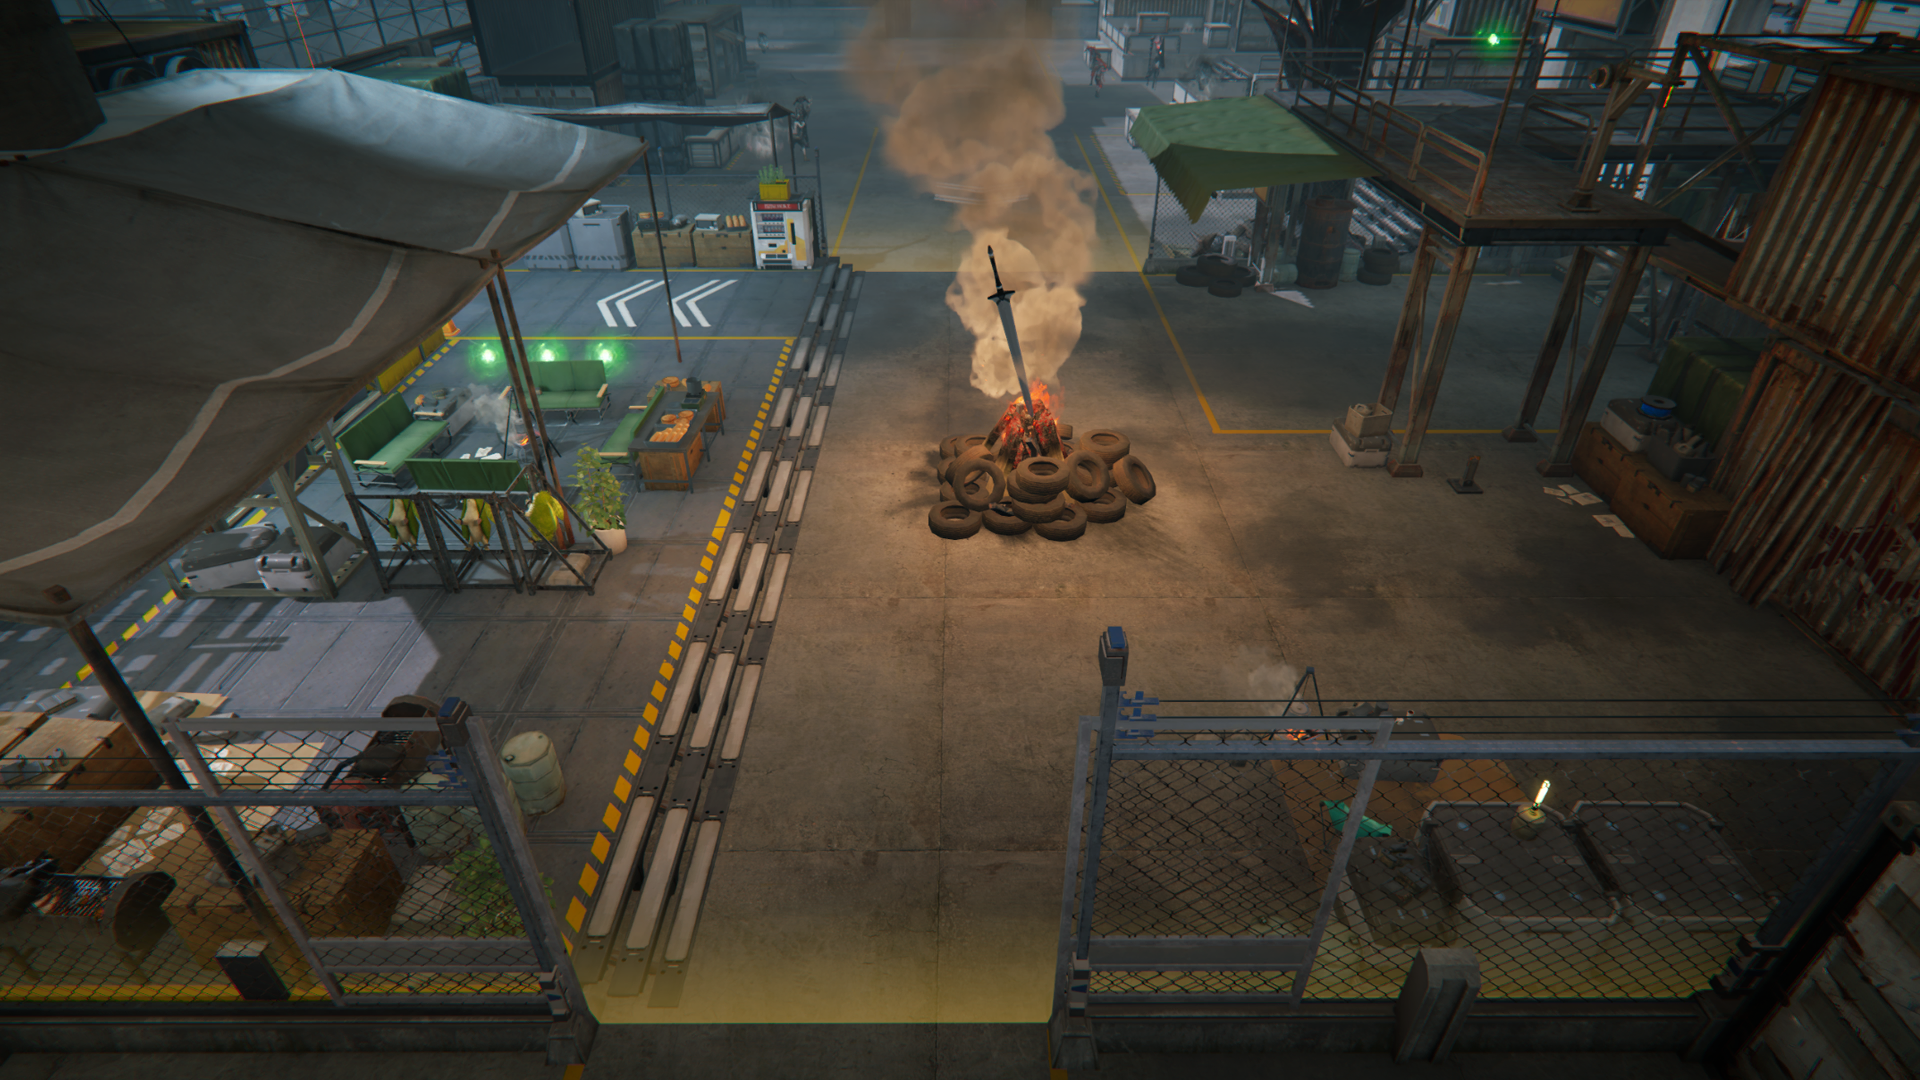
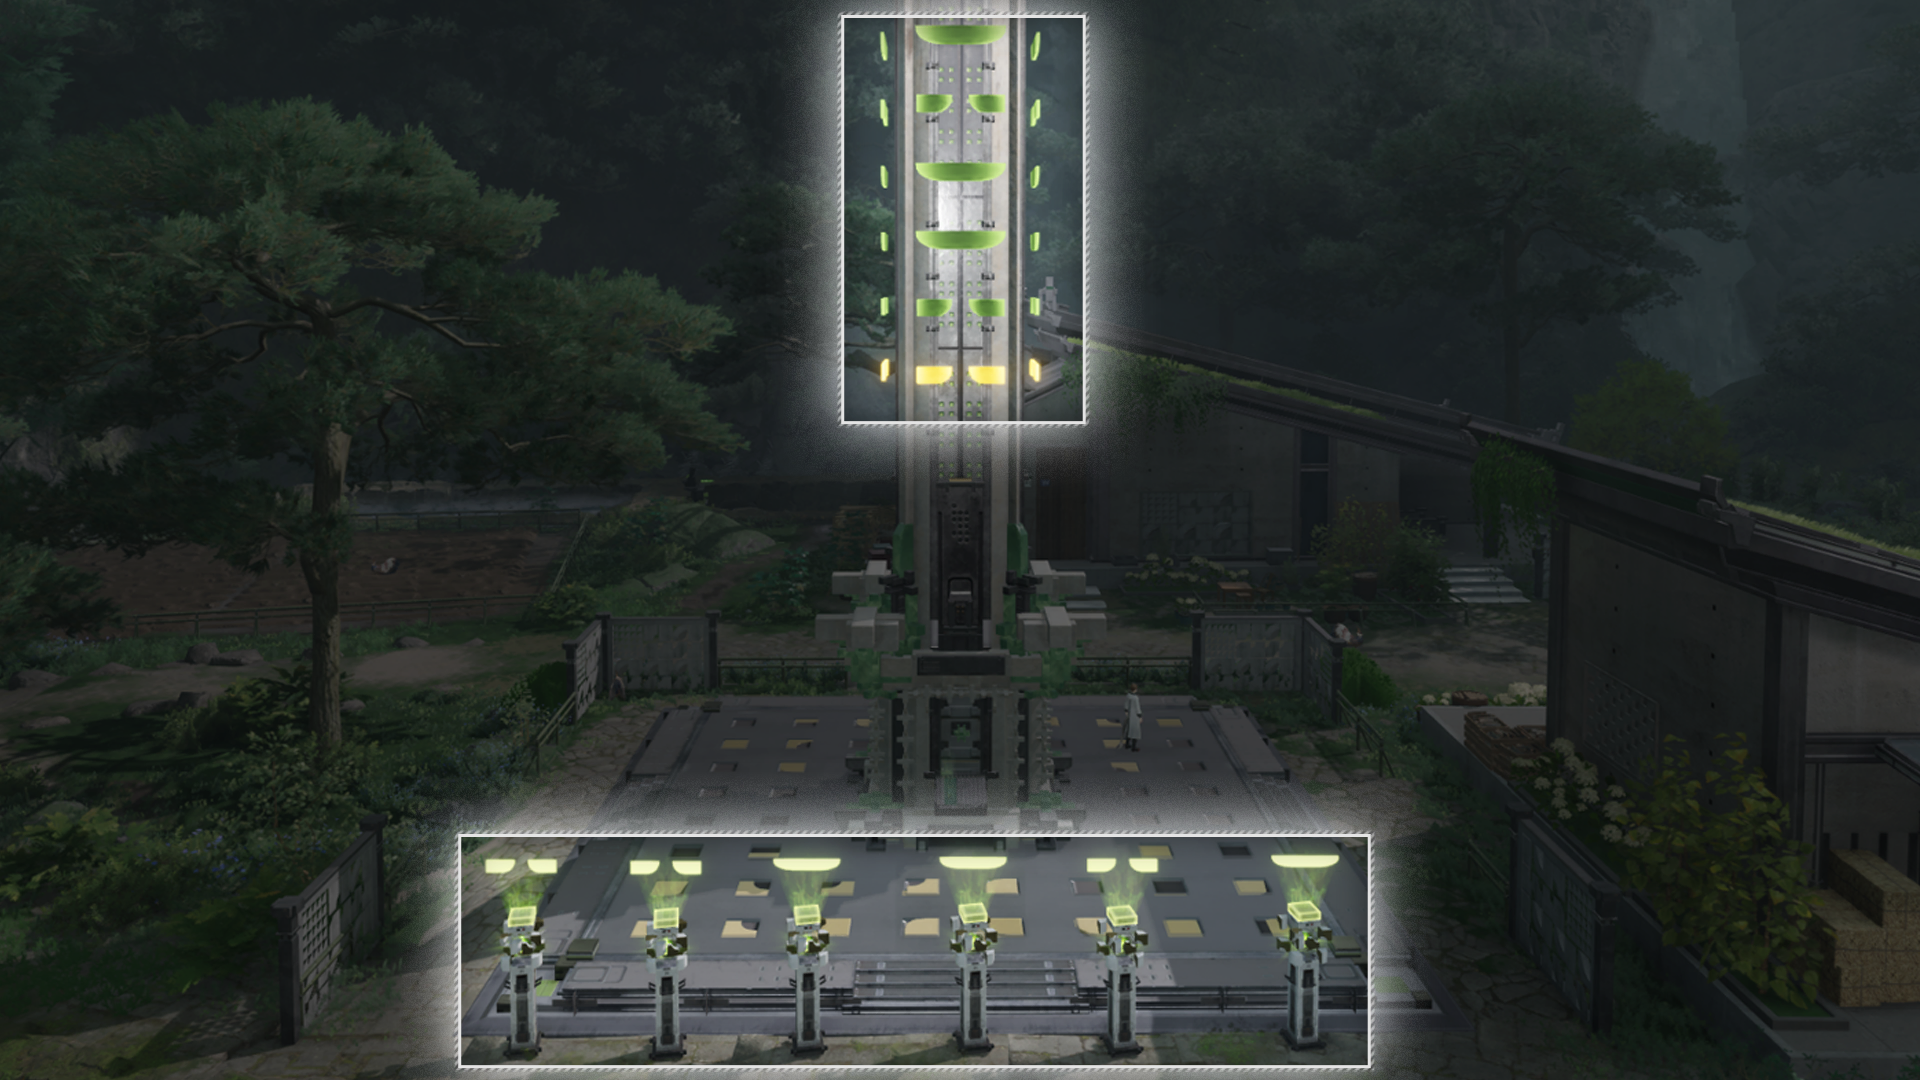
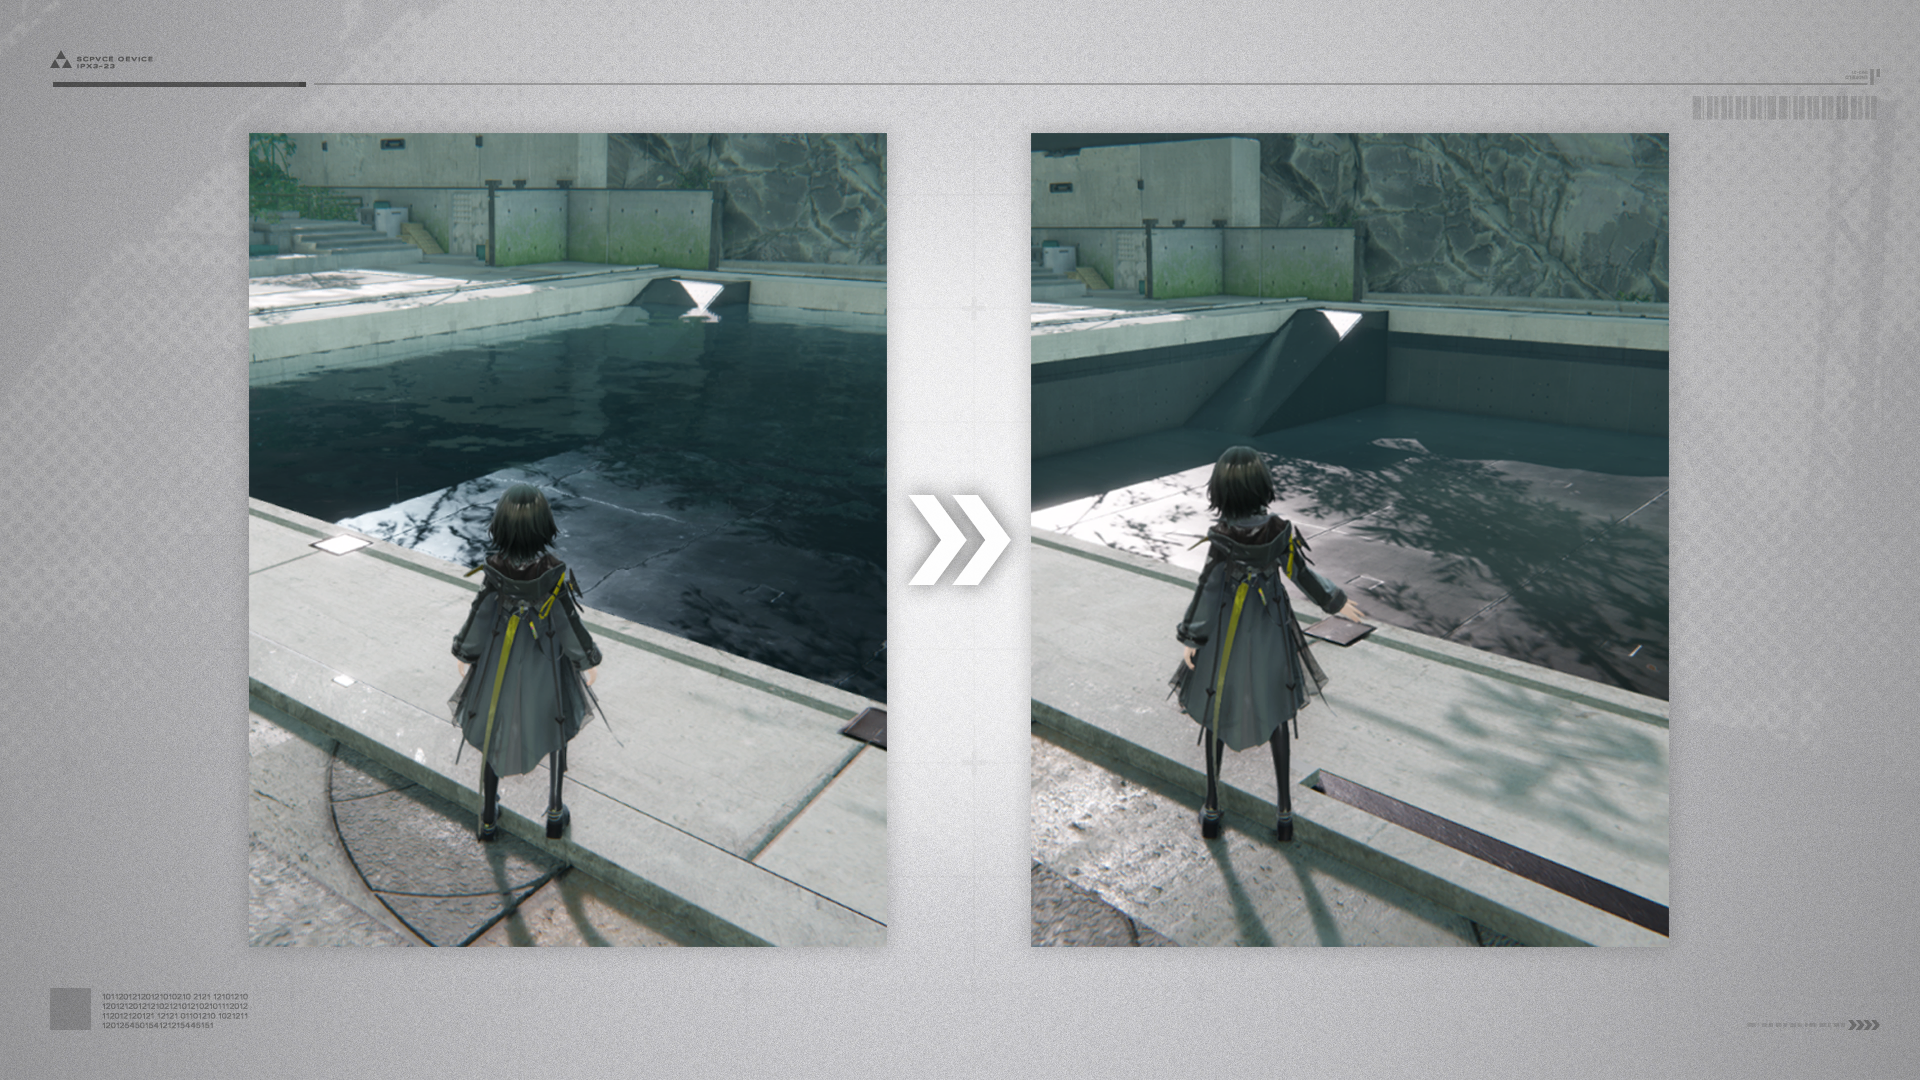
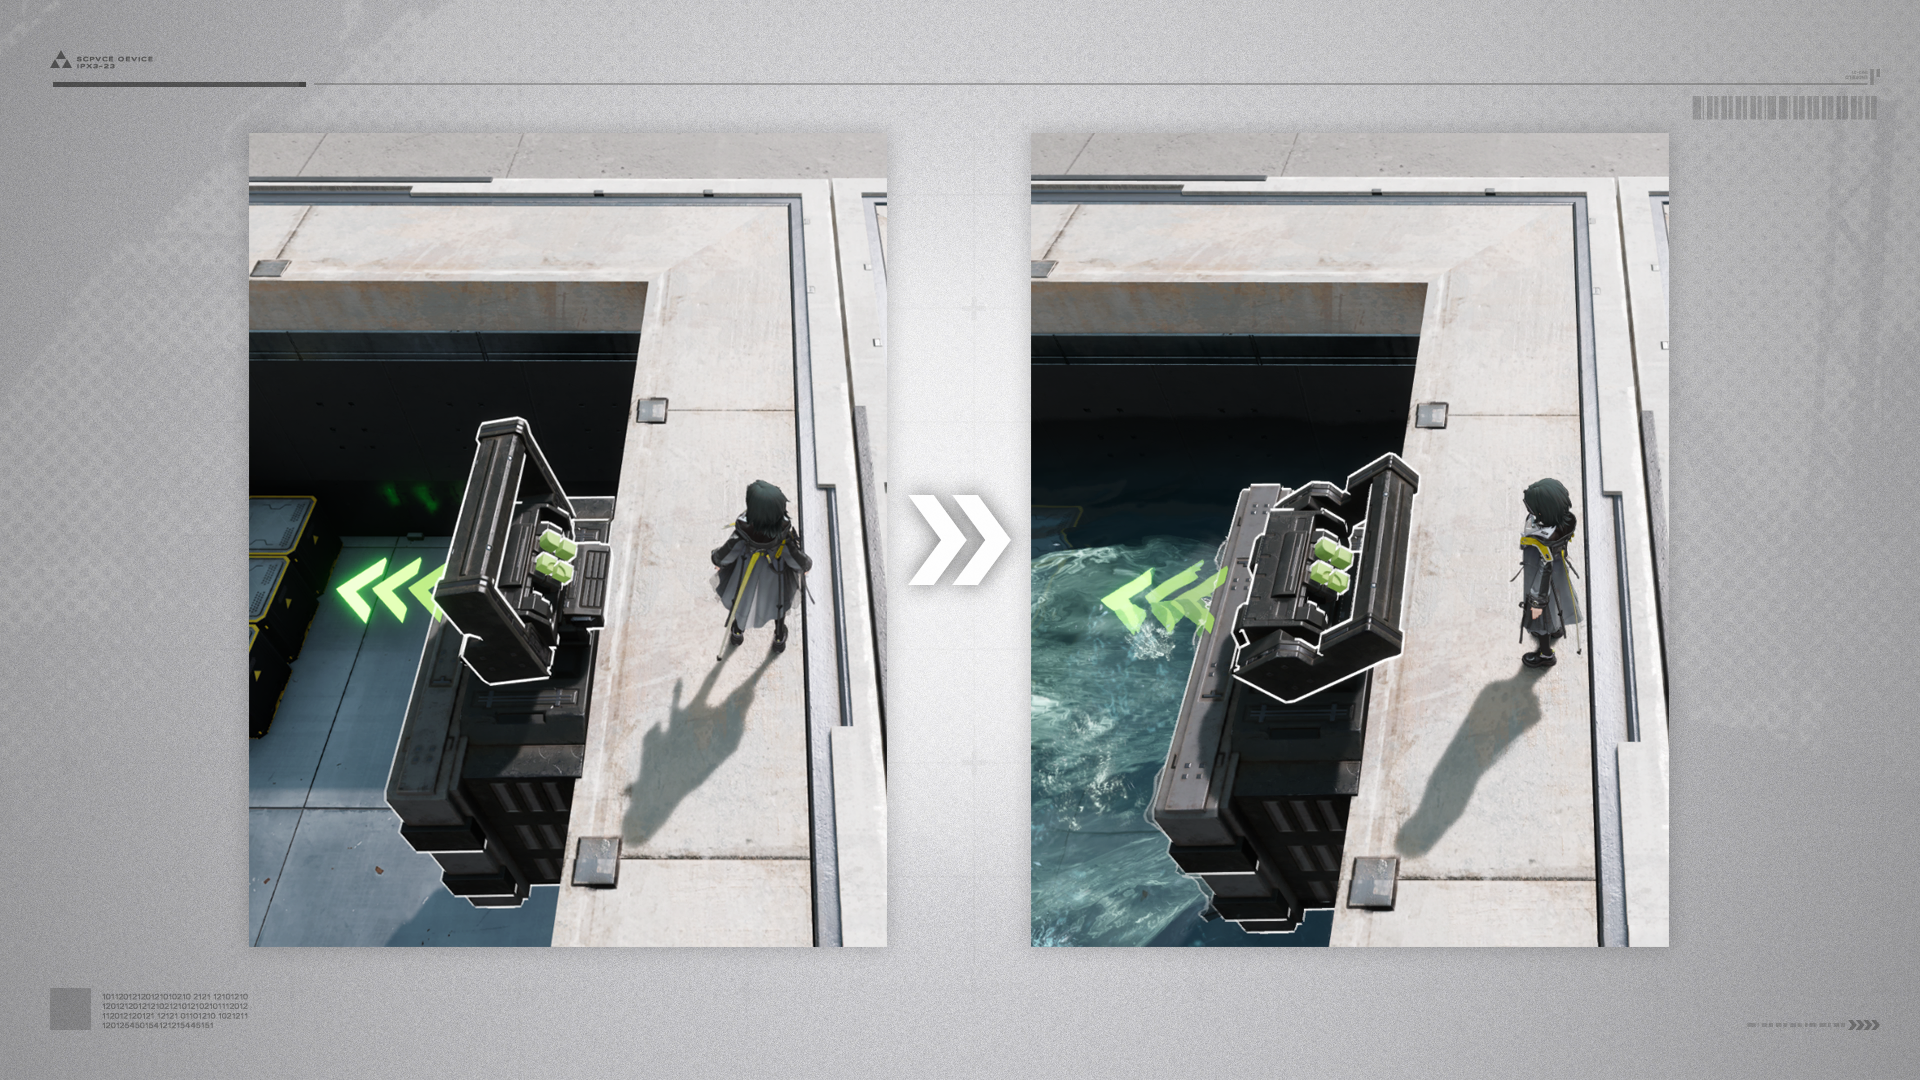
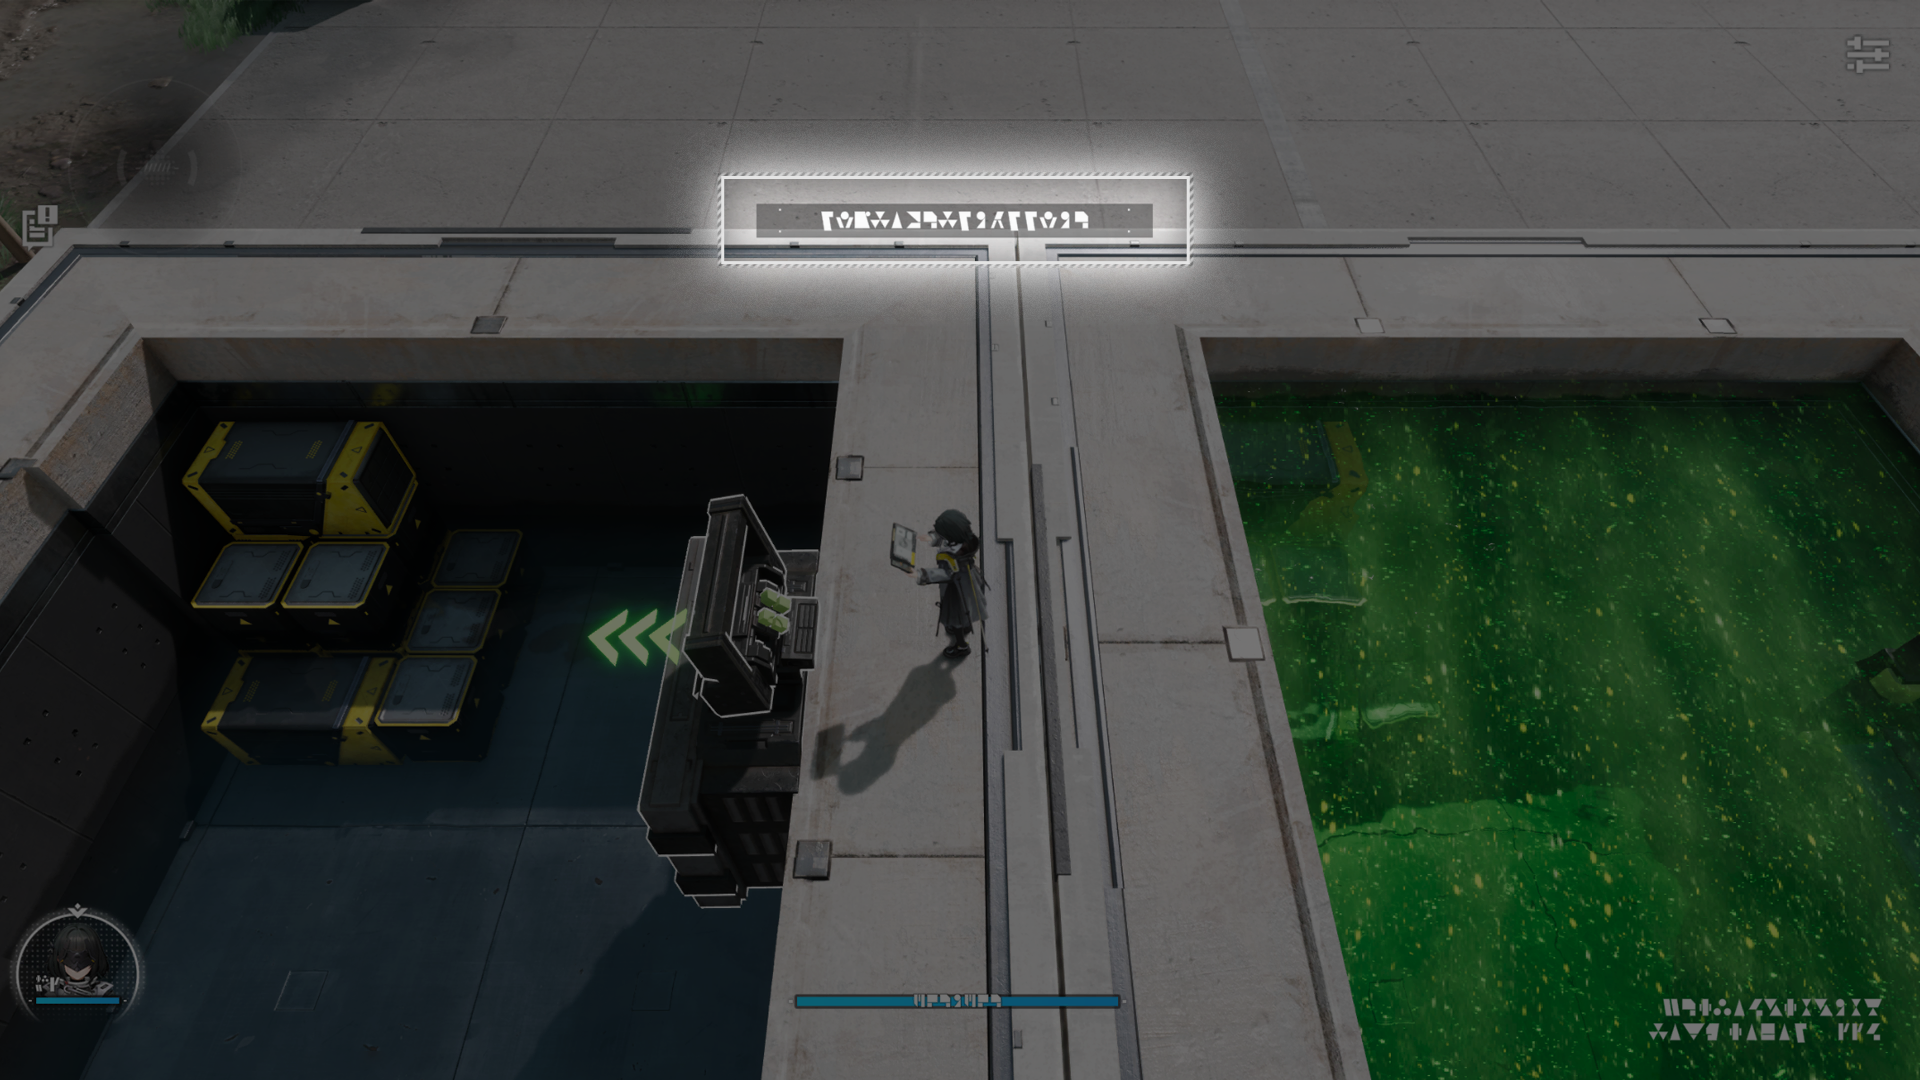
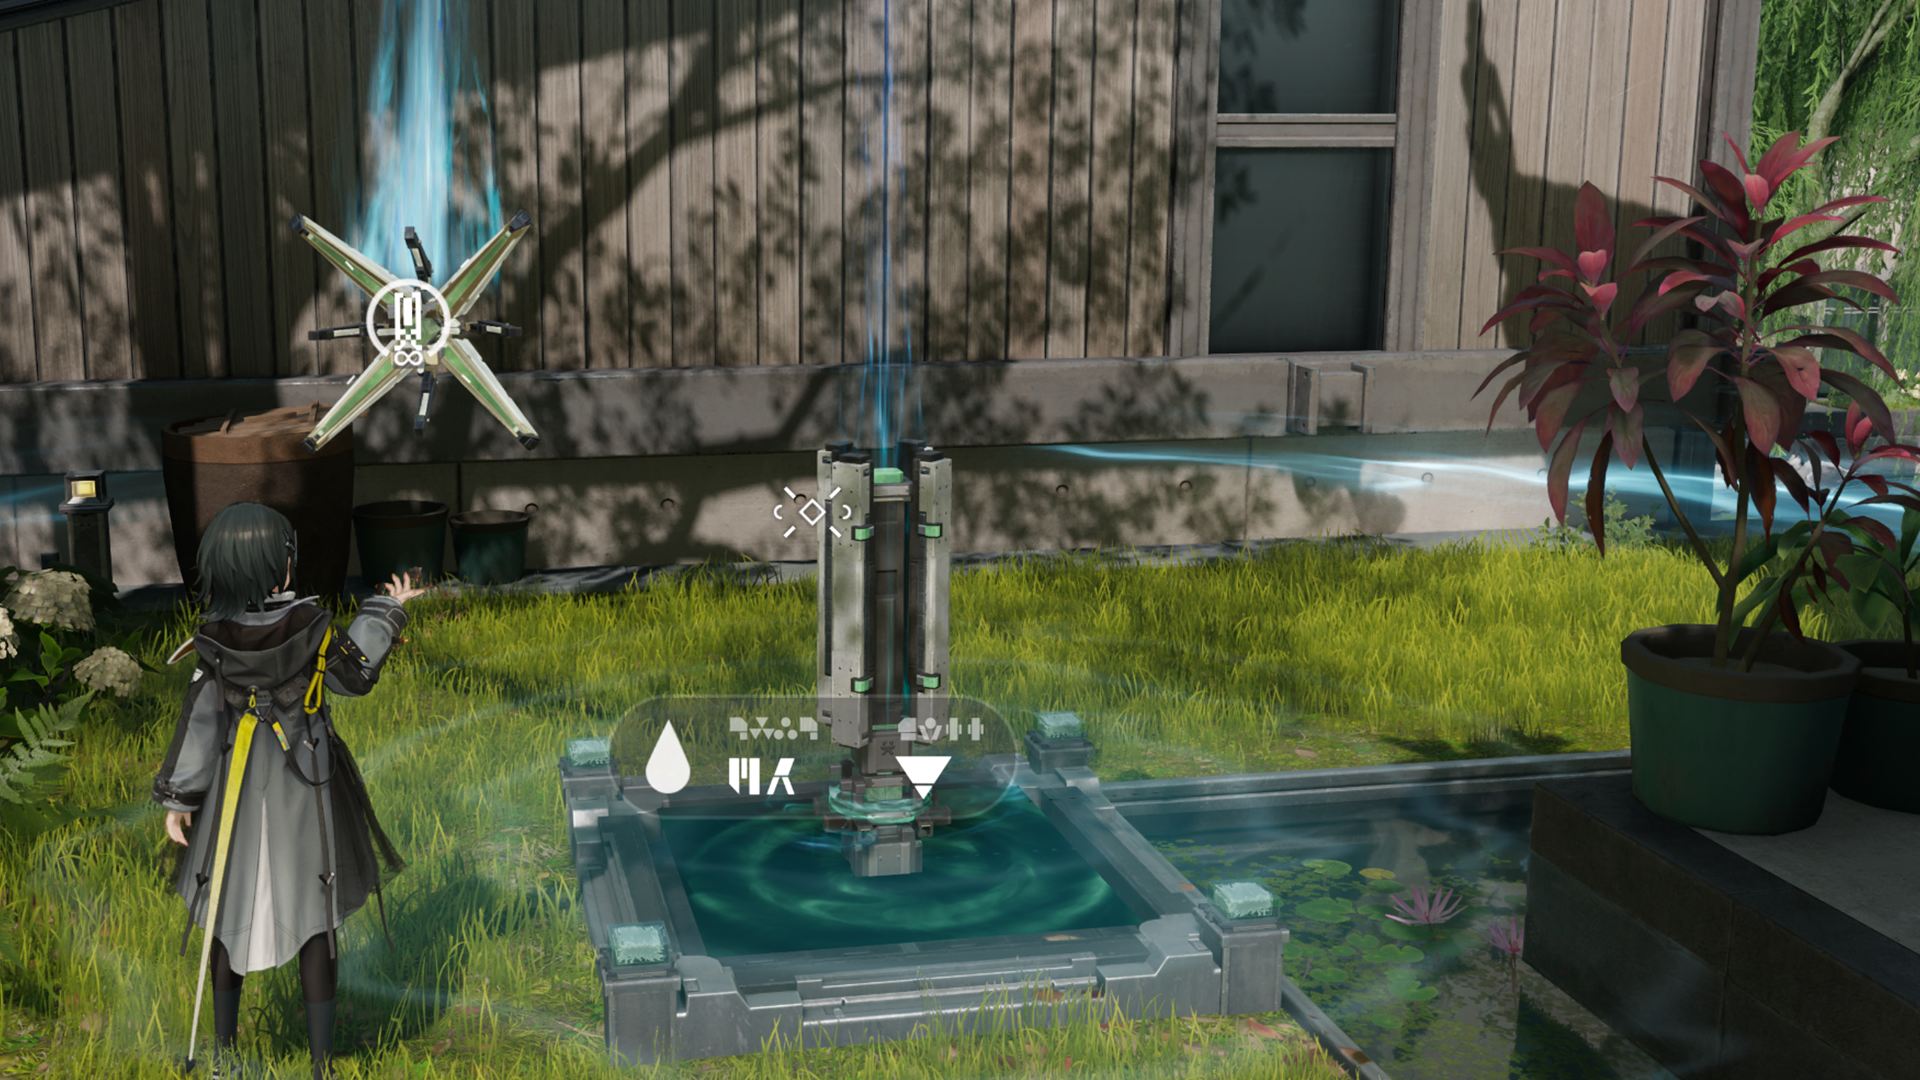
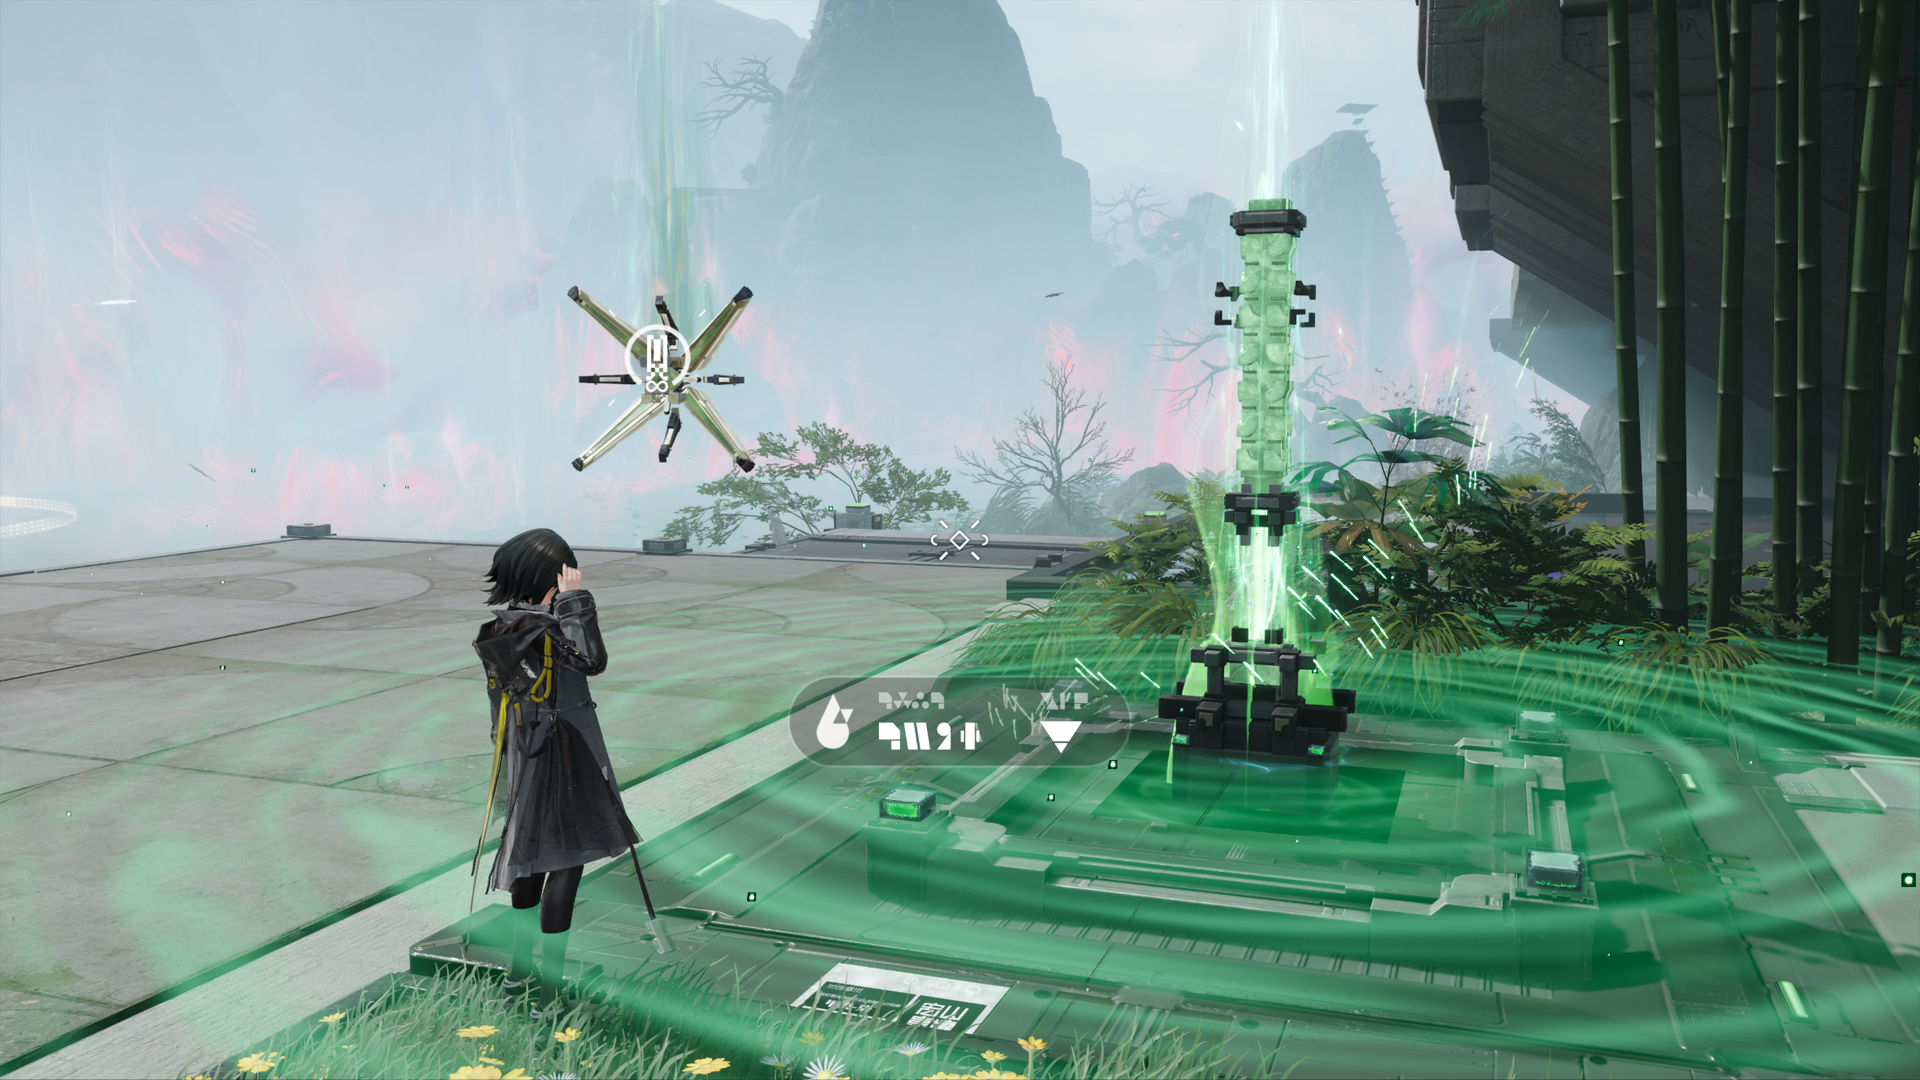
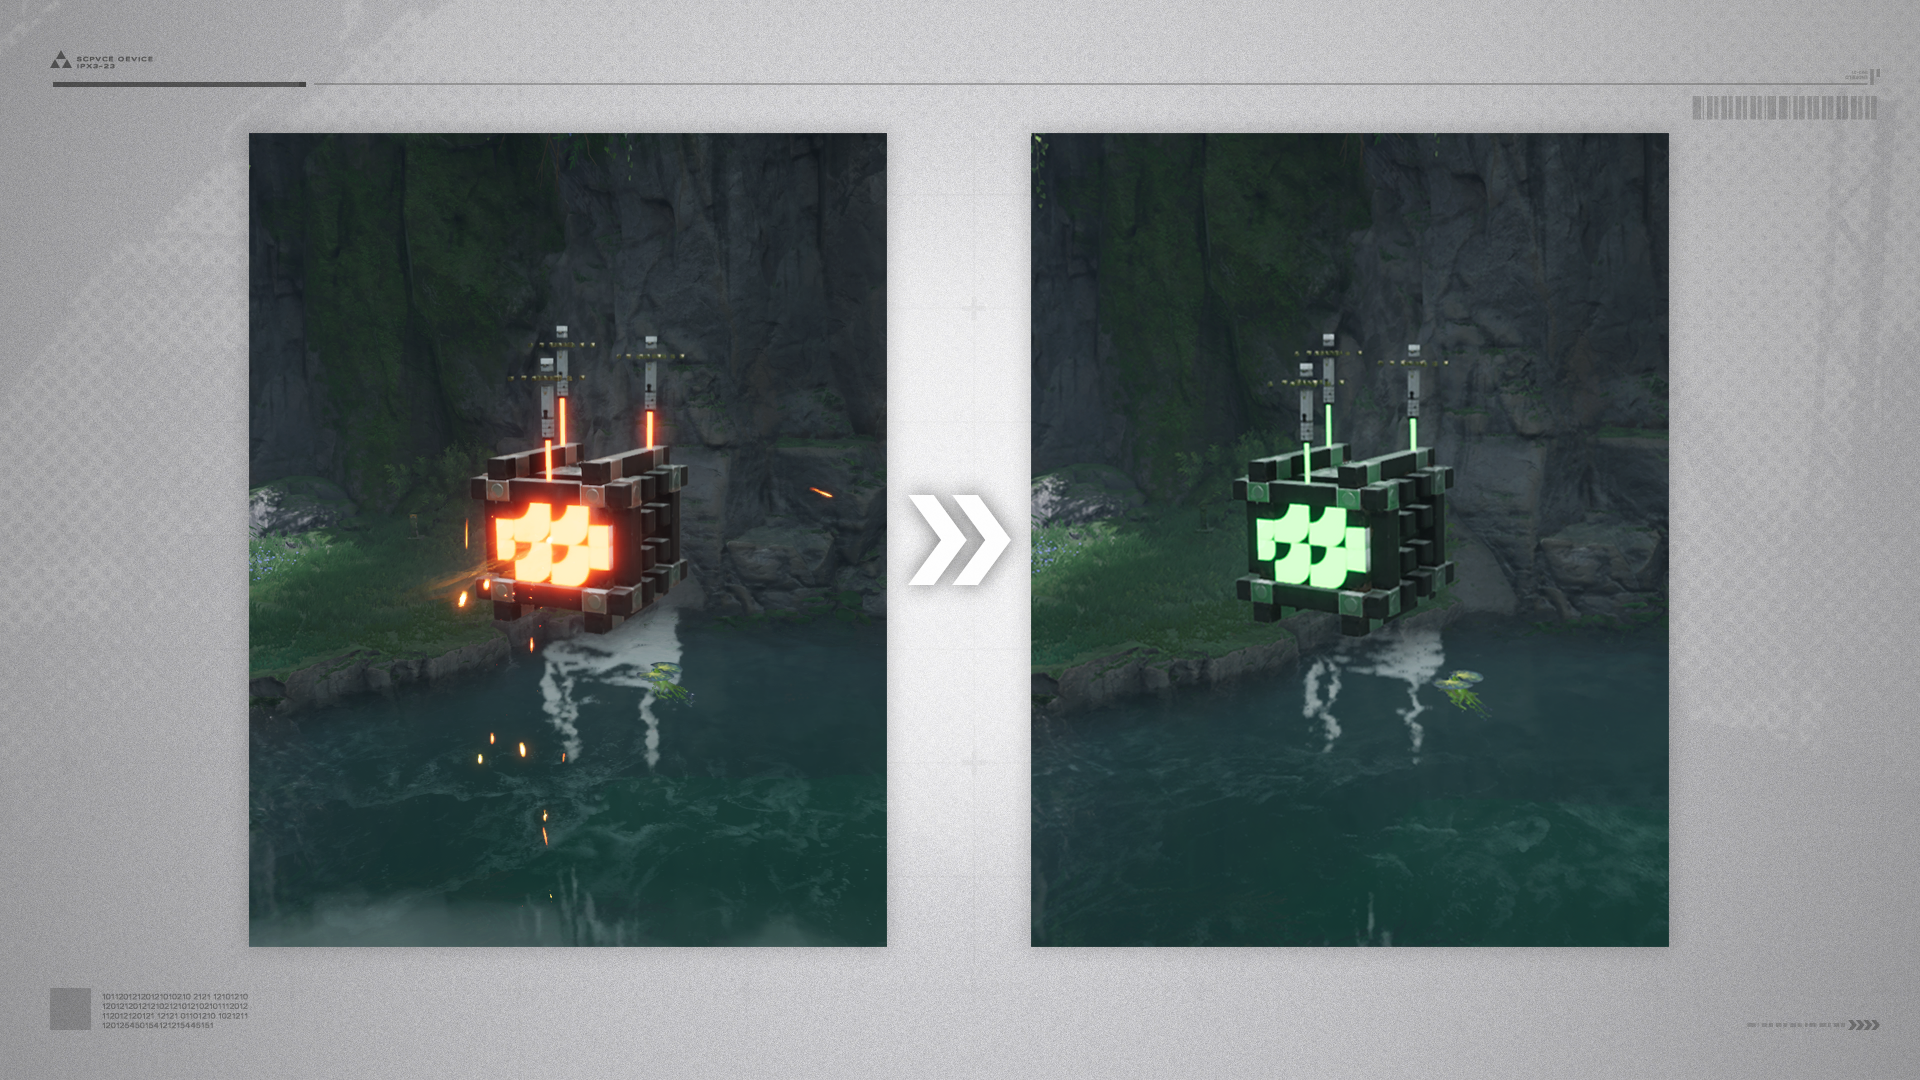
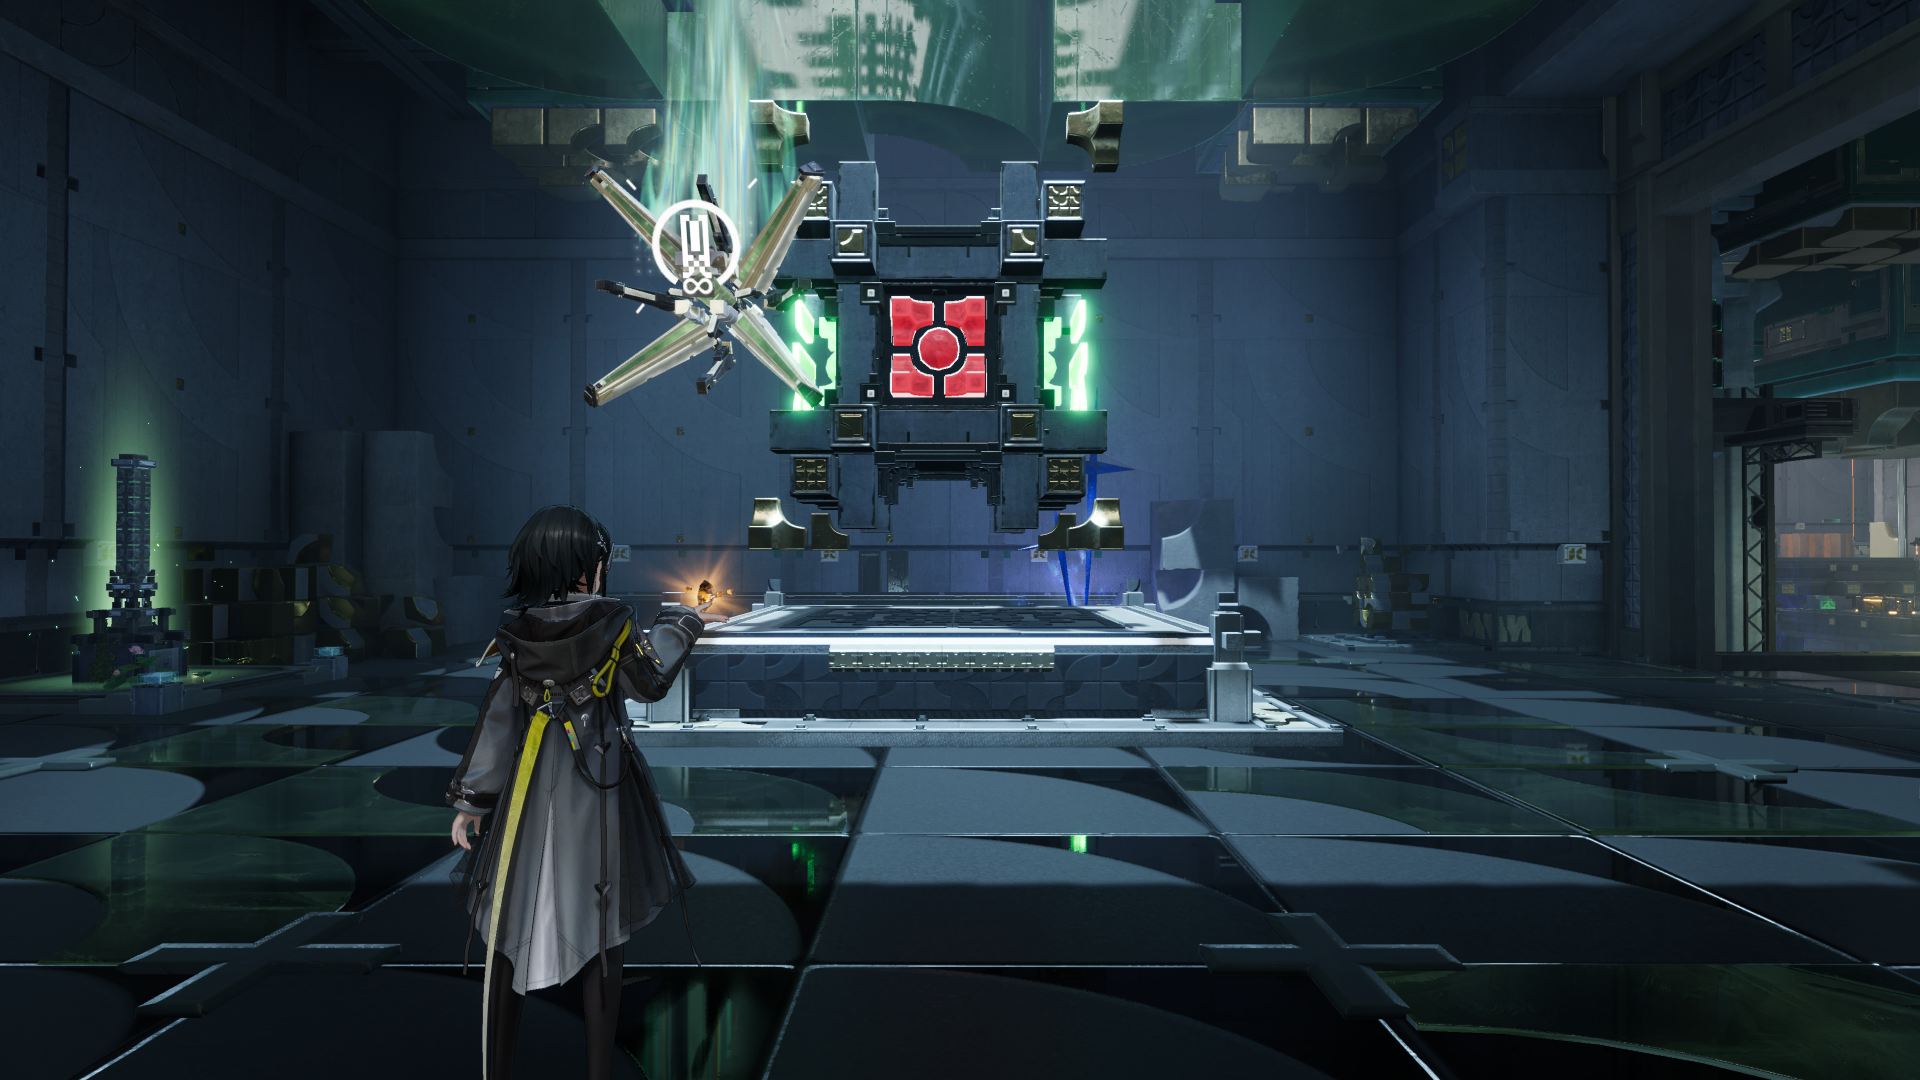
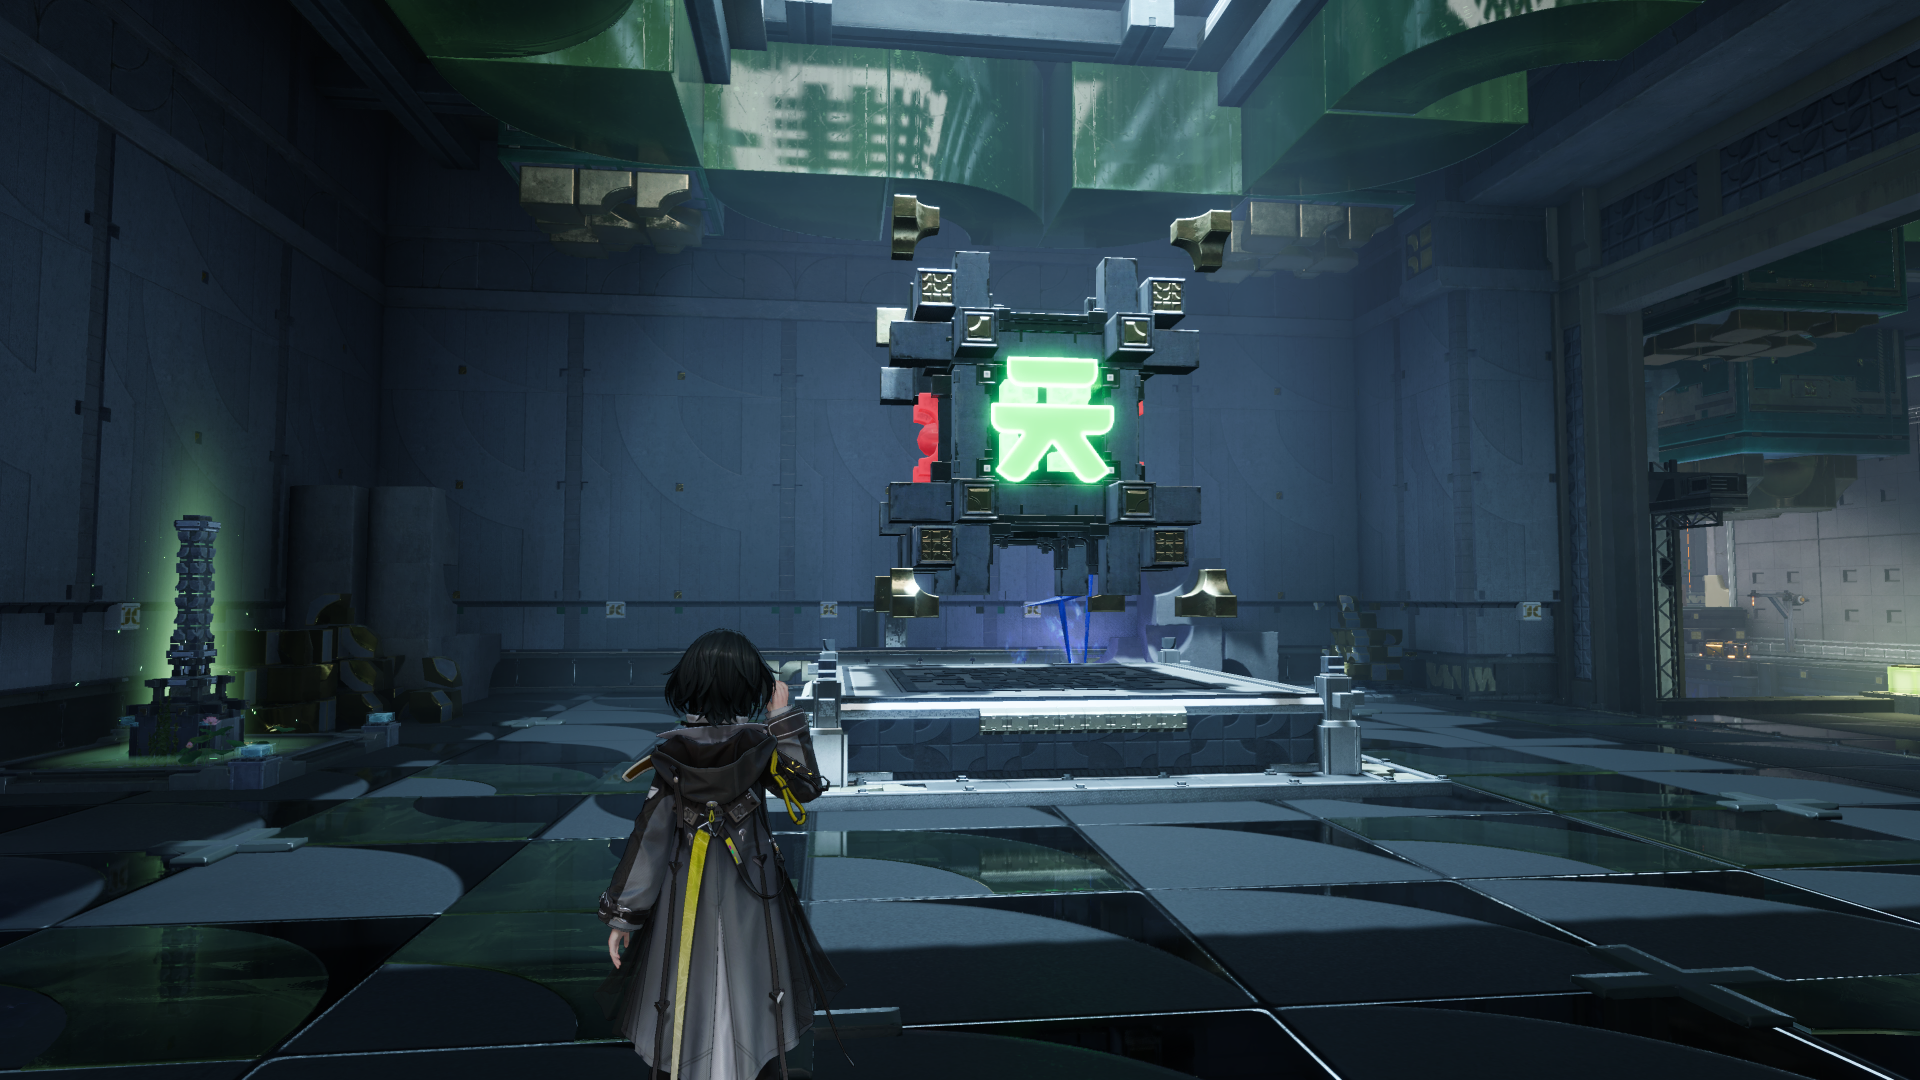
END Wiki END Wiki
Home Events Headhunting
Operators Weapons Gear Essences Items
Protocol Space Umbral Monument RE-Crisis Cryptic First Revealed Grotto Survey Operator Guide Basic Training Survival Training Etchspace Salvage
Threats Path of Glory - Engraved Medals
Simulation Space Facilities Recipes
Battle Pass
Team Building Operator Training Material Demand Weapon Materials Guide
Community Guides
Exploration Factory Combat System
Essence Farming Essence Filter Team Builder Operator Material Calculator Leveling Material Calculator
English Español Deutsch Français Bahasa Indonesia Italiano Português Русский ไทย 한국어 Tiếng Việt 日本語 简体中文 繁體中文
END Wiki Home /Tutorials/Exploration
/ -
No tutorials found

TP Point

Activate the TP Point to use its functions. The Rest function can resuscitate all disconnected operators and restore the entire team to Max HP.
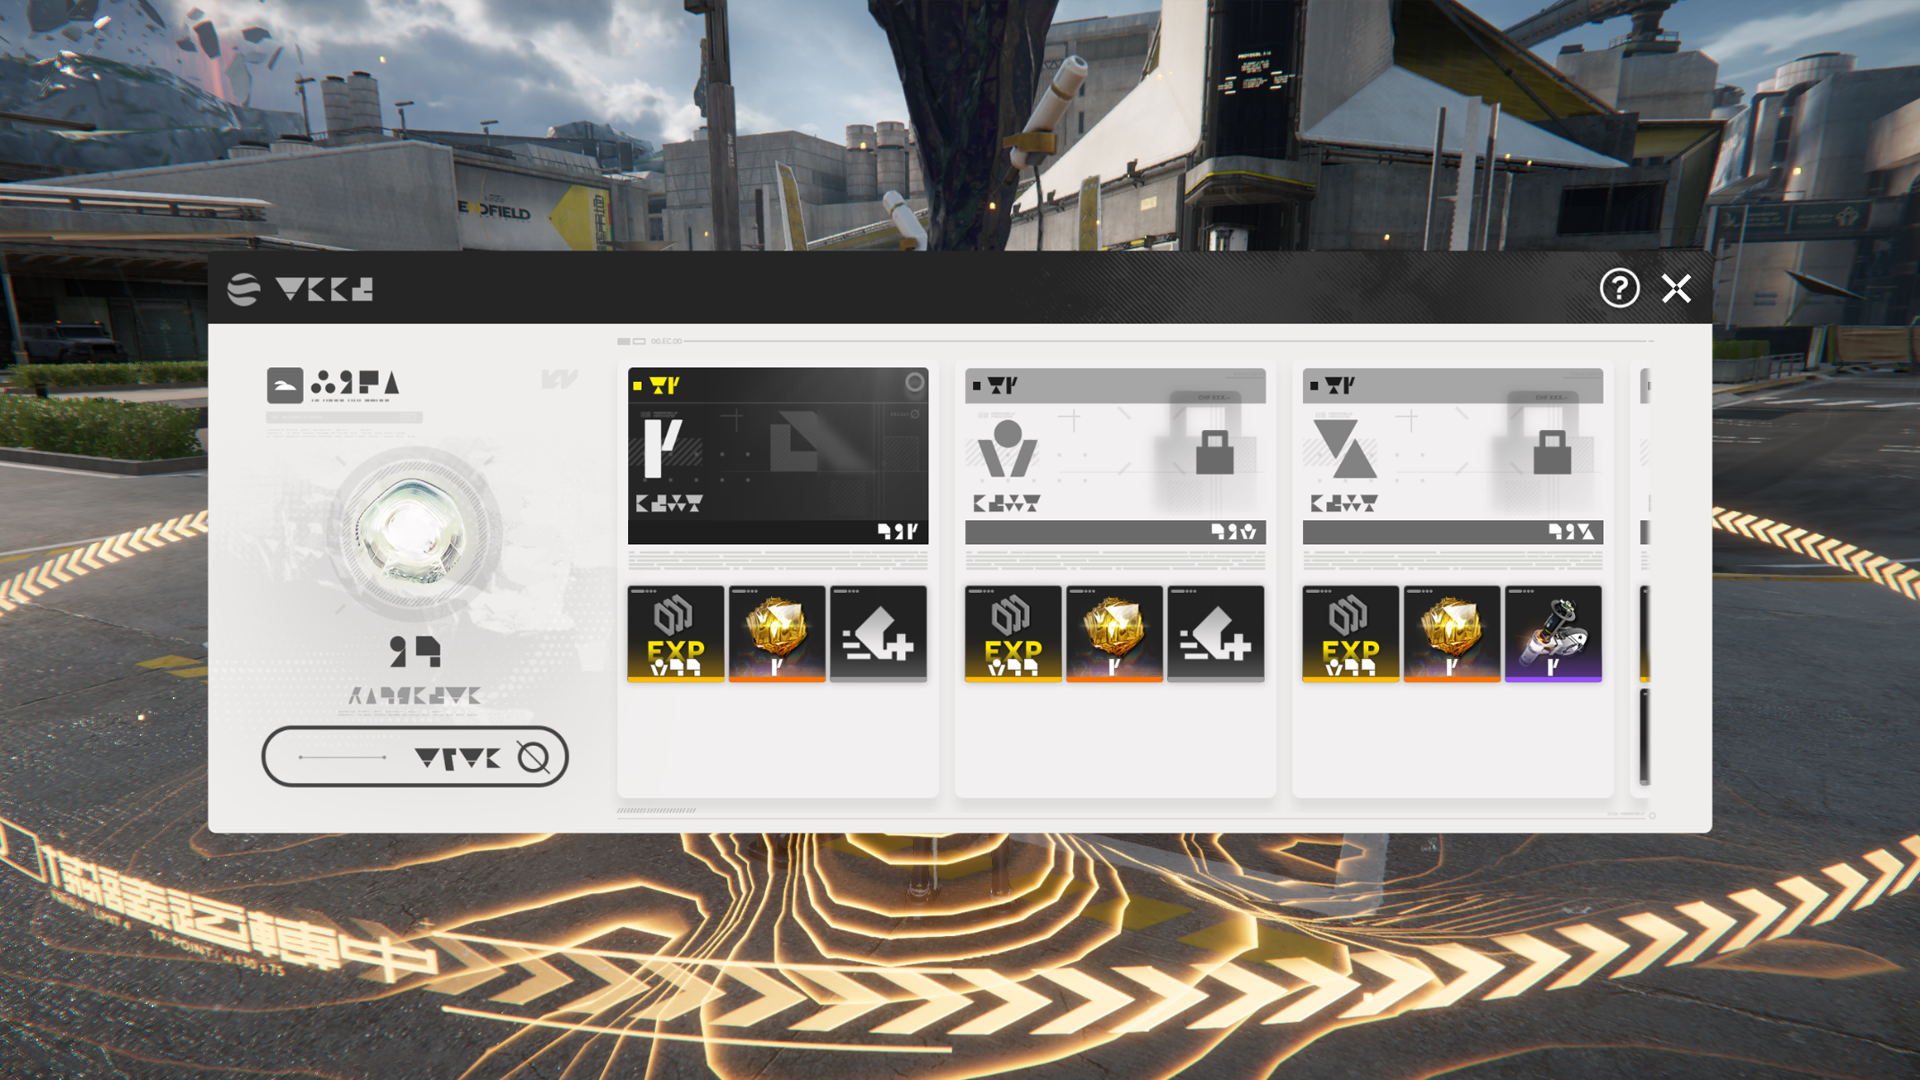
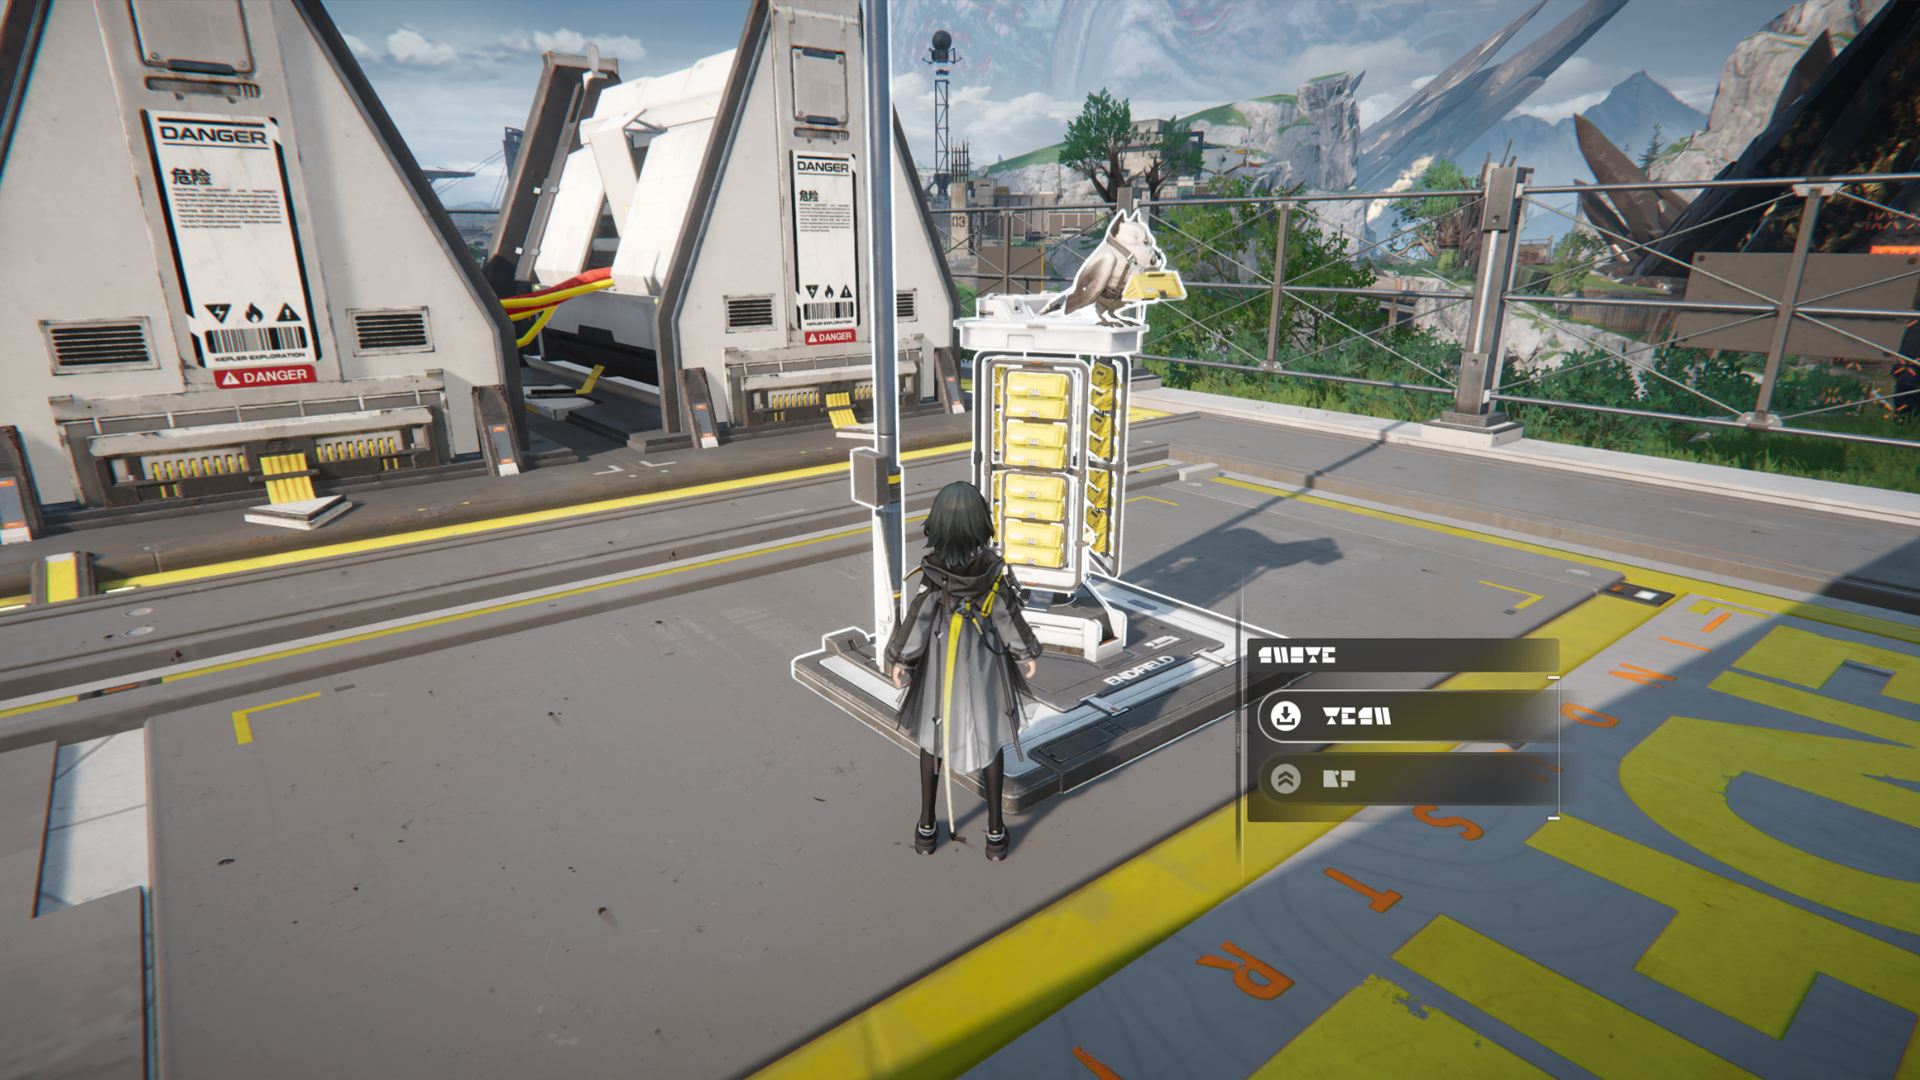
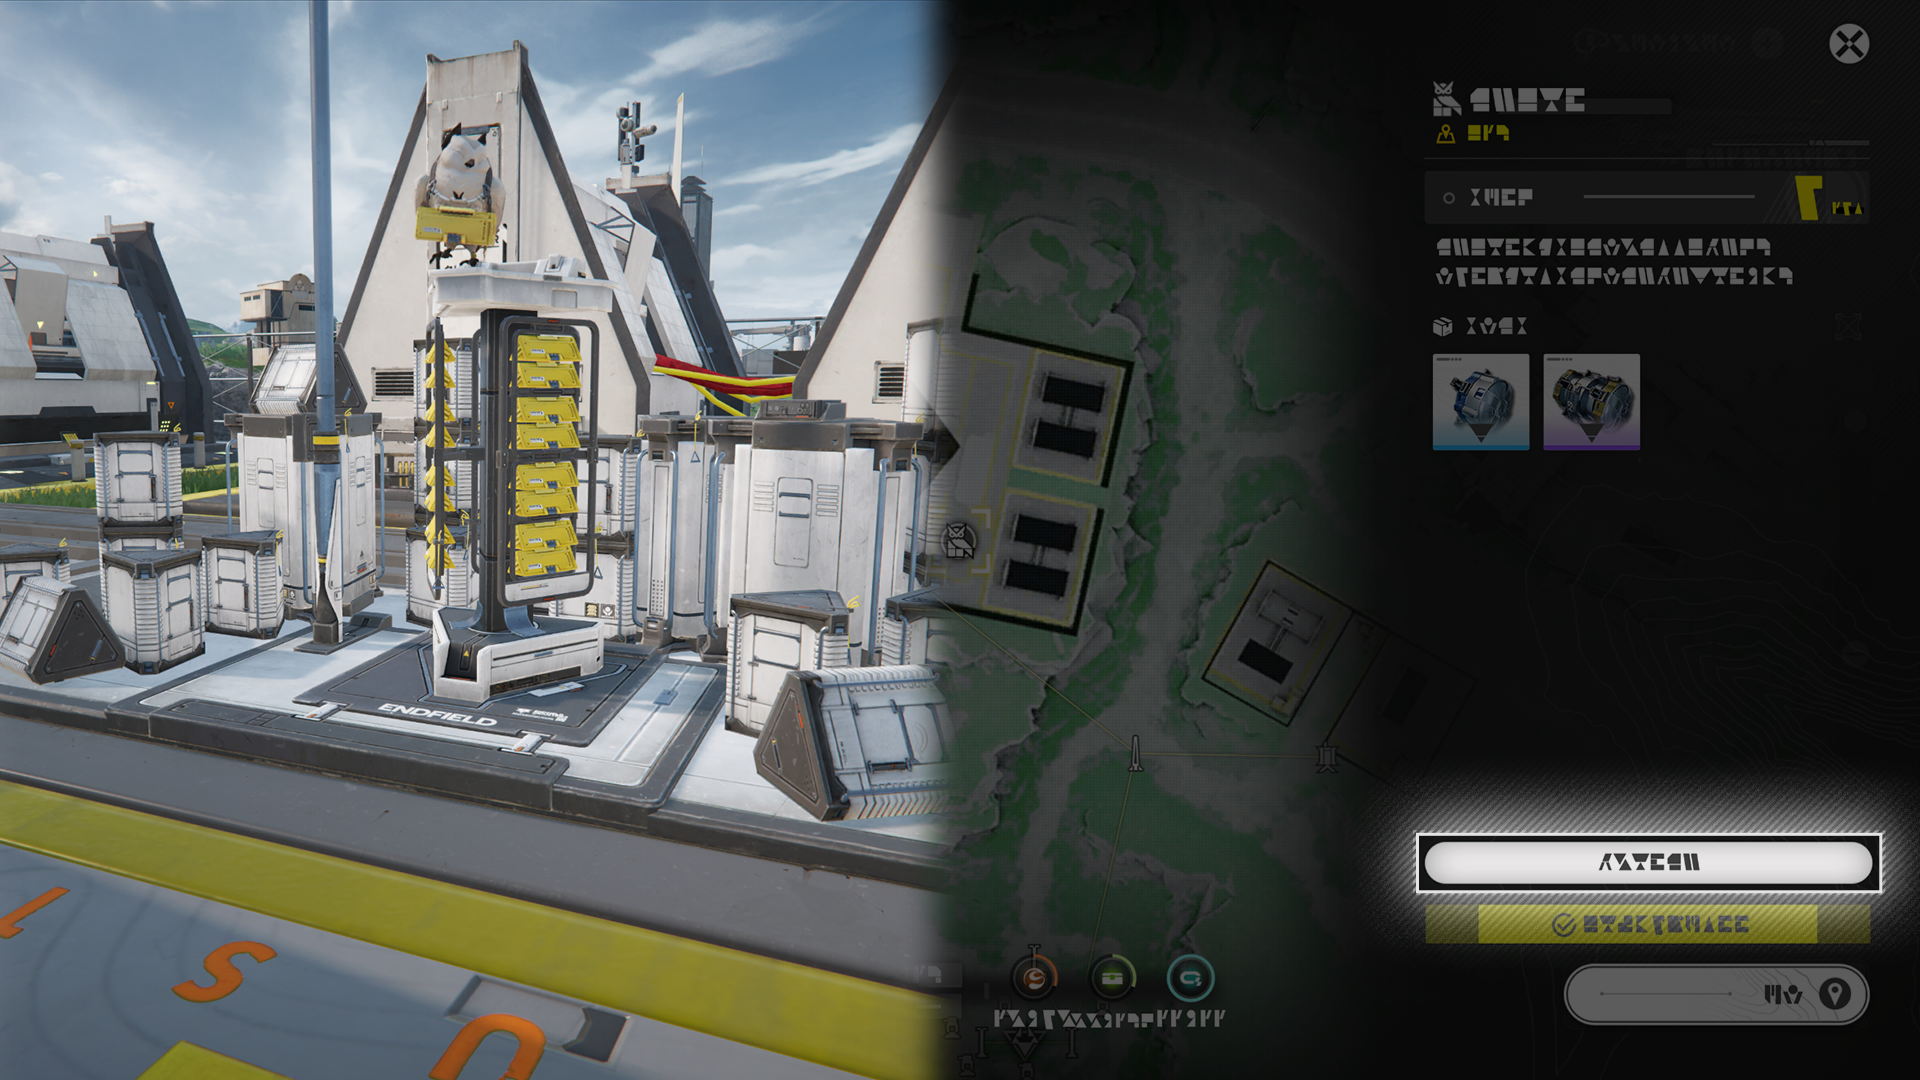
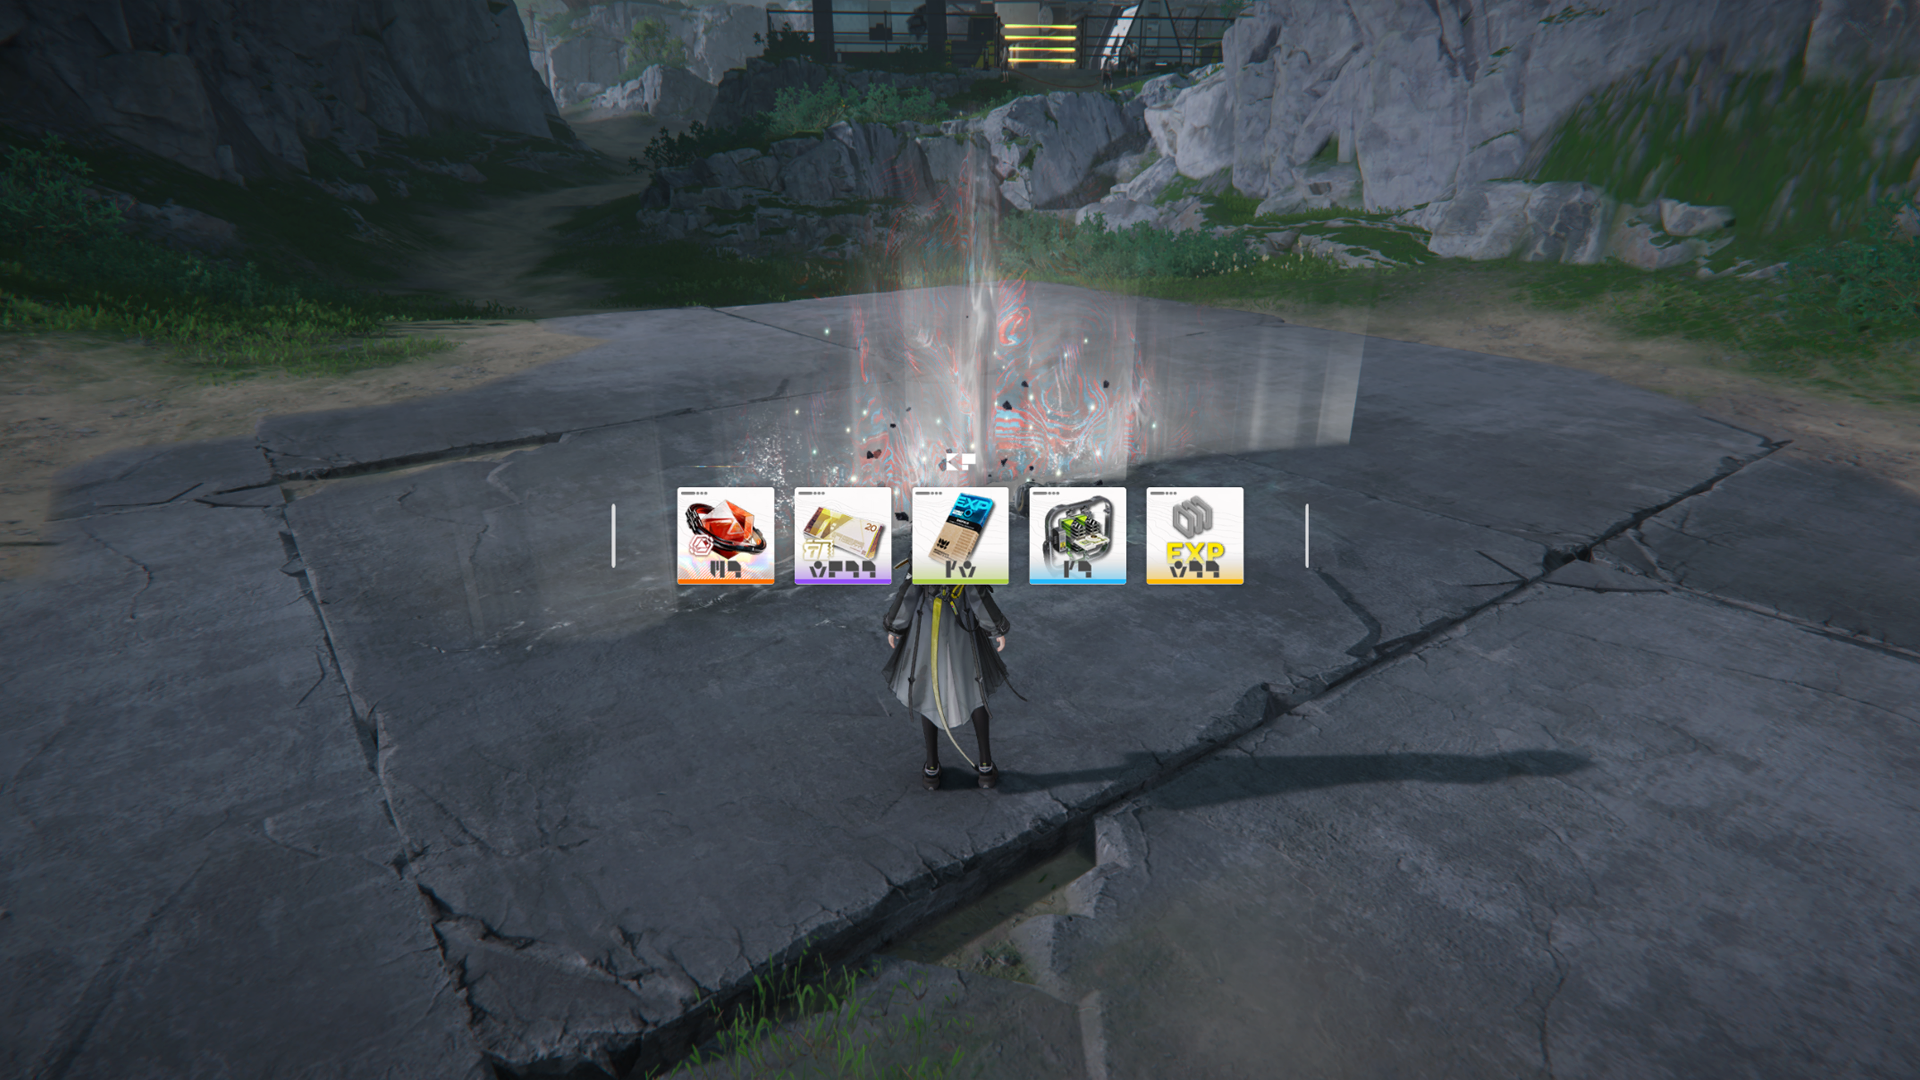
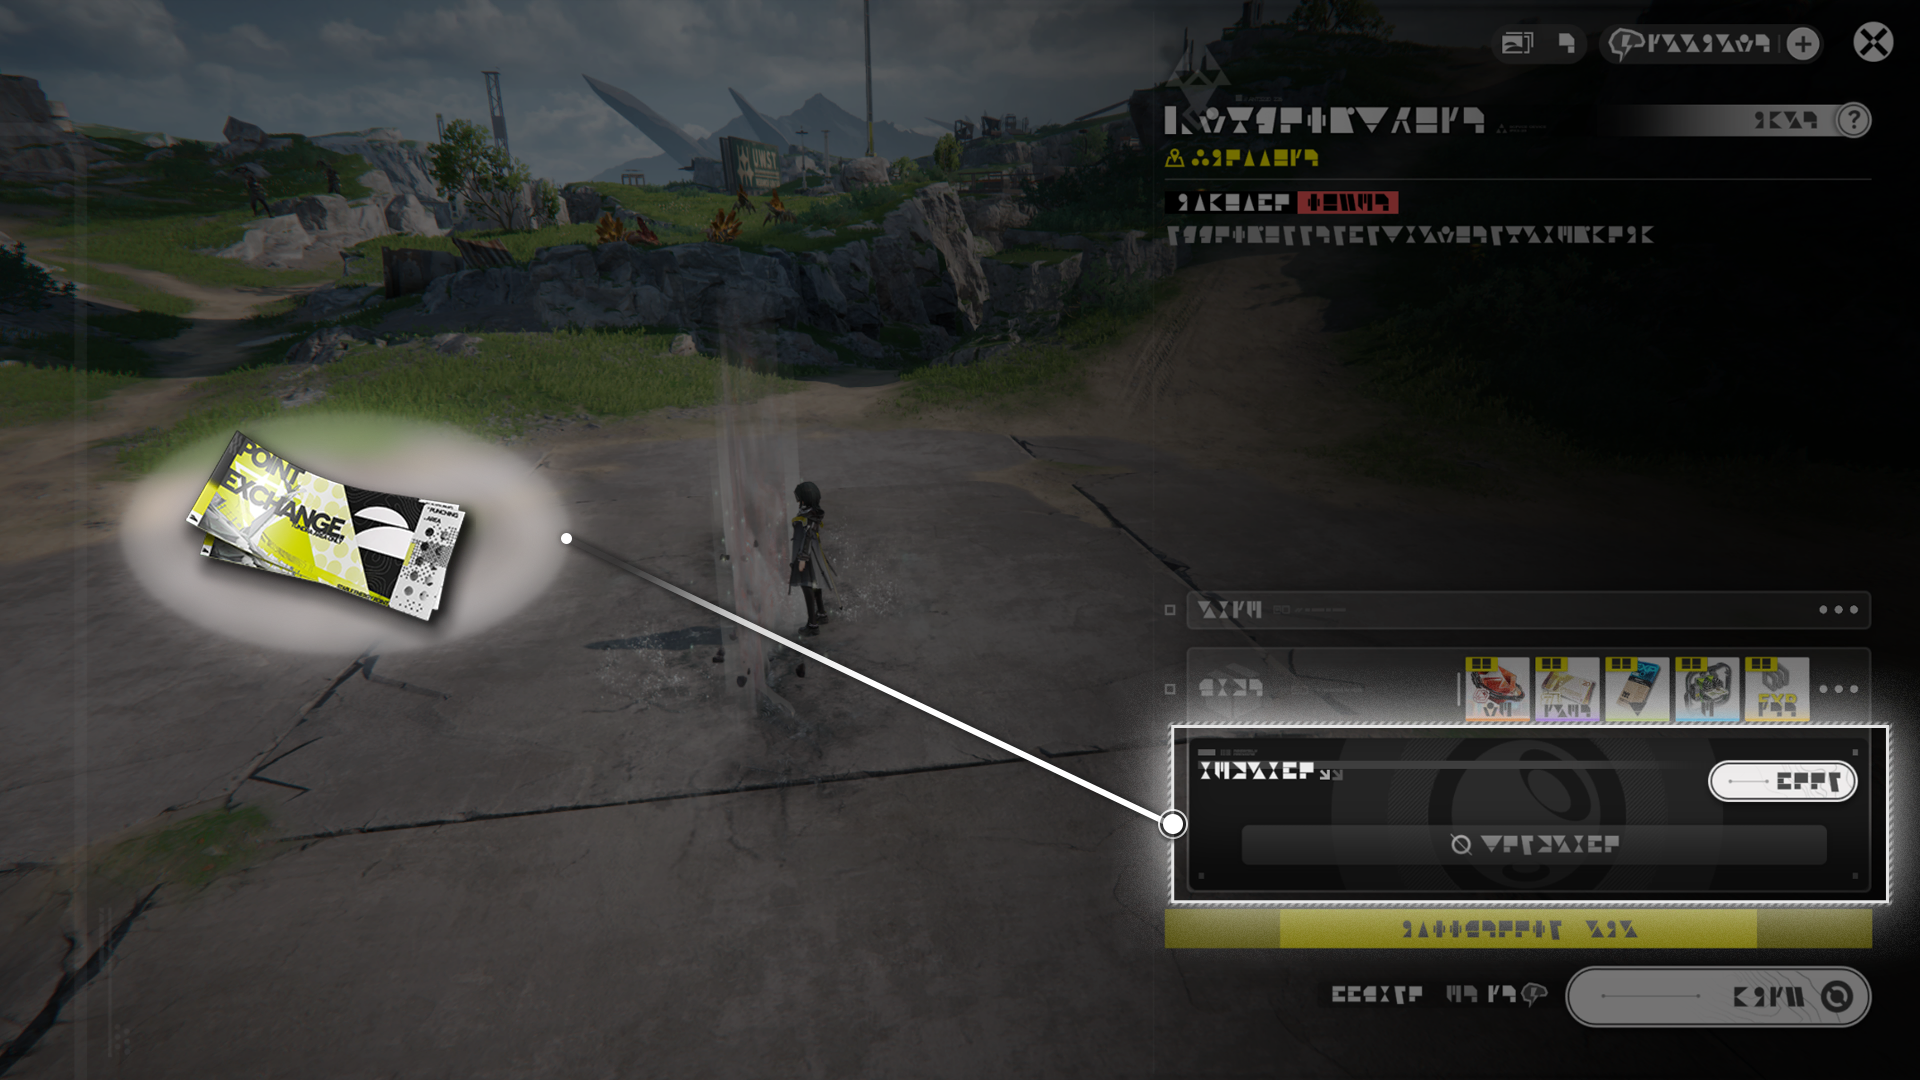
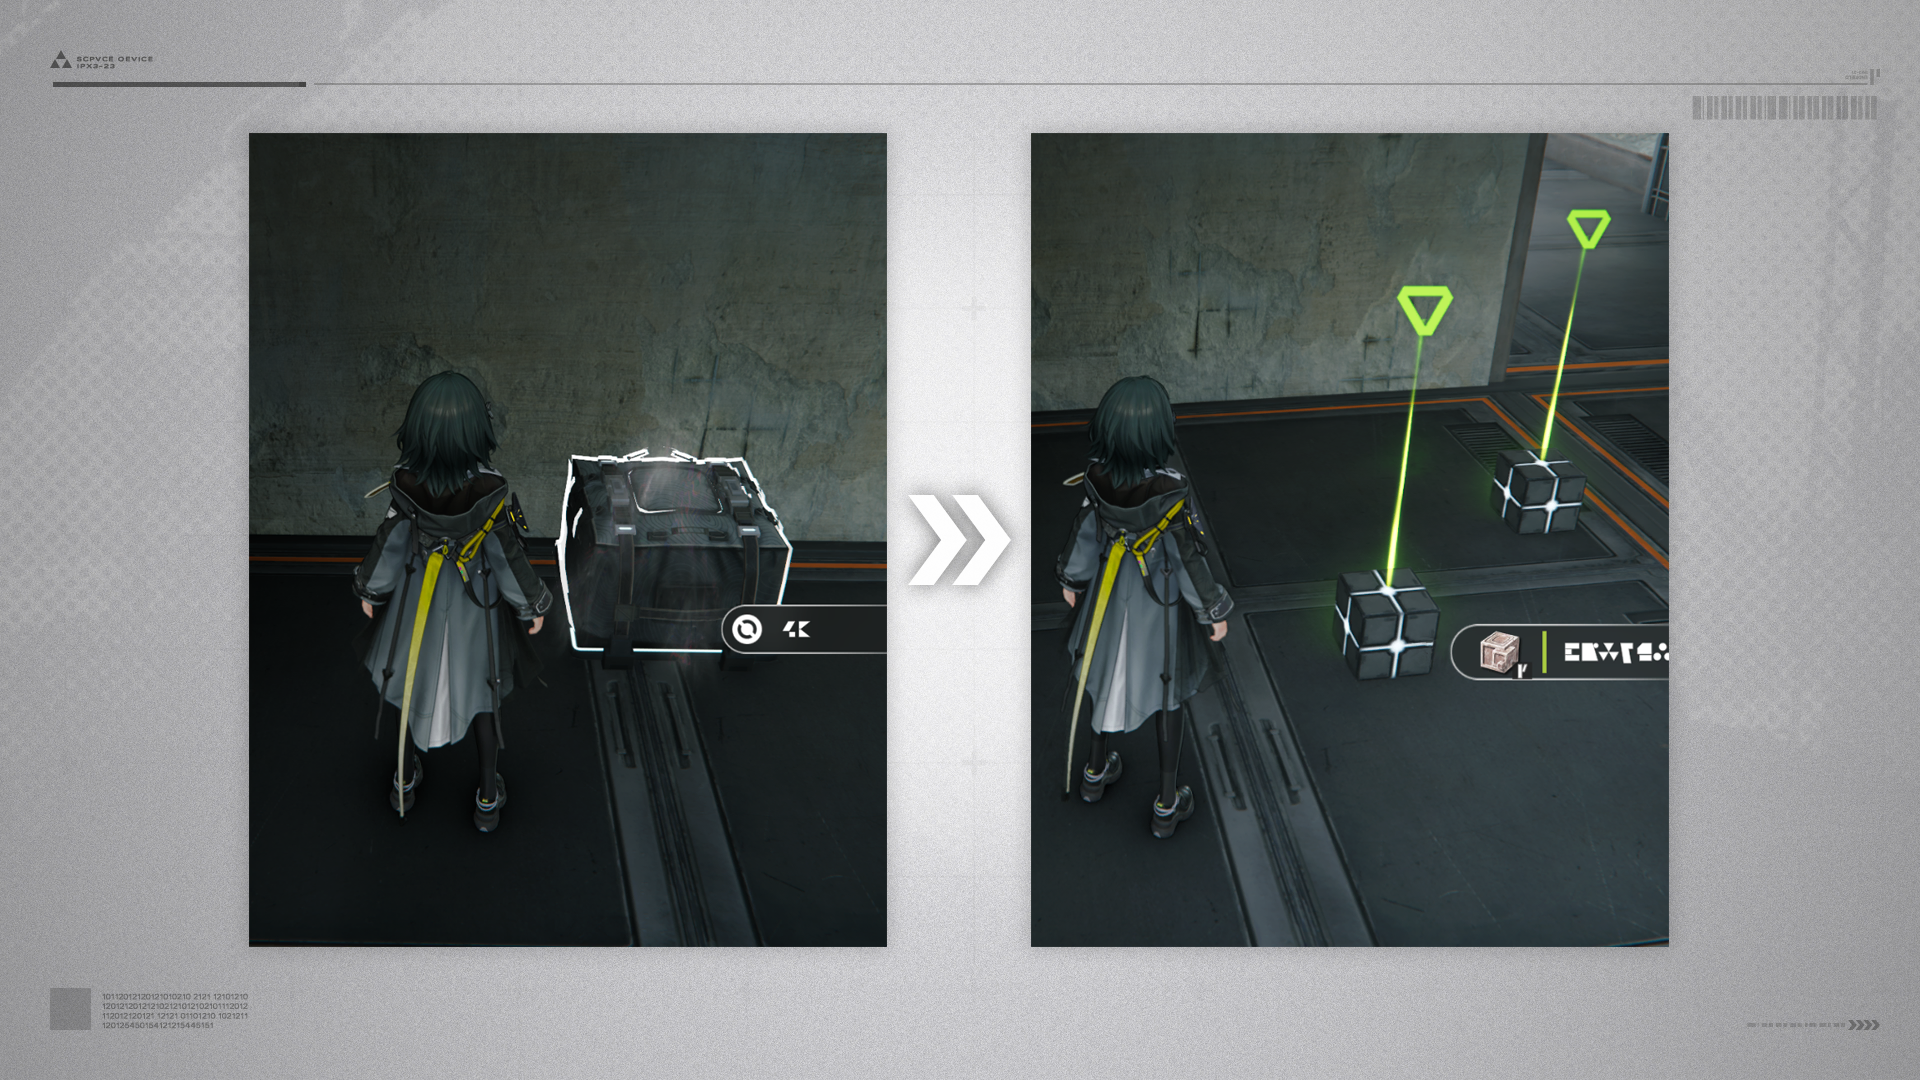
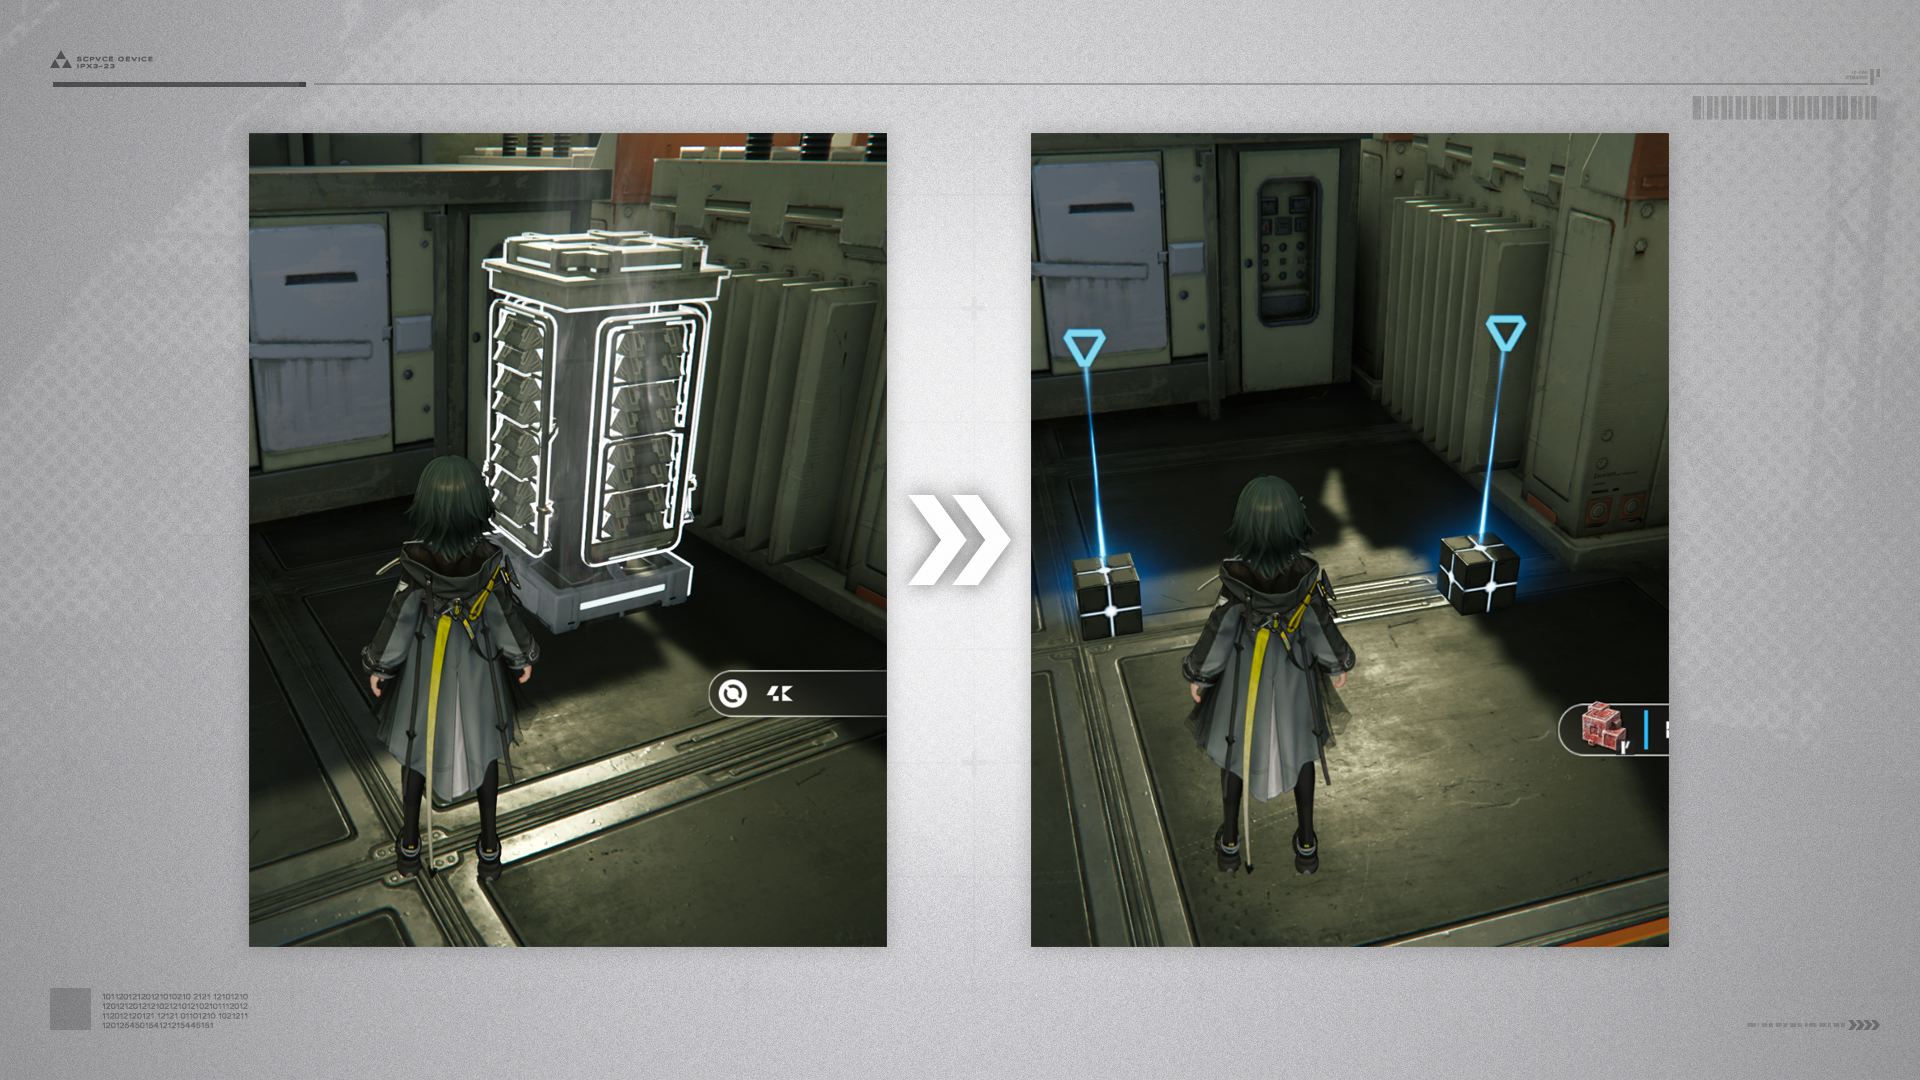
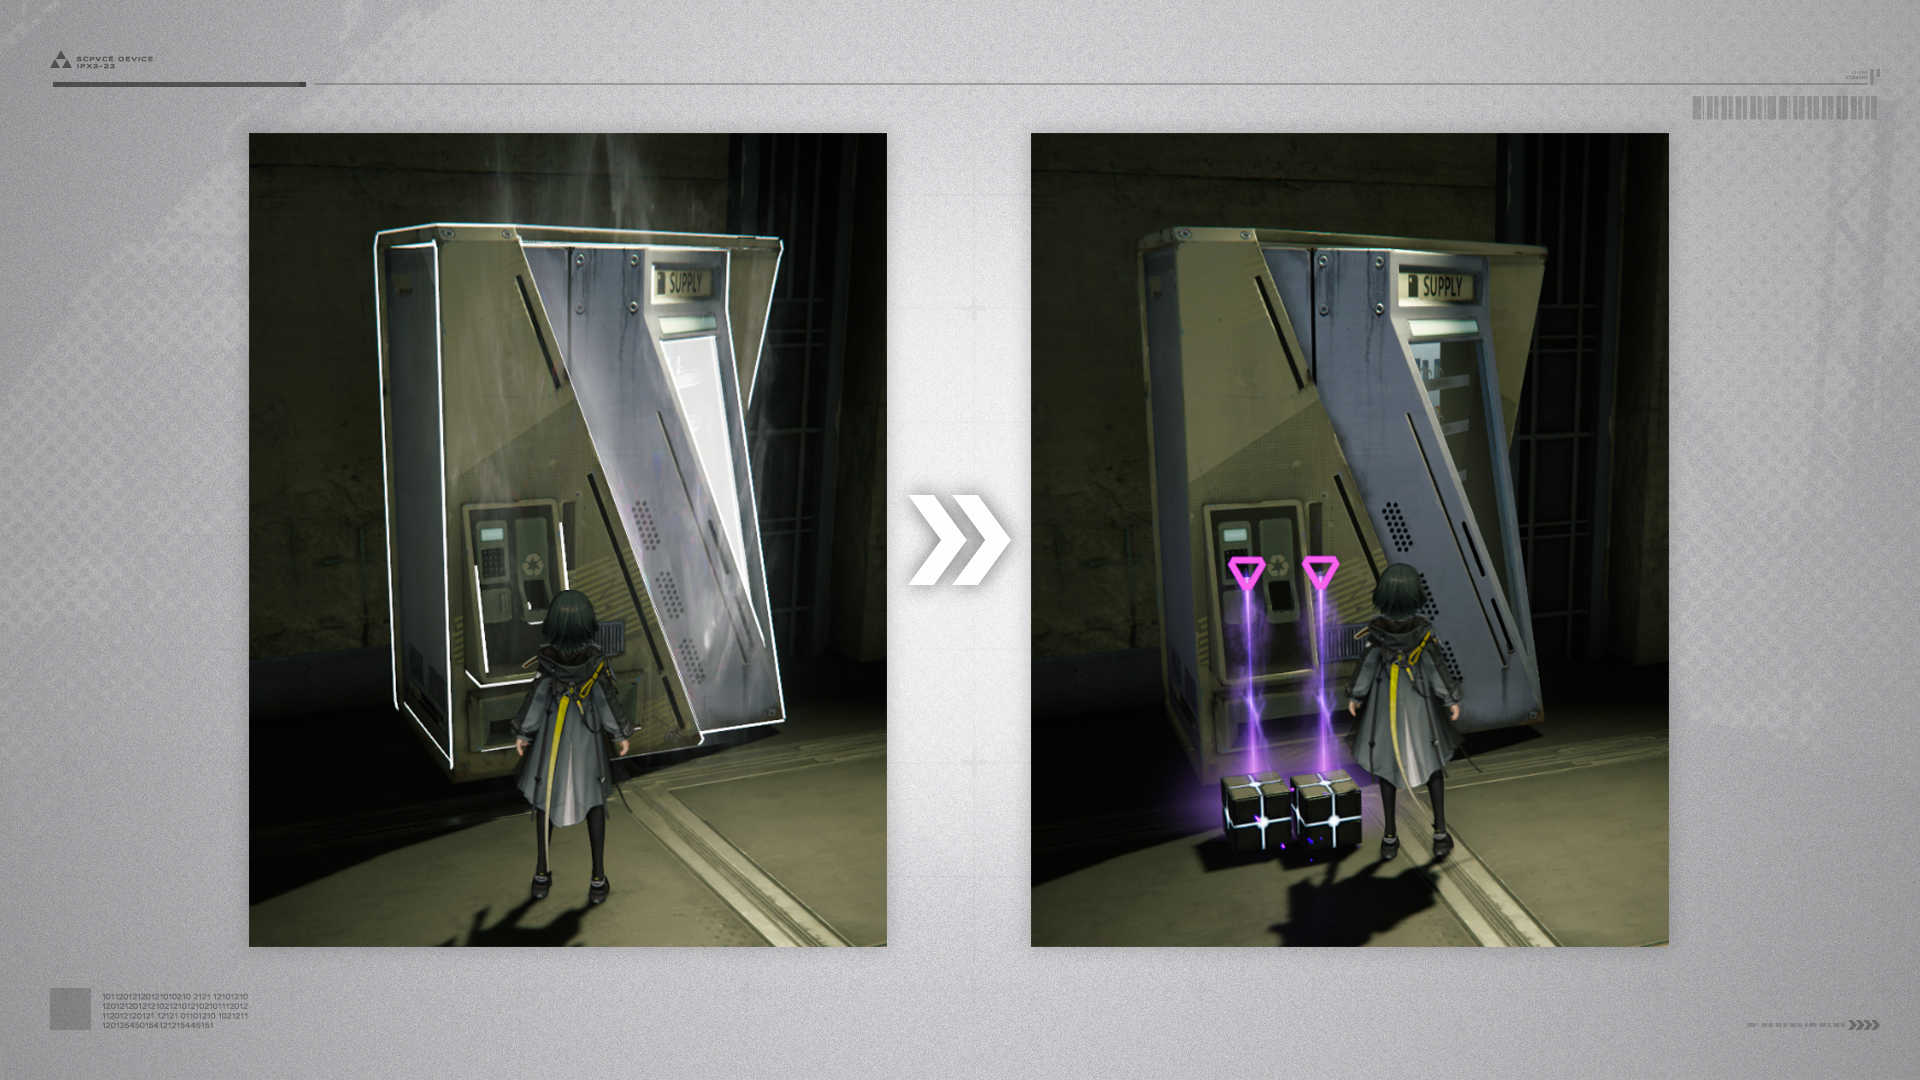
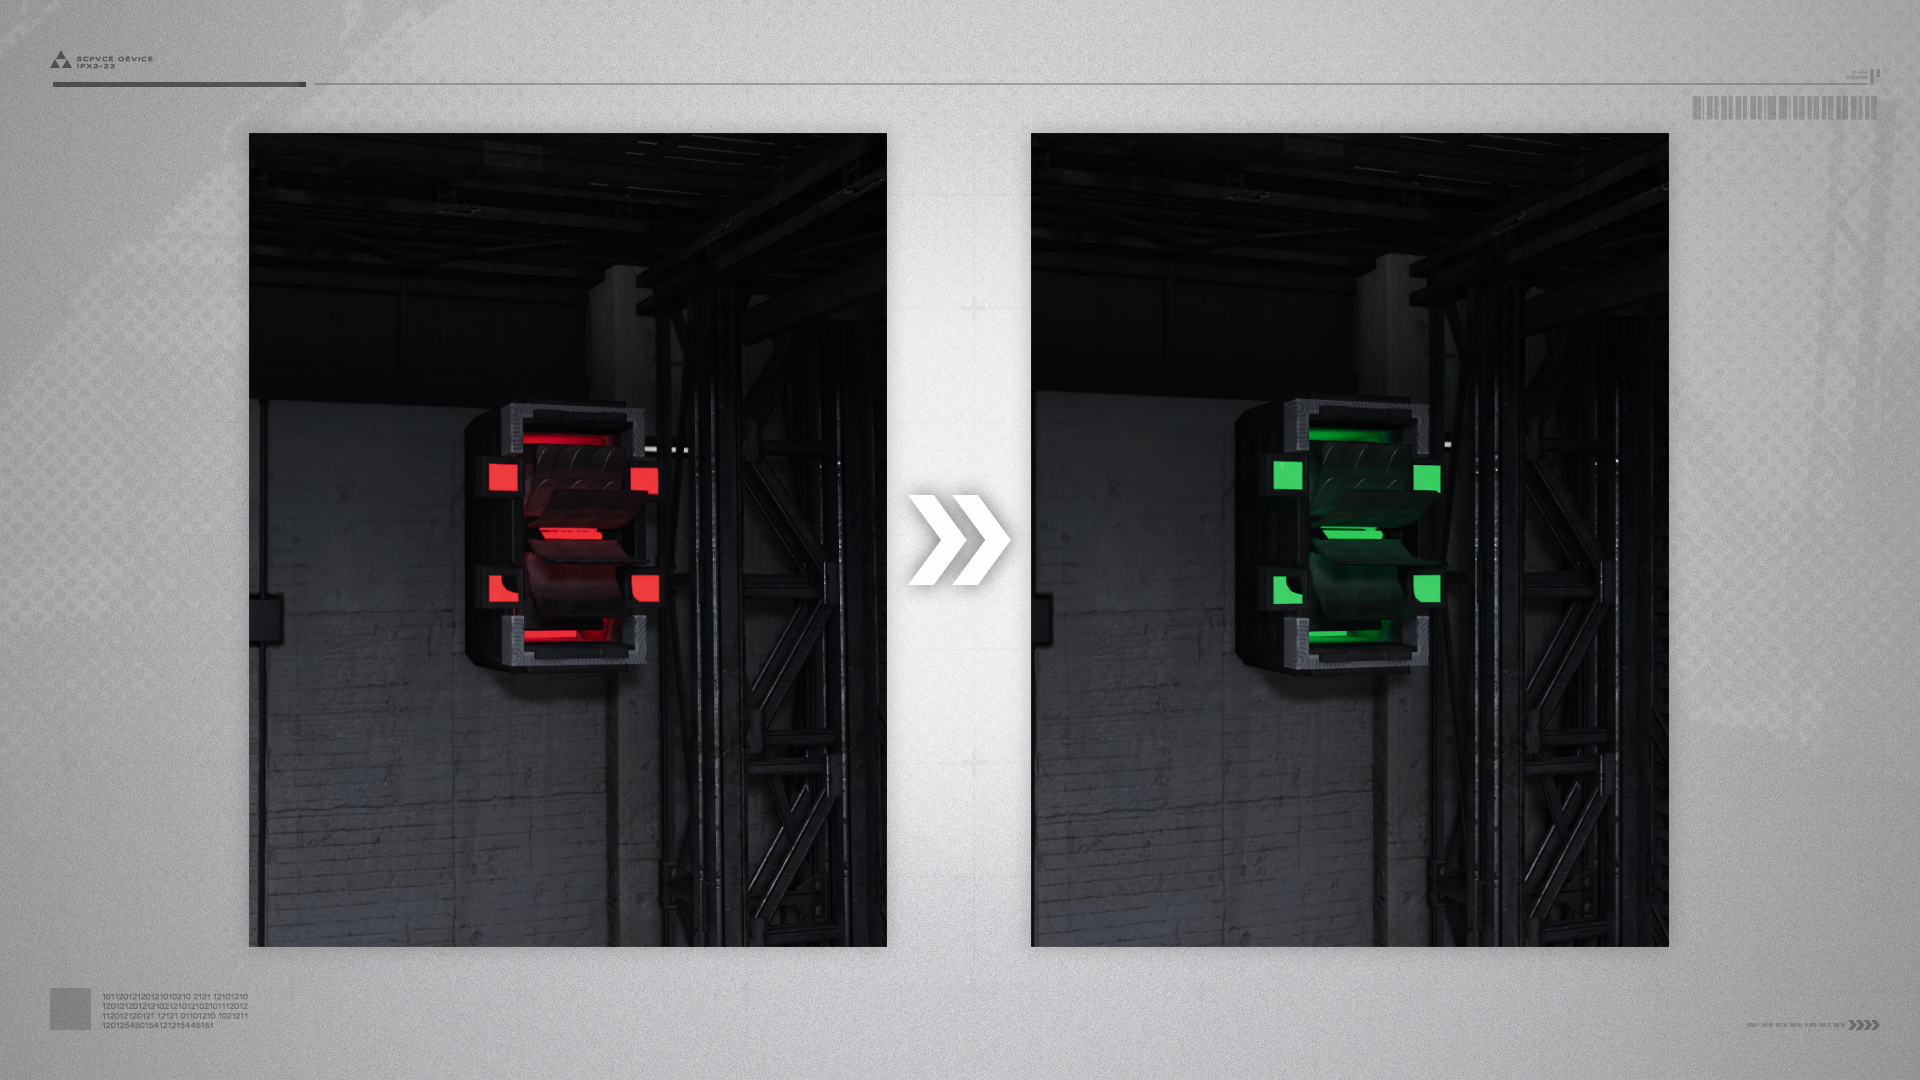
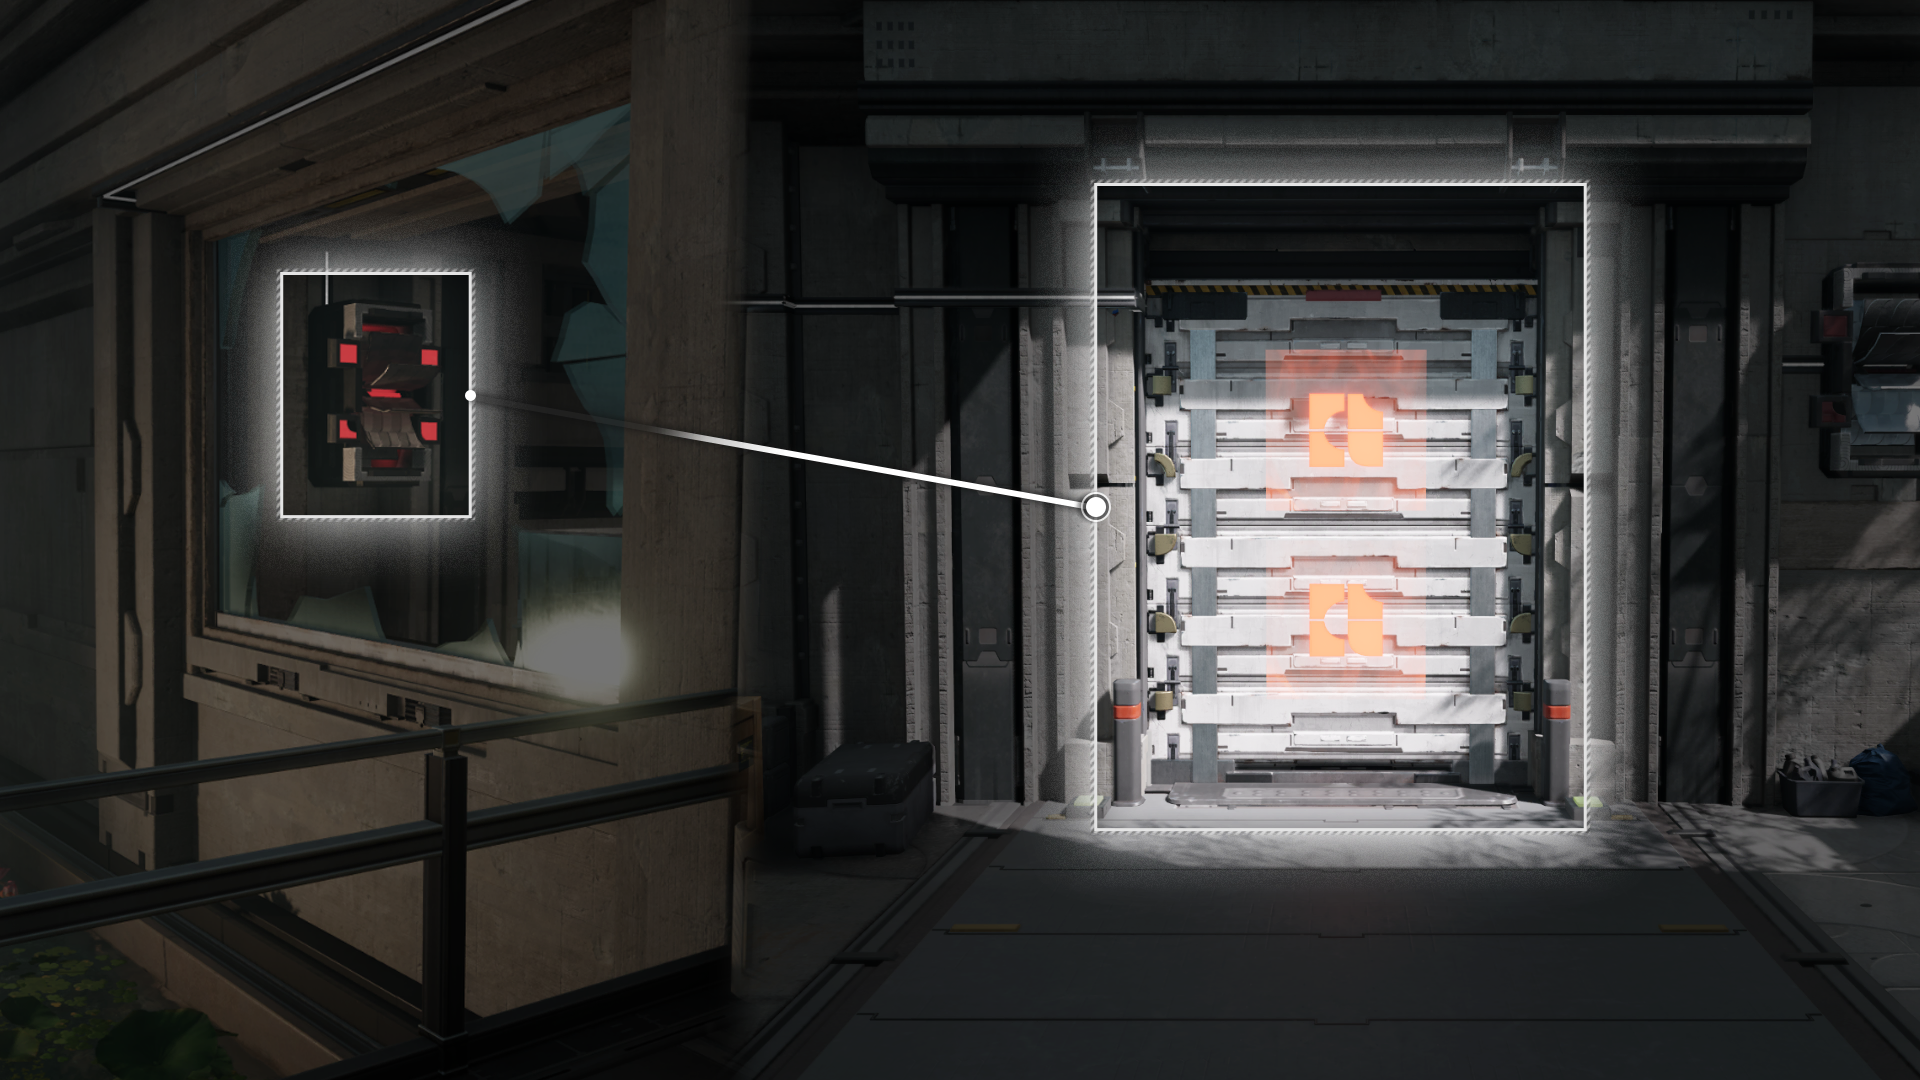
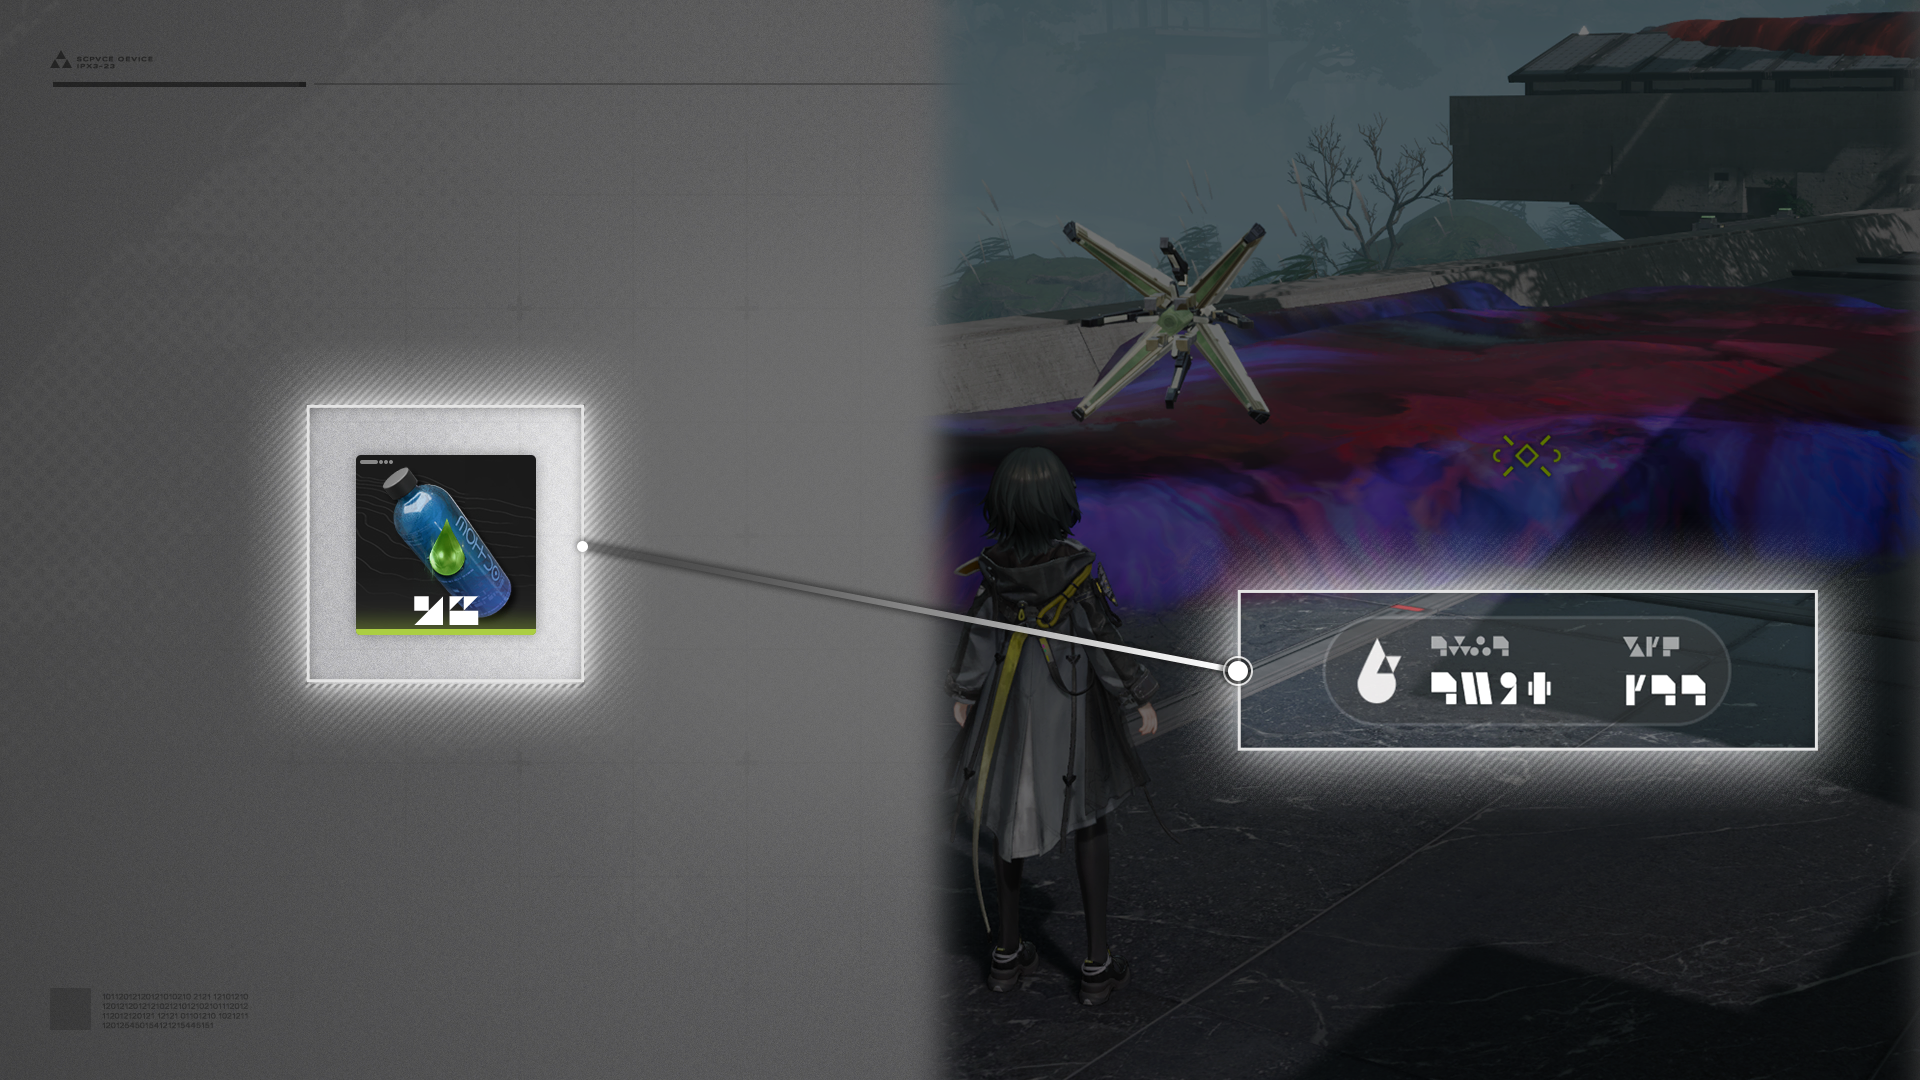
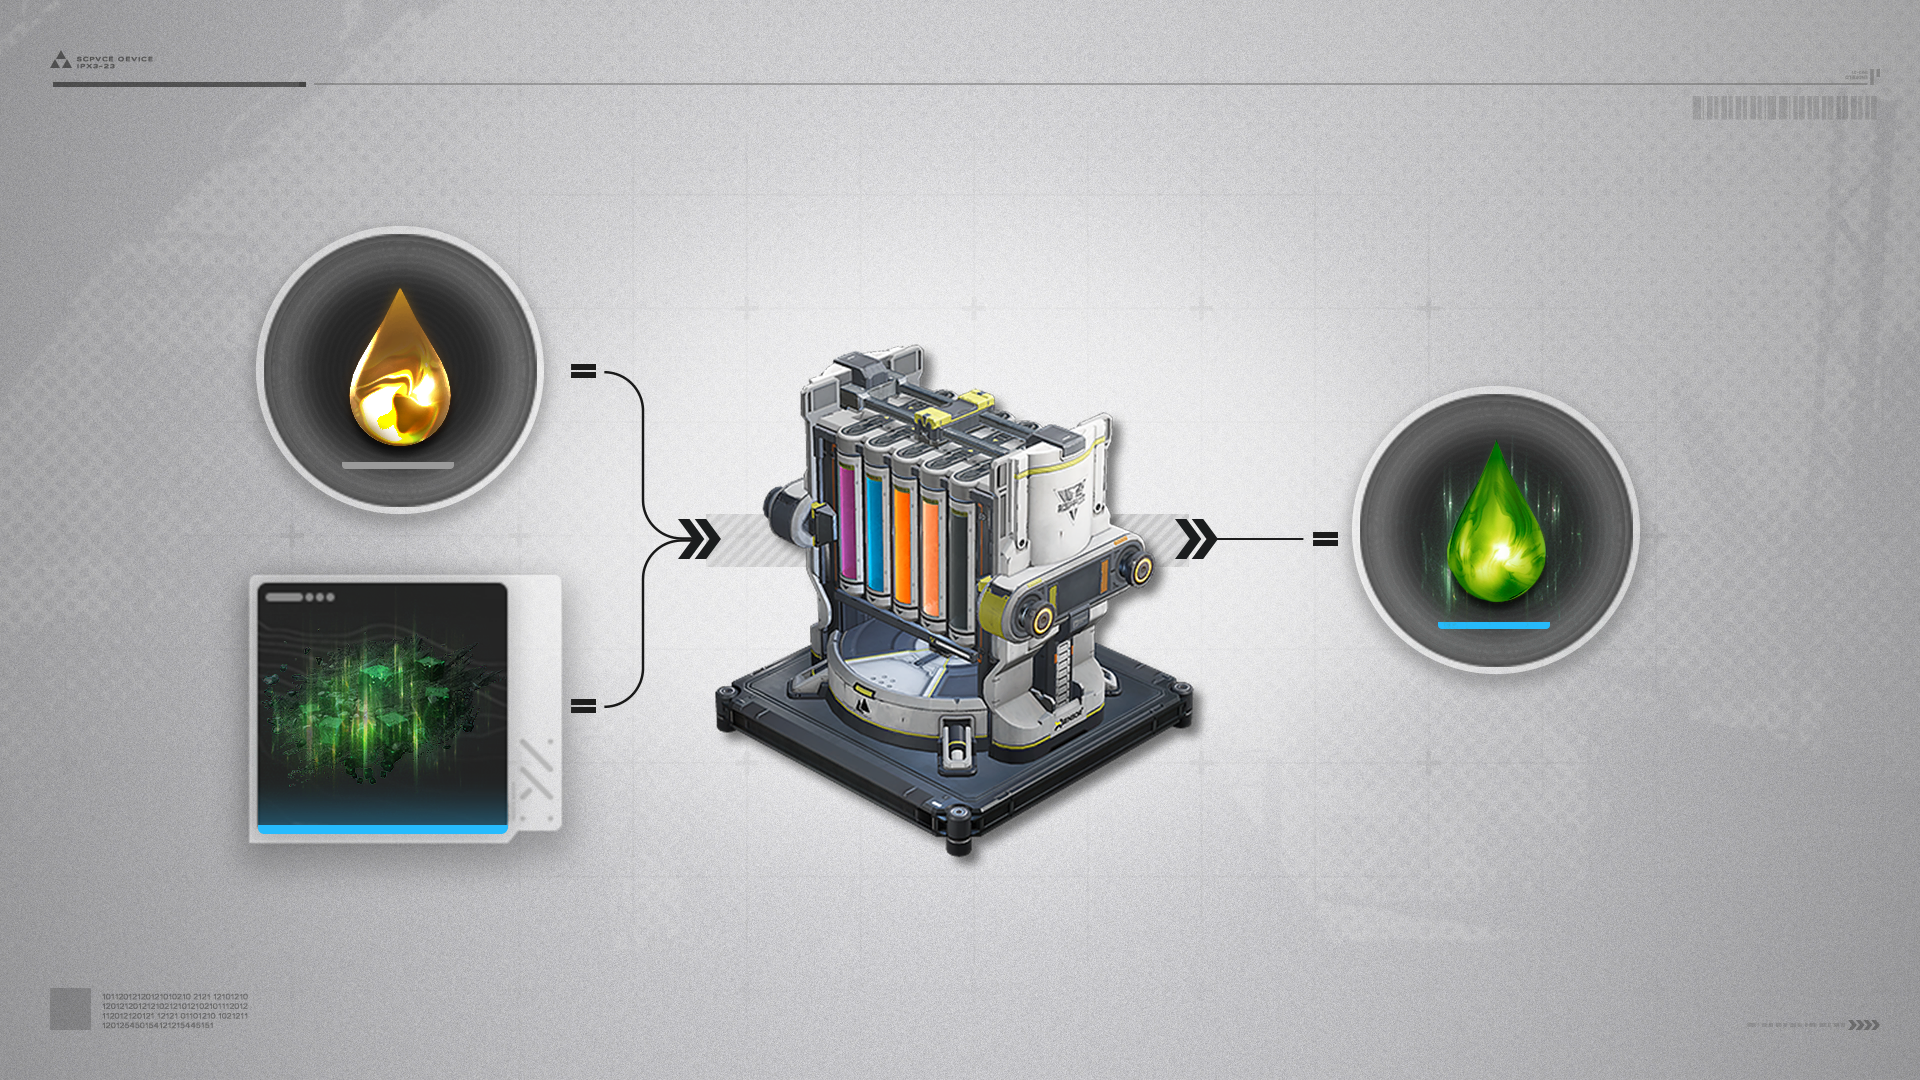
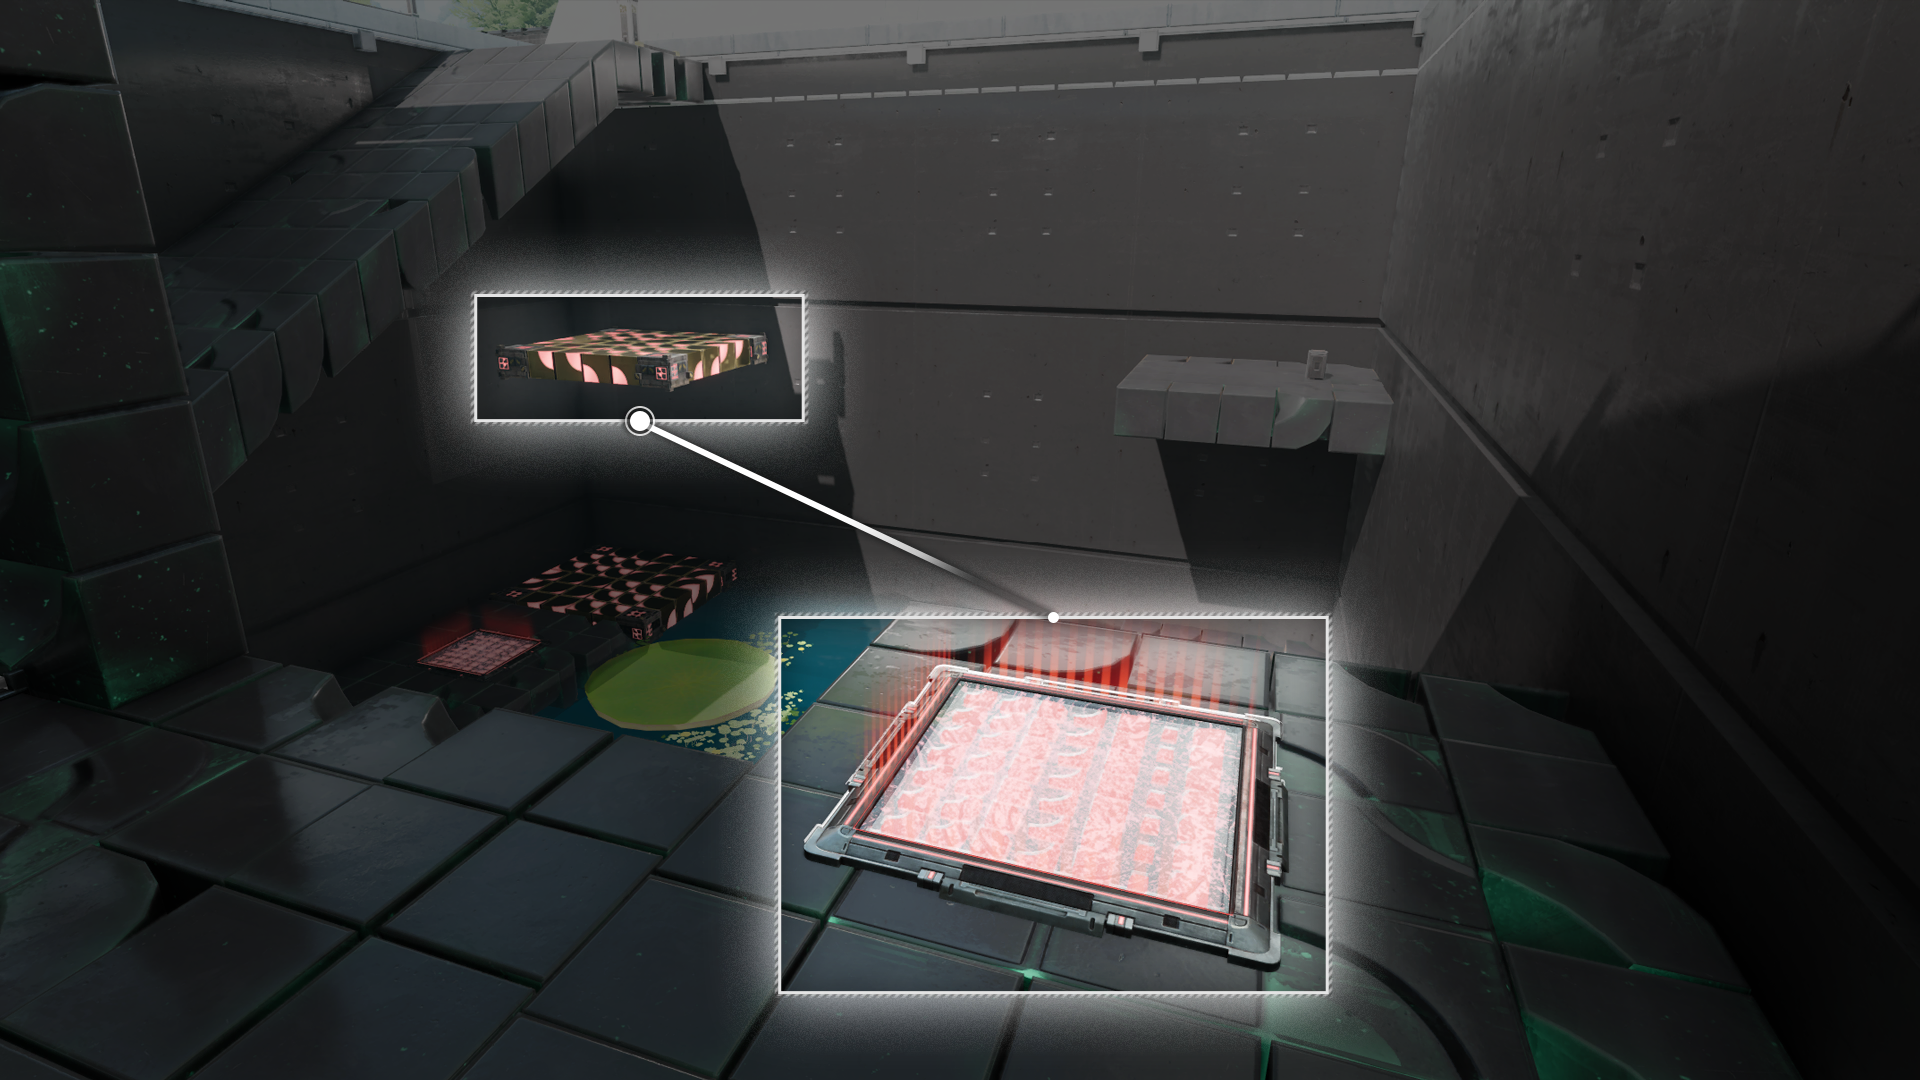
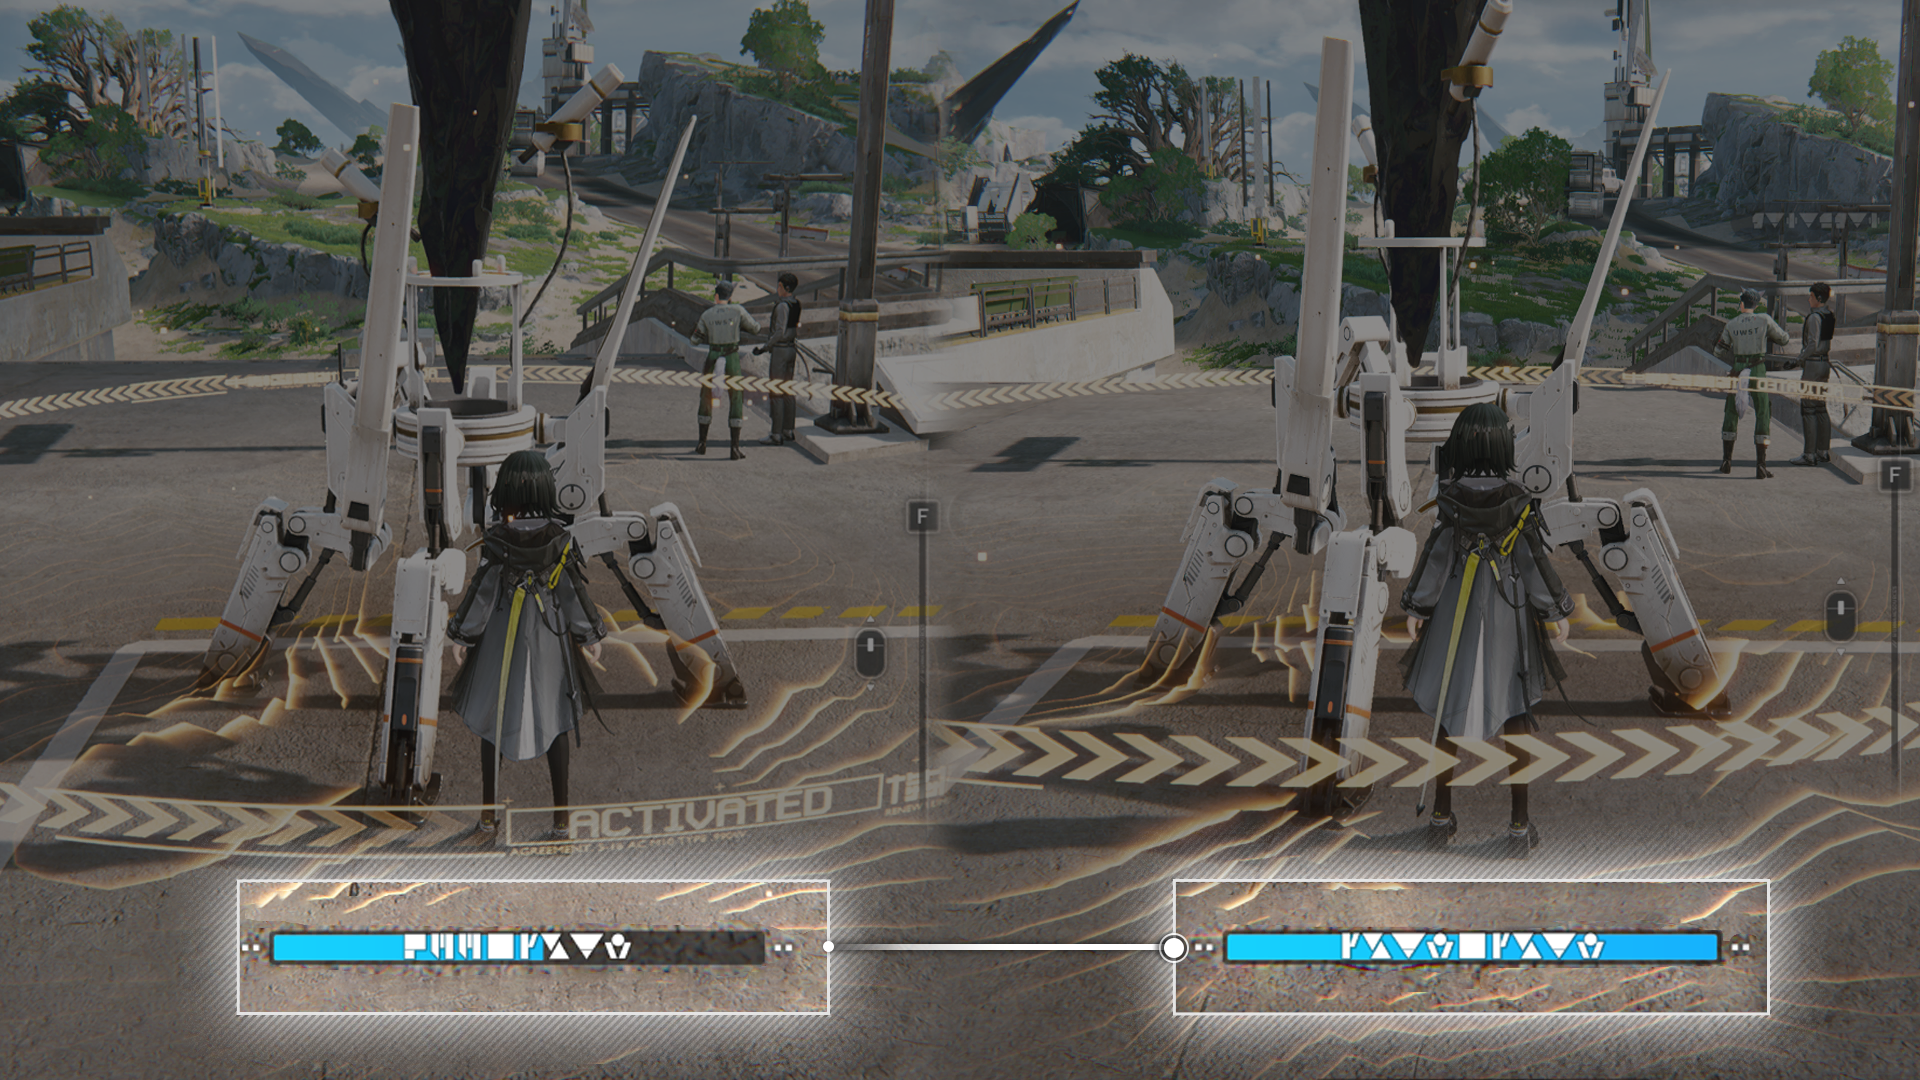
Storage Management

Being in the safe zone near the TP Point makes the storage management function available. Use this function to stash unneeded Backpack items into the Depot and free up some Backpack space.

Related Tutorials

Aurylene

Aurylenes are mysterious entities that emit strange sparkling lights. They may be found during exploration. Teammates may give a reminder when they notice the locations of Aurylenes in the wilderness.

Active Aurylene

Active Aurylenes are forms of unstable Aurylene that exhibit a range of special properties. Some can move on their own, while others are good at "hiding" and can only be revealed by scanning.

Aurylene and Its Uses

Submit Aurylenes at any TP Point to receive items that can support exploration and increase Stamina limit.

Related Tutorials

Gatherable Resources

Talos-II has all sorts of gatherables. Some can be gathered immediately, while others must be attacked and smashed into smaller pieces before they can be gathered.

Related Tutorials

Mineral Ores

Mineral ores are key resources found throughout Talos-II. Mineral formations must be attacked and broken into smaller pieces for gathering. Fellow teammates will also help to break mineral formations.

Mineral Ores: Usage

Mineral ores can be used to support production and growth of the AIC Factory. They can also be used for crafting special facilities to support exploration.

Related Tutorials

Easy Tools: Scan

During exploration, use the Scan action to perform scanning and acquire information about nearby objects.

Scanning: Item Coloration

Common interactables will be marked blue while mission-related items or information will be marked yellow.

Scanning: Gatherables or Mining Spots

Scan gatherables and mining spots to reveal their resource richness.

Related Tutorials

Easy Tools: Camera

The Easy Tools button can be switched to the Camera action. After switching, pressing the Easy Tools button activates the Camera Mode for taking photos.

Camera: Stickers

The Camera Mode has various adjustable camera options as well as stickers. These stickers can be applied and freely moved around while framing the shot.

Camera: Filters

The Camera Mode has many preset Filters with different photo effects.

Easy Tools: Bomb

After getting Industrial Explosives, the Easy Tools button can be switched to the Bomb action. Switching to this action allows quick and easy use of Industrial Explosives by simply pressing the Easy Tools button.

Related Tutorials

Easy Tools: Fill

The Easy Tools button can be switched to the Fill action. When close to a lake or filled reservoir, the Fill action of the Easy Tools button will be highlighted. The button can then be pressed to fill available containers or pour fluids out of filled containers.

Fill Action: Regional Restrictions

The Fill function of the Easy Tools function is only available in the region of Wuling and cannot be used in Valley IV.

Easy Tools: Spray

The Easy Tools button can be switched to the Spray action. After switching, press the Easy Tools button to quickly activate the Jet Drone. Select a fluid in the Backpack and then use the Jet Drone to spray the fluid.

Timely Repairs

Damaged facilities in need of repairs might be found during exploration. Use the Endministrator's abilities and spend the required materials to restore them to proper working order.

Power Equipment

Many damaged power facilities are scattered across Valley IV. Certain materials are required to repair them. Successful repair work also offers certain rewards.

Related Tutorials

Originium Circuitry: Repairs

Originium Circuitry: Repairs (1)

Use the Endministrator's Originium authority to repair and reconstruct damaged Originium circuits. Drag and rotate Originium components from the right onto the circuit board to match the number of tiles needed by each column and row.

Originium Circuitry: Repairs (2)

There are special locations that help the Endministrator recall how to construct special Originium circuit components.

Protocol Space

Protocol Spaces are scattered throughout Talos-II. These isolated spatial pockets can be explored by a competent team. Study the basic details, threat levels, and enemy intel of the Protocol Space before exploration. Some Protocol Spaces also offer salvageable resources. Explore them accordingly to gather the desired resources.

Related Tutorials

Sanity

Exploring resource Protocol Spaces will cost Sanity. Sanity naturally recovers with time until it reaches a max limit. Special items can also be used to recover Sanity.

Related Tutorials

Explosives

Explosives can be made by interacting with the Barrel of Originium. Use the aiming guide and adjust the view to aim, then press the attack key to throw the bomb. Thrown explosives detonate upon impact and can demolish certain rocks or walls. They can also deal DMG to enemies but will not damage friendly units.

Explosives: Field Crafting

The Barrel of Originium only gives unstable explosives. Such explosives must be used within a short range of the barrel and will disappear if taken too far away. If that happens, just wait for a while and make another explosive by interacting with the Barrel of Originium again.

Electric Nexus

Electric Nexuses are usually used to power gates and switches. Supply power to Electric Nexuses to control gates or switches linked to them.

Related Tutorials

Rope

Rope (1)

Approach and interact with a rope to use it to reach higher places.

Rope (2)

Some ropes are initially unusable. Find the rope device at the top and lower the rope to use it.

Floating Crate

Floating Crate (1)

Approach the crate and press the interact button to make it float and move along with the operator. Note that floating crates cannot go around obstacles. Press the interact button again to drop the floating crate.

Floating Crate (2)

Floating crates can be used to reach higher places or as a heavy object for activating pressure switches.

Floating Crate: Pressure Switch

Move the floating crate above the pressure switch, then drop the crate onto the switch to activate it.

Related Tutorials

Floating Crate: Transport Elevator

An elevator that can transport floating crates.

Related Tutorials

Repair Logic

An ordinary-looking place, but it seems capable of helping the Endministrator remember certain "repair techniques". Look around, Endministrator. The machinery, rocks, grasses, and trees might provide the Repair Logic required.

Related Tutorials

Forklift

Interact with forklifts to raise or lower their lifting forks.

Auto-Jet Vent

Stand on this device to automatically unleash a powerful jet that propels one to high places unreachable with normal jumping.

Reactive Device

A reactive device temporarily changes its operation mode when attacked or hit by an explosion.

Related Tutorials

Defensive Laser

A person gets knocked back or knocked away when hit by defensive lasers. No DMG will be taken, but be careful.

Long-ear

Long-ears are one of the many beasts living in the world of Talos-II. Follow long-ears carrying flowers on their backs to find their hidden resource stash.

Finding Long-ears Again

When tracking a long-ear, the critter will escape and return to the starting position if it manages to get far away enough from its pursuers.

Flammable Gel

Flammable Gel is a flammable and explosive substance. It can be detonated by <#item.procBomb>Industrial Explosives and the resulting explosion can also detonate nearby patches of Flammable Gel as well.

Bounce Device

Use Bounce Devices to make a long-distance jump or reach high places unreachable with normal jumping. Simply stand on a functioning Bounce Device and press the jump button to use it.

Bounce Device: Activation

Some Bounce Devices must be first activated by striking the linked Reactive Device to become usable. Some Bounce Devices can only be activated after powering the <#adv.powerTerminal>Electric Nexus linked to it.

Related Tutorials

Percussive Device

Hit a Percussive Device to make it rotate. Continue hitting it to keep its rotation rate within a certain range. Operational progress will be lost if the rotation rate gets too high or low.

Seesaw Ramp

Stand on one side of the Seesaw Ramp to make the opposite end rise, then quickly run to the opposite end to reach a higher place.

High Voltage Fence

Certain paths and areas are blocked by active high voltage fences. Follow the fences' power cables, find the switch, and use it to shut down the fences for safe passage.

Related Tutorials

Recycling Station

Unlocked Recycling Stations will regularly recycle resources. Approach a full Recycling Station to raise its material cache. Interact with it to gather all recycled resources.

Recycling Station: Unlocking & Upgrades

Spend regional stock bills to unlock and upgrade Recycling Stations. This activates its recycling functions and improves the quality of the resources that can be gathered.

Related Tutorials

Damaged Robot

Many Delta general-purpose robots have been damaged due to various causes. Use the Endministrator's special abilities to repair them!

Related Tutorials

Sealed Protocol Crate

Many Sealed Crates can be found in the world of Talos-II. To unlock a Sealed Crate, gather 3 Sealing Aurylenes scattered nearby.

Gear Template Crate

Gear template crates include gear assembly data that the robots have gathered. Open these crates to unlock new gear templates for assembling new types of gear. Different templates may also need components specific to the region.

Regional Gear Template Crate

Gear Template Crates acquired in different regions provide templates that require different materials to assemble the gear. For example, template crates acquired in Qingbo Stockade give templates that need Cuprium Components to assemble the gear.

Cuprium Component

Cuprium Component can be made using Cuprium Parts and Xiranite with the Gearing Unit (AIC Factory facility). Wuling AIC II factory technology Liquid Refining must be researched first to produce Cuprium Parts.

Energy Alluvium

Energy Alluvium (1)

Energy Alluvium may appear at certain locations of Talos-II. Approach an Energy Alluvium to activate it and view its details.

Energy Alluvium (2)

After activating a challenge, a large number of enemies will appear at the Alluvium. Defeating all enemies of an Energy Alluvium for the first time provides a 1st clear reward.

Severe Energy Alluvium

Severe Energy Alluvium (1)

After defeating enemies of a Severe Energy Alluvium, spend Sanity to acquire more essences. Every alluvium site provides essences with a specific range of stats.

Severe Energy Alluvium (2)

When challenging a Severe Energy Alluvium, use the Pre-Engrave Stats option to narrow down the range of weapon essence stats. Pre-Engrave costs local engraving permits, which must be spent when claiming the energy alluvium rewards.

Temporary Energy Alluvium

Strange masses of light emitted by a localized concentration of Æther. Interact with it and defeat the enemies attracted by the Æther to earn rewards.

Temporary Energy Alluvium: Scanning

Strange masses of light emitted by a localized concentration of Æther. Temporary Energy Alluvium can be scanned to view the number and strengths of the enemies.

Related Tutorials

Destructible Object

Certain walls or rocks found during exploration can be destroyed with explosives. These destructible objects exhibit red-colored cracks and are marked with icons to indicate their destructibility.

Related Tutorials

Vortex

Touching a vortex gives a temporary speed boost to the controlled operator.

Crane Lifter Terminal

Use the crane lifter terminal and follow the instructions provided on the control panel to move the target cargo.

Tower Crane

Tower cranes are big machines for lifting and moving cargo containers. Follow the control cables to find a tower crane control panel, then interact with the control panel to control the tower crane.

Tower Crane Control Panel

A tower crane may be linked to multiple control panels that control it differently. These controls include: lowering the cargo container or rotating the lifting arm.

Tower Crane Control Panel Repairs

Some tower crane control panels may be damaged. They must be repaired before they can be used.

Scanning: Finding Items

The Protocol Synchronizer (Protosync) can detect the presence of special target objects. Perform scans to detect their approximate locations. Protosync responses get stronger as one approaches the objective.

Related Tutorials

Active Blight

Active Blight can be found in various places of Talos-II. They can block roads and impede exploration efforts. Active Blight masses must be eliminated for exploration to continue.

Active Blight and its Effects

Operators who touch Active Blight will suffer various negative effects, quickly reach their tolerance limit, and disconnect. Removing the operators from Active Blight will undo the negative effects.

Blight Core

Active Blight cannot be eliminated unless its Blight Core is exposed. An exposed Blight Core can be destroyed by attacks or explosives to eliminate the Active Blight created by it.

Scanning: Active Blight Decryption

The scan action can decrypt Active Blight. Approach the Active Blight and perform a scan to decrypt the Blight nearby to expose the Blight Veins and Blight Core.

Related Tutorials

Ankhors and Originium Branches

Ankhor and Ankhor Shockwave

Ankhors can constantly emit dangerous shockwaves. If the controlled operator is hit by this shockwave, the entire team will be forced to retreat.

Destroying Ankhor Cores

Destroy the Ankhor core to stop the shockwaves.

Originium Branch

Originium branches can generate a protective shield. Get behind the shield for protection against the shockwaves.

Brittle Originium Branch

The shield of some Originium branches will shatter and lose its protective effects after taking a shockwave hit. Such shields will take a while to recover.

Twiggly Originium Slug

Some Originium Slugs have Originium branches growing out of them. These Originium branches will automatically generate shielded areas when the shockwaves hit. Enter them to get protection against the shockwaves.

Related Tutorials

Timid Originium Slug

The Timid Originium Slug will start escaping when someone enters their alert radius. It is extremely fast and can even roll around to protect itself.

Timid Originium Slug: Escape Path

The Timid Originium Slug only runs along fixed paths and will stop to rest at nearby locations with Originium formations when it is dazed. Take a note of its resting spots.

Timid Originium Slug: Capturing

Approach a resting Timid Originium Slug and press the interact key to capture it.

Timid Originium Slug: Predict the Resting Place

A rolling Timid Originium Slug cannot be captured. Study where the slug is resting, then get there before the slug arrives to complete the capture.

Sandleaf

Grinding Units can use Sandleaf Powder with other powdered materials to make more advanced products.

Old Conveyor Belt

Step on an old conveyor belt to move with it. However, people cannot enter the incoming cargo crate inspection port.

Hot Steam

Pressurized steam can create impassable barriers. Though the steam inflicts no damage, it can knock people back.

Superheated Steam: Blocking

Use cargo crates on the old conveyor belts to block the venting steam and acquire safe passage to the destination.

Derangement

Derangement gradually increases with time while exploring the Valley's Aberrants. Derangement also increases when interacting with Precipitation Crystals cores or entering combat. When the Derangement limit is reached, the team will be forcibly extracted from the Valley's Aberrants and the exploration attempt will be immediately tallied.

Derangement: Safe Zones

Safe zones can be found in Valley's Aberrants. They can be identified with their yellow lighting effects. Derangement will stop increasing when staying in a safe zone.

Derangement: Different Areas

Valley's Aberrants comprise multiple areas. Derangement increases at different rates in different areas. Derangement tends to increase faster when exploring latter areas.

Precipitation Crystal

Many Precipitation Crystals exist in Valley's Aberrants. Smash the crystal to expose its core and interact with it to get precipitation nodules.

Isolation Container

Precipitation nodules found during exploration are stored in the Isolation Container. The Isolation Container has a limited capacity and cannot hold more precipitation nodules when full.

Precipitation Manifest

Storage Point

The Valley's Aberrants have many storage points. Interact with them to acquire Precipitation Manifests but this will also increase Derangement.
Precipitation manifests are also stored in the Isolation Container. Precipitation manifests successfully brought from exploration attempts can be used for research and improve various abilities in the Valley's Aberrants.

Commissions and Exploration Support Tech

Aberrants: Commissions

Go to the Commissions and Exploration Support Tech to accept and complete various Etchspace Salvage commissions.

Exploration Support Tech

Complete commissions to unlock specified Exploration Support Tech that can offer various useful buffs for exploring the Valley's Aberrants.

Package

Open packages to acquire various classified documents.

Instrument Safe

Open instrument safes to acquire various statuettes.

Auto-Vendor

Open auto-vendors to acquire various jarred specimens.

Healing Nodule

Touch healing nodules to restore HP for the entire team and revive disconnected teammates.

Large Bounce Device

Use large bounce devices to perform super jumps and reach heights that could not be attained by normal jumping. Simply stand on the bounce device and press the jump button to use it.

Explosive Storage Barrel

Highly flammable and explosive materials are stored in these barrels. When detonated by explosives, the explosion can set off similar barrels nearby, damage enemies, and even take out destructible objects nearby.

Tianshi Pillar

Tianshi Pillar: Support System

Some Tianshi Pillars may have auxiliary pillars nearby to support their operations.

Tianshi Pillar: Divinograms

There are 2 types of auxiliary pillars marked by their divinograms: (1) Yin and (2) Yang. Interact with them to light up the divinogram on the main pillar.

Illuminating Divinograms

The main pillar divinograms are read from bottom to the top. Illuminate the auxiliary pillars in this sequence to activate the divinograms.

Scanning: Fluids

Perform scans to identify nearby water bodies.

Related Tutorials

Changing Fluid Levels

Certain water bodies in the map have changeable water levels. These water bodies have "limited" fluid capacities. Examples include ponds and reservoirs.

Fluid Pumps: Lowering Fluid Levels

Pumping out water from a limited-capacity water body with the Fluid Pump will lower its water level.

Fluid Supply Unit: Raising Fluid Levels

Supplying fluids into a limited-capacity water body with the Fluid Supply Unit will raise its water level.

Related Tutorials

Sluice Gate

Use the sluice gate to discharge water from one water body to another until the source water body is empty, or the destination water body is full.

Sluice Gate Usage Exceptions

A sluice gate cannot be used if the two water bodies connected by it contain different fluids.

Related Tutorials

Waterwheels and Canals

Canal Mechanism

Attack and hit the canal mechanism to rotate it. This will also rotate the canal linked to it. Once the canal is rotated to the correct angle, the canal mechanism will automatically retract.

Waterwheel and Rotations

Rotate the canals to the correct angles in the correct sequence to direct the flow of water to the waterwheel, activate a mechanism, and open up a new path.

Rotating Mechanism

Rotating Mechanism (1)

When the indicator light of a rotating mechanism glows red, it is not working at all. If the light glows green, the mechanism is working properly.

Rotating Mechanism (2)

To get a rotating mechanism to work properly, use a jet drone and keep spraying fluids at it.

Ferrium Turbine

Ferrium turbines are usually used to control other mechanisms. Use a jet drone to spray ferrium turbines so they start turning and control the operations of other linked mechanisms. Certain mechanisms can only be activated by continuously spraying the ferrium turbine for a while.

Warning Projection

Certain gates in the region of Wuling are controlled by multiple mechanisms. The number of projections on a gate indicates the number of mechanisms controlling it. All mechanisms must be activated to open the gate.

Rotating Mechanism: Unlocking

Use a jet drone to activate nearby rotating mechanisms to unlock certain gates.

Flow Control Node

After connecting to a flow control node, a jet drone within range of the flow control node can be refilled with Clean Water from it.

Xiranite Flow Control Node

Once a Xiranite flow control node is activated, it can continuously refill a jet drone within range with Liquid Xiranite.

Liquid Xiranite

Essentially Xiranite in liquid form. It can be used to eliminate Blight mudflows and activate Xiranite facilities.

Xiranite Flow Control Node: Activation

All Xiranite flow control nodes in Wuling can now be activated and used, Endministrator.

Active Blight in Wuling

Active Blight in Wuling: Large

Large masses of Active Blight can be found in Wuling. Such masses often exhibit abnormally high levels of light emissions near the Blight Cores. Spray Liquid Xiranite at the cores to completely eliminate these Blight masses.

Large Active Blight Mass Regeneration

If the Blight Core of a large Active Blight mass is not eliminated, the Blight will grow again and reach its former size.

Blight Elimination with Liquid Xiranite

In addition to using Xiranite flow control nodes to supply Liquid Xiranite to the jet drone, the AIC Factory can also mass produce Liquid Xiranite and make Active Blight elimination easier in Wuling.

Active Blight in Wuling: Smaller Masses

Smaller masses of Active Blight in Wuling have no Blight Cores and are incapable of regrowing themselves. Simply spray Liquid Xiranite to clean them out.

Blight Obstruction

Certain devices, machines, and mechanisms might be affected by Active Blight. The Blight must be eliminated to use them properly.

Guiding Light

The randomly moving bamboo thickets of the Stragglers Grove have caused quite a bit of trouble for locals of Wuling outskirts. Those who find themselves lost in the grove are advised to use guiding lights nearby to find the proper path.

Guiding Light: Activation

Guiding lights can temporarily dispel a number of grovenymphs nearby. Certain areas have sets of guiding lights that must be activated in the right sequence. Stone pillars with clues to the correct sequence are often found near these sets of guiding lights.

Hydrocube

Hydrocubes are a type of power generators. A device linked to an overloaded or damaged hydrocube will fail to function. Use a jet drone to fix such hydrocubes.

Hydrocube: Fixing (1)

Overloaded hydrocubes will float in mid-air. Use a jet drone to spray Clean Water at the orange-yellow indicator lights until the lights glow green.

Hydrocube: Fixing (2)

Some overloaded and floating hydrocubes may also move or rotate randomly. Repair sprays must be made at the correct timing or proper angles of jet drone spraying.

Moving Lotus Leaf

The lotuses of Wuling are known for their wide and sturdy leaves. When the controlled operator stands on such a lotus leaf, it can glow and move across water. Aquatic microorganisms have been cited as the cause of such phenomena.

Lotus Leaf: Movement Path

A lotus leaf moves along a fixed path. After reaching a specific place, it will pause for a while before returning to its original position. Explorers can use these lotus leaves to reach places they could not otherwise reach.

Lotus Leaf: Wilted Variants

A wilted lotus leaf cannot carry as much load and will slowly sink when something heavy is placed on it. The leaf can no longer be stepped upon after it completely sinks. After a while, however, the lotus leaf will slowly re-surface.

Crate

Various crates can be found throughout the region of Wuling. Open them to acquire containers filled with Clean Water or Liquid Xiranite that can then be used by the jet drone.

Guiding Butterflies

Guiding Butterflies (1)

Butterflies can lead travelers to nearby storage crates. Don't worry about them flying too fast. Some of them will slow down and wait for ponderous travelers.

Guiding Butterflies (2)

The playful butterflies will sometimes scatter halfway through their flight. Regroup all the scattered butterflies and they will continue to lead the way again.

Array Stabilizing Rod

Array Stabilizing Rod (1)

Use the jet drone to spray array stabilizing rods to stabilize various Xiranite facilities. Maintain a certain spraying rate to keep the stabilizing rod within the required temperature range and build up stabilization progress.

Array Stabilizing Rod (2)

The required temperature range may keep changing. Adjust the jet drone spraying rate to match the range.

Pressure Switch

Pressure Switch (1)

Use pressure switches to control the movement of floating blocks.

Pressure Switch (2)

Activate pressure switches by having the controlled operator step on it, or by placing a floating crate on top of it. Move the controlled operator or floating crate away to deactivate it.

Water Level Control Valve

These valves are switches that can control water levels of a nearby water body.

Pressure Plate

Perform a dive attack to hit the protruding part of a pressure plate and activate it.

Pressure Plate: Activation Sequence

Certain areas have main balance switches near pressure plates. Interact with the switch first. The pressure plates will light up in a particular sequence. Memorize this sequence and hit the plates accordingly to activate the switch.

Pressure Plate: Sword Pell

Sword pells are special main balance switches in the Bureau of Swordmancers. To switch one on, activate the nearby pressure plates according to the demonstrated sequence.

Pressure Plate: Main Balance Switch

To turn the main balance switch on, activate the nearby pressure plates according to the demonstrated sequence.

Pass the Bug

Pat a glowing bugspitting lankybeast and it will spit out a glowbug, then pass that glowbug to the lankybeast at the finishing position.

Pass the Bug: Chasing

Some lankybeasts are not at bug passing positions, but will jump away when people get close. Use this property and chase them around to force the lankybeasts to a proper bug passing position.

Pass the Bug: Lotus Leaves

Some lankybeasts not in the passing positions move around or up and down with their lotus leaves. Study how the lotus leaves move and use the lankies on the leaves to pass the bugs.

Xiranite Bridge

Xiranite bridges have been constructed in the region of Wuling. Activate the switches to repair these bridges and form paths to previously inaccessible areas.

Optical Fog

Optical Fog (1)

If a light column contains photosensitive sparks, follow the direction of the sparks to find the optical fog.

Optical Fog (2)

Optical fogs are often very well-blended into the environment, but attacking it will cause it to dissipate.

Rotating Bridge

Use the jet drone to activate the rotation mechanism and rotate the bridge.
Report Issue