END Wiki END Wiki
Home Events Headhunting
Operators Weapons Gear Essences Items
Protocol Space Umbral Monument RE-Crisis Cryptic First Revealed Grotto Survey Operator Guide Basic Training Survival Training Etchspace Salvage
Threats Path of Glory - Engraved Medals
Simulation Space Facilities Recipes
Battle Pass
Team Building Operator Training Material Demand Weapon Materials Guide
Community Guides
Exploration Factory Combat System
Essence Farming Essence Filter Team Builder Operator Material Calculator Leveling Material Calculator
English Español Deutsch Français Bahasa Indonesia Italiano Português Русский ไทย 한국어 Tiếng Việt 日本語 简体中文 繁體中文
END Wiki Home /Tutorials/Factory
/ -
No tutorials found

Automated Industry Complex (AIC)

The Automated Industry Complex (AIC) is one of the key technologies of Endfield Industries.
Use the AIC to create the fully automated AIC Factory and produce various materials for making pieces of gear, tactical items, AIC facilities, and other AIC products.

Protocol Automation-Core (PAC)

The Protocol Automation-Core (PAC) is the heart of the Automated Industry Complex (AIC) Factory. Storage management becomes available when standing in the Core AIC Area of the PAC.

PAC: Power Grid

Every Endfield power grid facility in the region must ultimately link back to the PAC.

Storage Management

The Backpack is connected to the Depot in the Core AIC Area or near TP Points. Both the Backpack and Depot panels are opened at once for easy storage management.

Related Tutorials

Sub-PAC

The Sub-PAC and PAC share similar functions. Both can be used as TP Points and automatically supply power to Electric Pylons within their Core AIC Areas.

Related Tutorials

Automated Industry Complex Mode (AIC Mode)

The Automated Industry Complex (AIC) includes a special AIC Mode that must be used to construct AIC Factory facilities. The AIC Mode also features a special hotbar with hotkeys for placing facilities. Simply drag facilities into the hotbar to use it.

Related Tutorials

Relay Tower: Power Transmission

Relay Tower: Power Transmission (1)

The Relay Tower is a key power transmission facility. Relay Towers can be used to transmit power to other Relay Towers, Electric Pylons, and Electric Nexuses to connect them to the power grid.

Relay Tower: Power Transmission (2)

The Protocol Automation-Core (PAC) is the origin and source of the power grid. Transmit power from the PAC to a Relay Tower to add it and all connected facilities into the power grid.

Power Supply: Wilderness

Relay Towers outside the Core AIC Area do not supply power to facilities. This can only be done with a powered Electric Pylon. Transmit power from a powered Relay Tower to an Electric Pylon to connect the latter into the power grid. The Electric Pylon can then power facilities within its power supply radius.

Related Tutorials

Relay Tower: Power Supply

Research this AIC technology to give Relay Towers the ability to supply power to nearby facilities. This is especially useful for powering facilities in the wilderness.

Electric Pylon: Power Supply

Electric Pylon: Power Supply (1)

Most facilities must be powered by Electric Pylons to work. Power a facility by placing it within the power supply radius of an Electric Pylon connected to the power grid.

Electric Pylon: Power Supply (2)

Place Electric Pylons in the Core AIC Area of the PAC to automatically connect them to the grid. Connected Electric Pylons can supply power to facilities within their power supply radius.

Related Tutorials

Electric Pylon: Power Transmission

Electric Pylon: Power Transmission (1)

Research this AIC technology to give Electric Pylons the ability to transmit power across distances. This is especially useful to establish power transmission connections between power facilities.

Electric Pylon: Power Transmission (2)

In certain cramped places where the Relay Tower cannot fit, the smaller Electric Pylon might be useful for power transmission.

AIC Facility: Construction

All AIC Factory facilities are constructed by the Protocol Automation-Core (PAC). The facility template is required for the construction. Templates can be acquired by researching AIC technologies in the AIC Factory Plan.

Related Tutorials

Facility: Placing & Facility List

AIC Facility: Placement

When setting up the AIC Factory, select facilities in the Backpack or Depot to place them. Facilities can also be dragged from the Backpack or Depot into the hotbar, then use the hotkeys to start placing them.

AIC Facility List

Use the Facility List to quickly find and place facilities already owned. If more facilities are required, simply construct more.

Related Tutorials

Shared Facility

After reaching a certain Exploration Level, facilities shared by other players will start to appear in Talos-II. They can be used as required.

Shared Facility: Stability

A shared facility loses stability with time and will completely disappear at zero stability. Repair shared facilities to reset its stability and extend its presence.

Shared Facility: Sources

View the source details of a shared facility to add the sharing player as a friend. Friends can also share shared facilities.

Protocol Deployed Facility

There are a number of experimental facilities in Talos-II used by Endfield Industries to verify Techno-Protocol deployment. They can be treated as shared facilities, but offer no source players to add as a friend.

Related Tutorials

Facility: Moving & Stashing

AIC Facility: Moving

To move a facility, open its control panel, then use the Move button to move it. Facilities can also be rotated to adjust the positions of the input and output ports. Transport belts cannot be moved in this manner.

AIC Facility: Stashing

After opening a facility's control panel, use the stash button to stash the facility and place it in the Backpack or Depot.

Stash Mode

The AIC Mode also includes the Stash Mode. Stash Mode allows quick and easy stashing of nearby facilities that have been selected.

Top View Mode

AIC Mode also offers a Top View Mode. In Top View Mode, the operators will remain at their places and the view is switched to a top view camera. This gives a clearer view of the Core AIC Area and is useful for setting up complex production lines.

Top View Mode: Box Selection

In Top View Mode, box selection can be used to select multiple facilities and logistics units. Facilities can also be copied, moved, saved to a blueprint, and stashed when using box selection.

Related Tutorials

Blueprint

Blueprints are special tools to quickly set up AIC Factory facilities. Use blueprints to quickly deploy preset layouts of multiple facilities in the Core AIC Area.

System Blueprint

Certain system blueprints are rewards acquired by completing certain simulations. System blueprints can be used to quickly set up production lines.

Blueprint: Sharing

Friends can use Friend Chat to share blueprints with each other and save posted blueprints. Blueprint sharing codes can also be created. Players can then enter the sharing codes to import the shared blueprint.

Unconstructed Set

When placing blueprints without all of the facilities required, the missing facilities can be placed as an Unconstructed Set. Submitting all of the missing facilities converts the Unconstructed Set into actual facilities with a single action.

Facility: Processing

Items can be dragged from the Backpack or Depot into a facility. If the facility has the formula for processing the items, it will do so accordingly. Each facility can only use 1 production formula at any given time.

AIC Facility: Retrieving Products

Once facilities finish processing, the products can be retrieved and placed in the Backpack or Depot.

Related Tutorials

Facility: Production Formulas

Production facilities have various production formulas. Open the facility's control panel to view all production formulas currently available to it. If items placed in the facility satisfy the inputs of any formula, the facility will use it to start production immediately.

Related Tutorials

Pinning Formulas

Pin formulas to show them at the main screen in the Core AIC Area. Select the items of the pinned formula to view details of the item and open its own formula. After opening the formula, use the Back button to return to the original pinned formula.

Related Tutorials

Input and Output Ports

The PAC, Sub-PAC, and most production facilities have input and output ports. Connect transport belts to the output port to automatically move items out of the facility or Depot. Connect transport belts to the input port to move items into the facility or Depot.

Depot and Output Ports

The Protocol Automation-Core (PAC) and Sub-PAC are connected to the Depot. Once an item is selected for an output port, it will start to unload the selected item from the Depot into the Core AIC Area.

Related Tutorials

Transport Belt

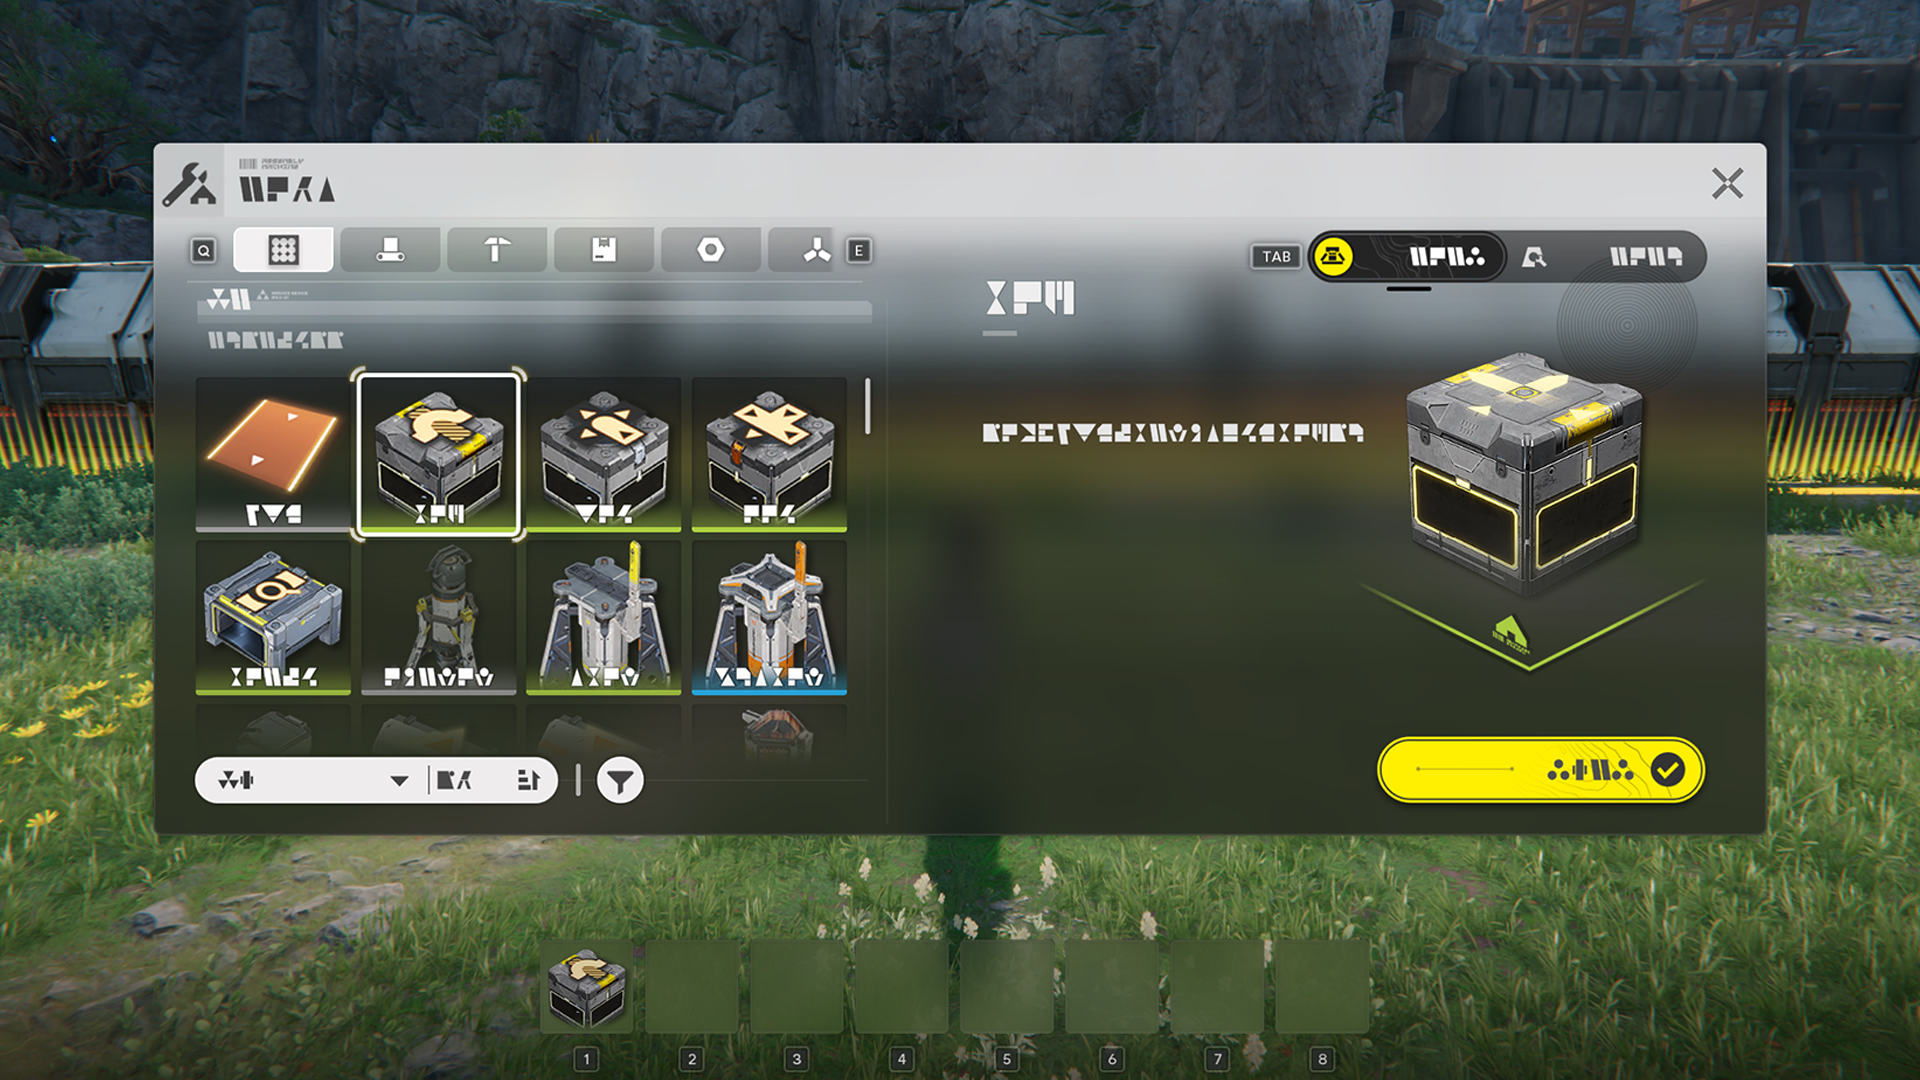
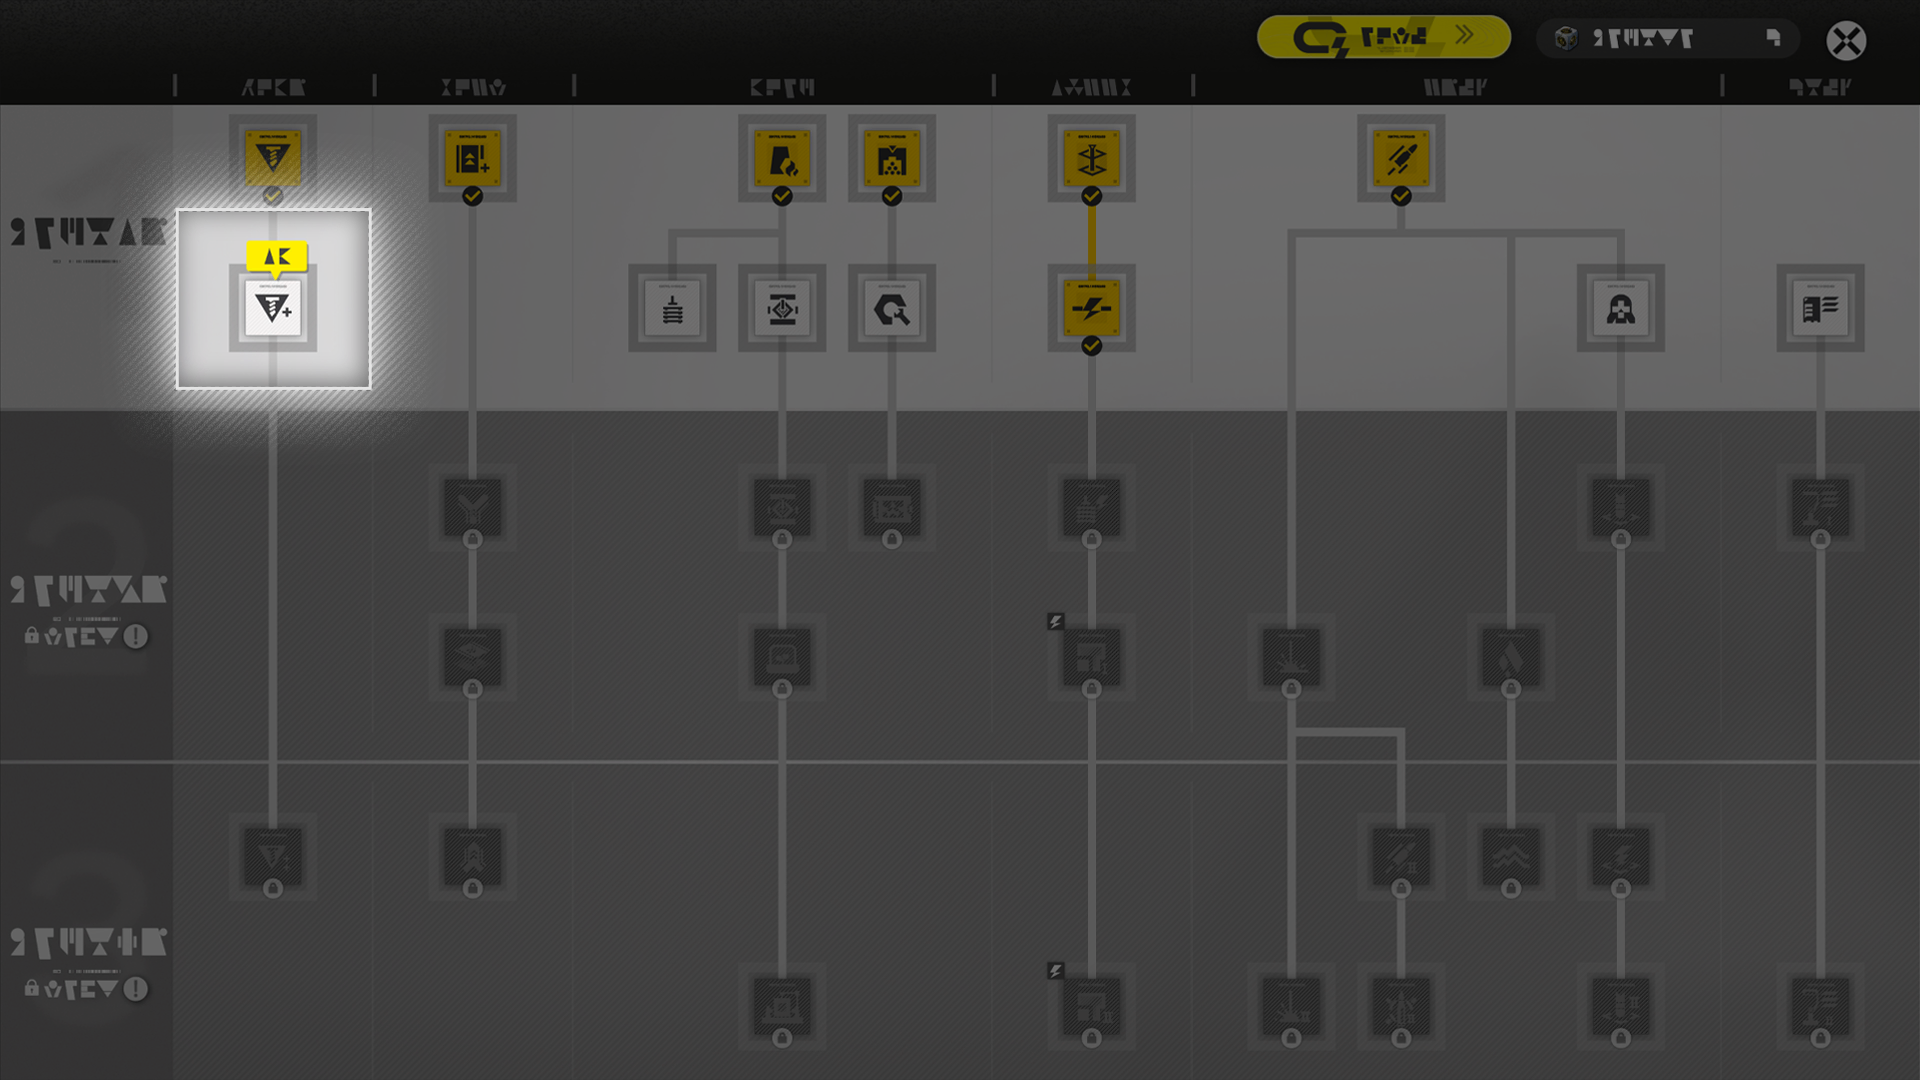
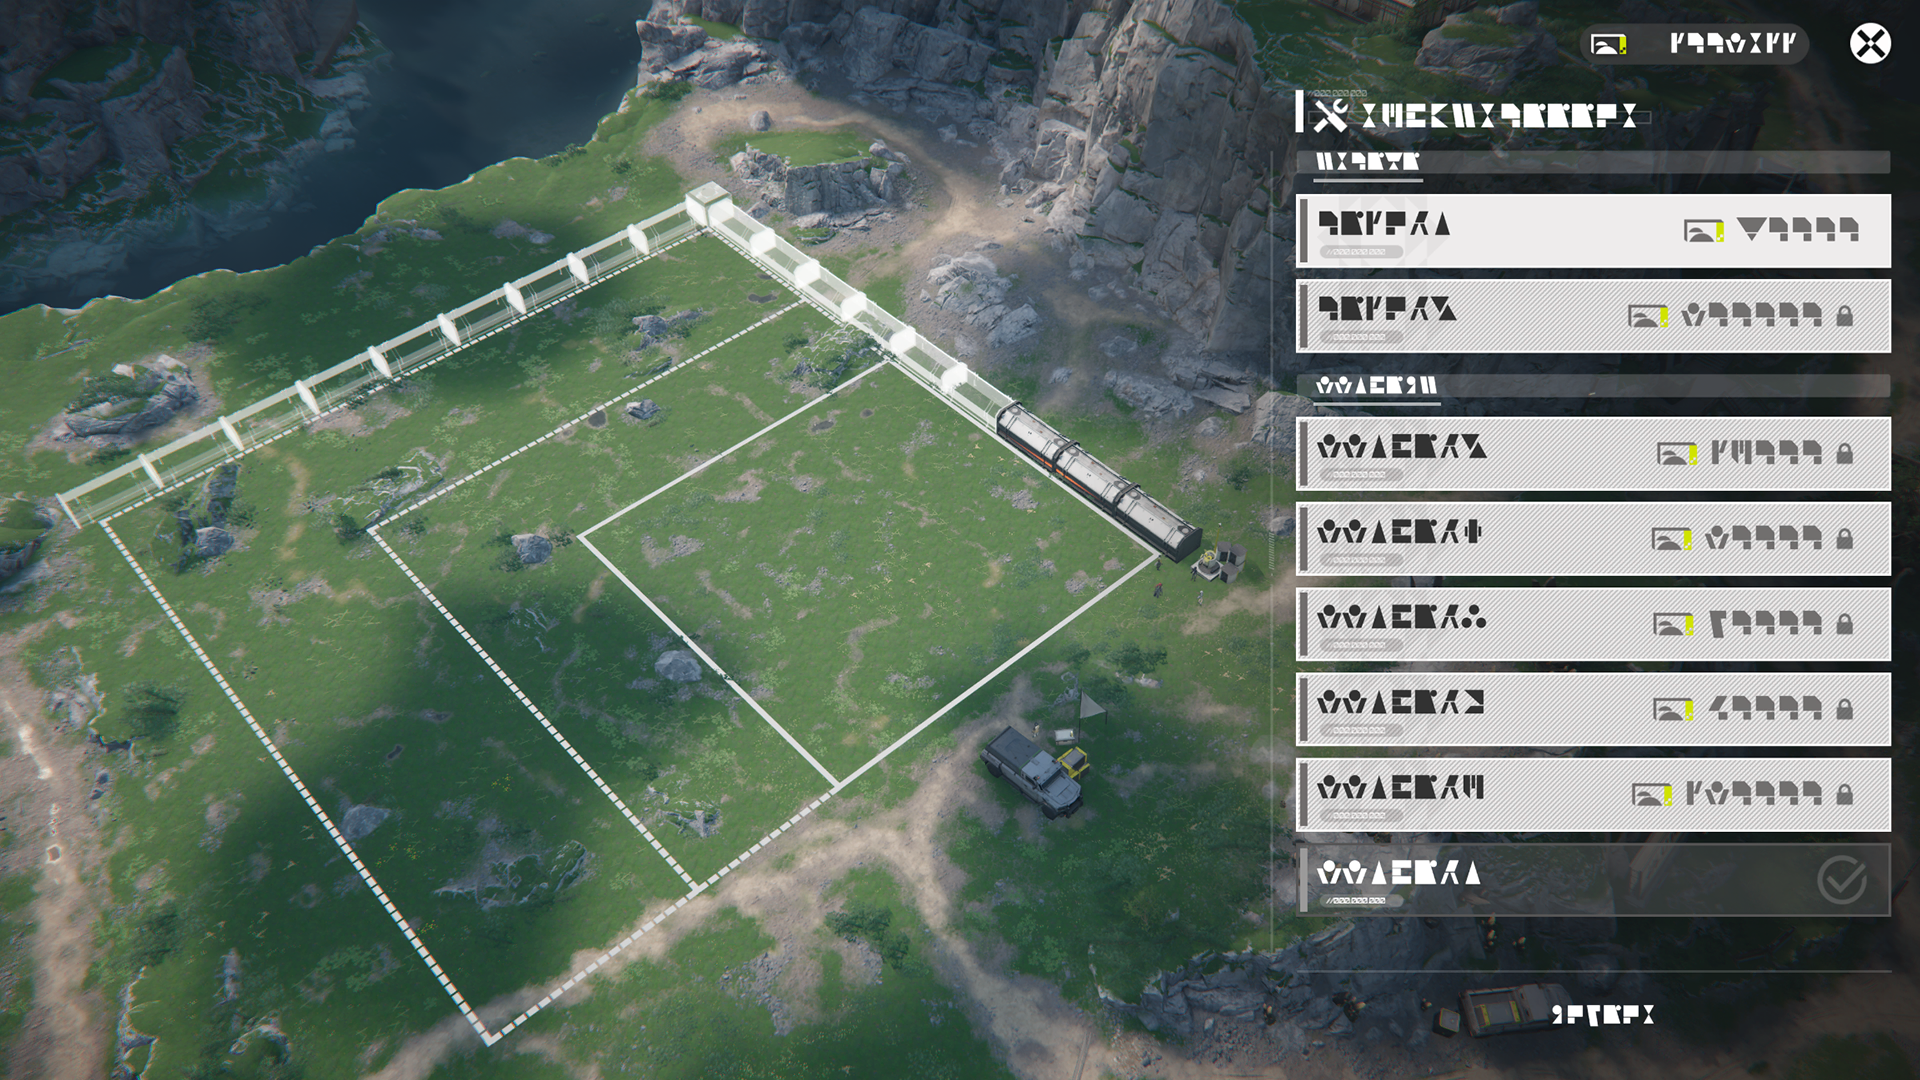
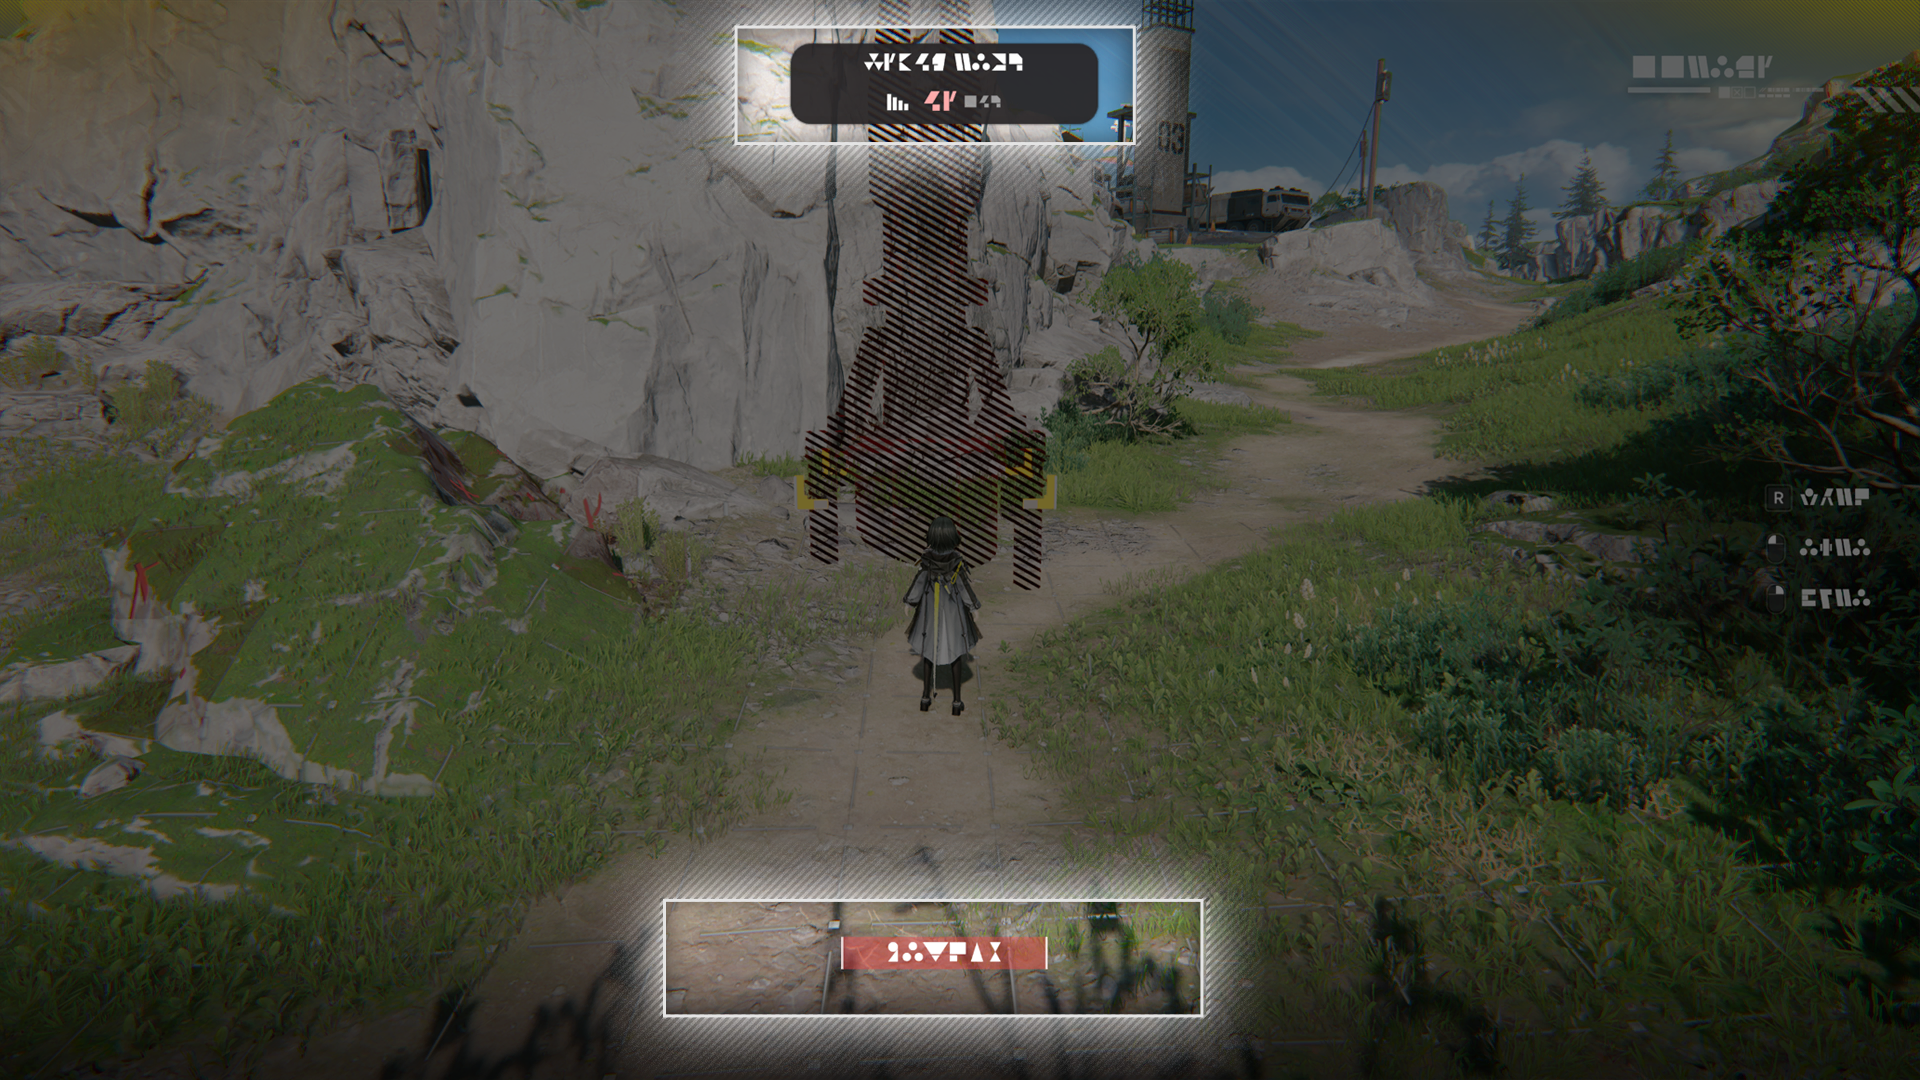
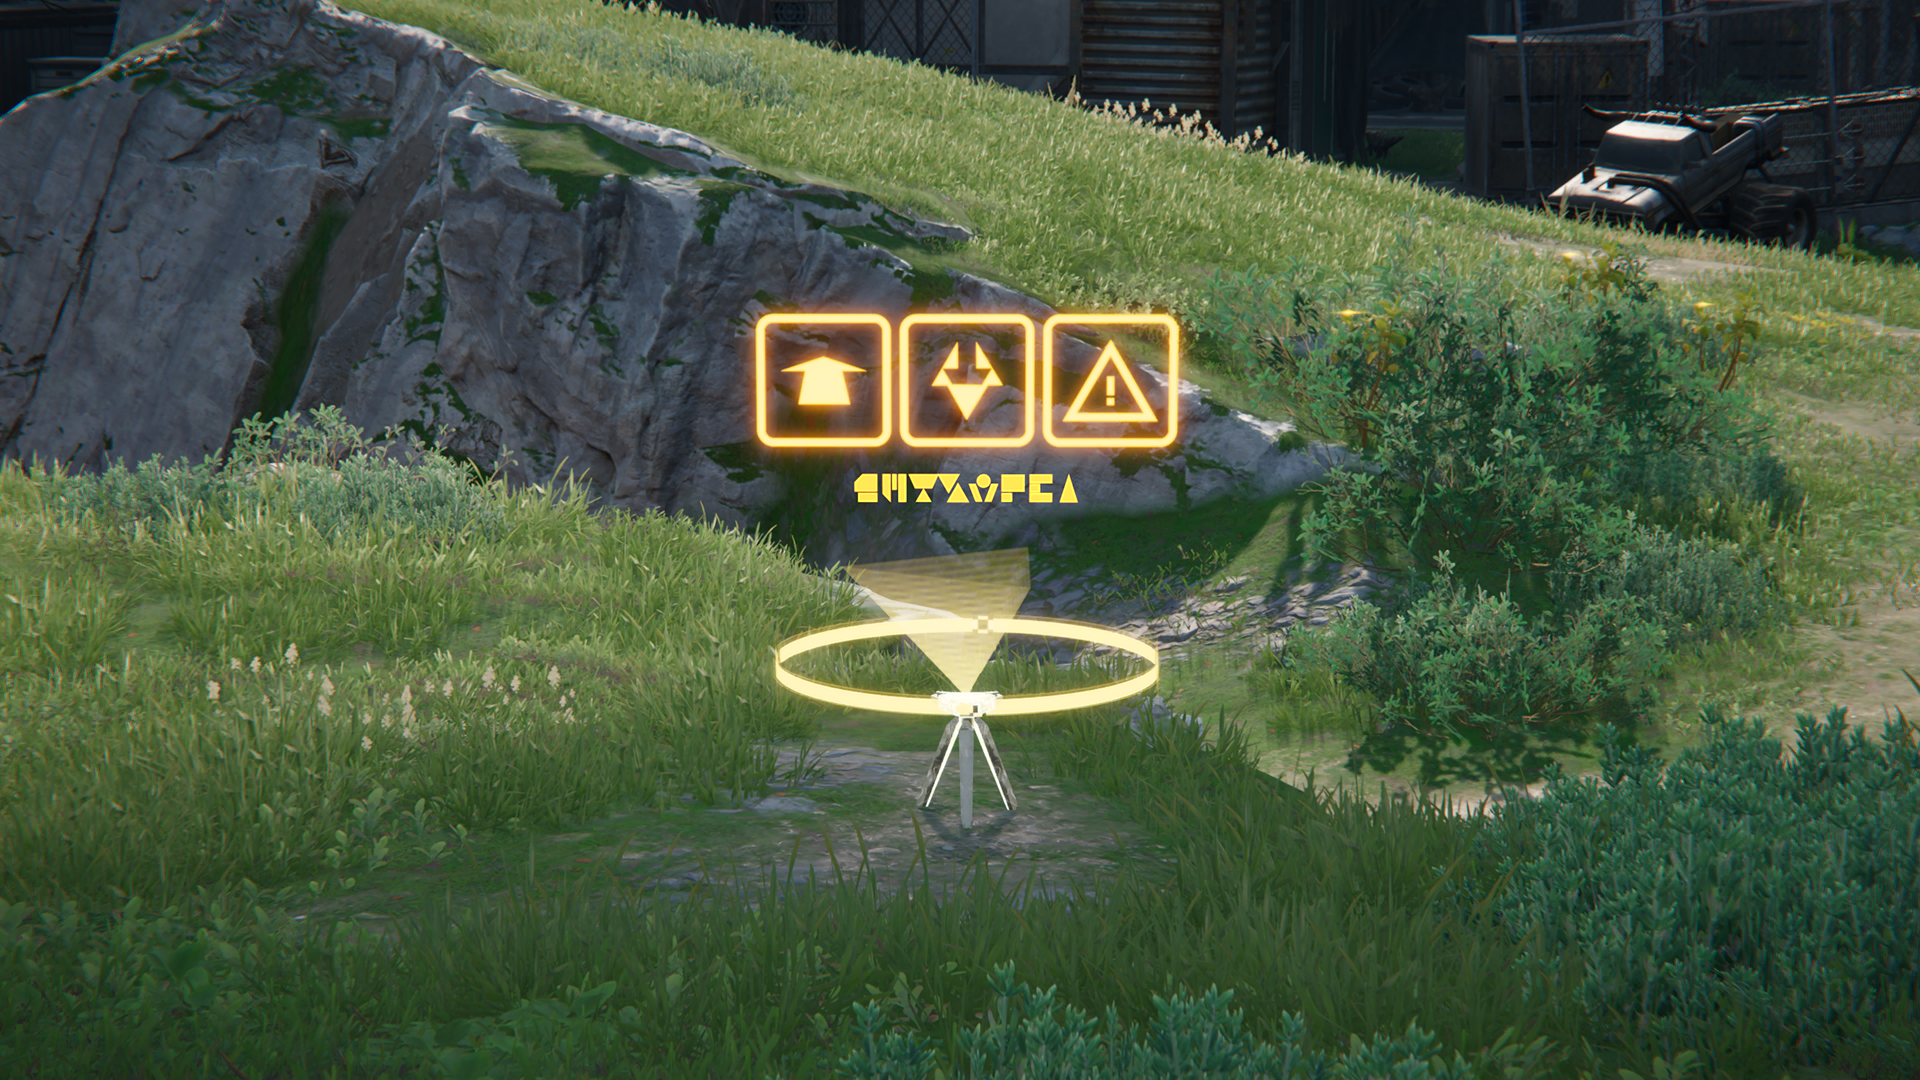
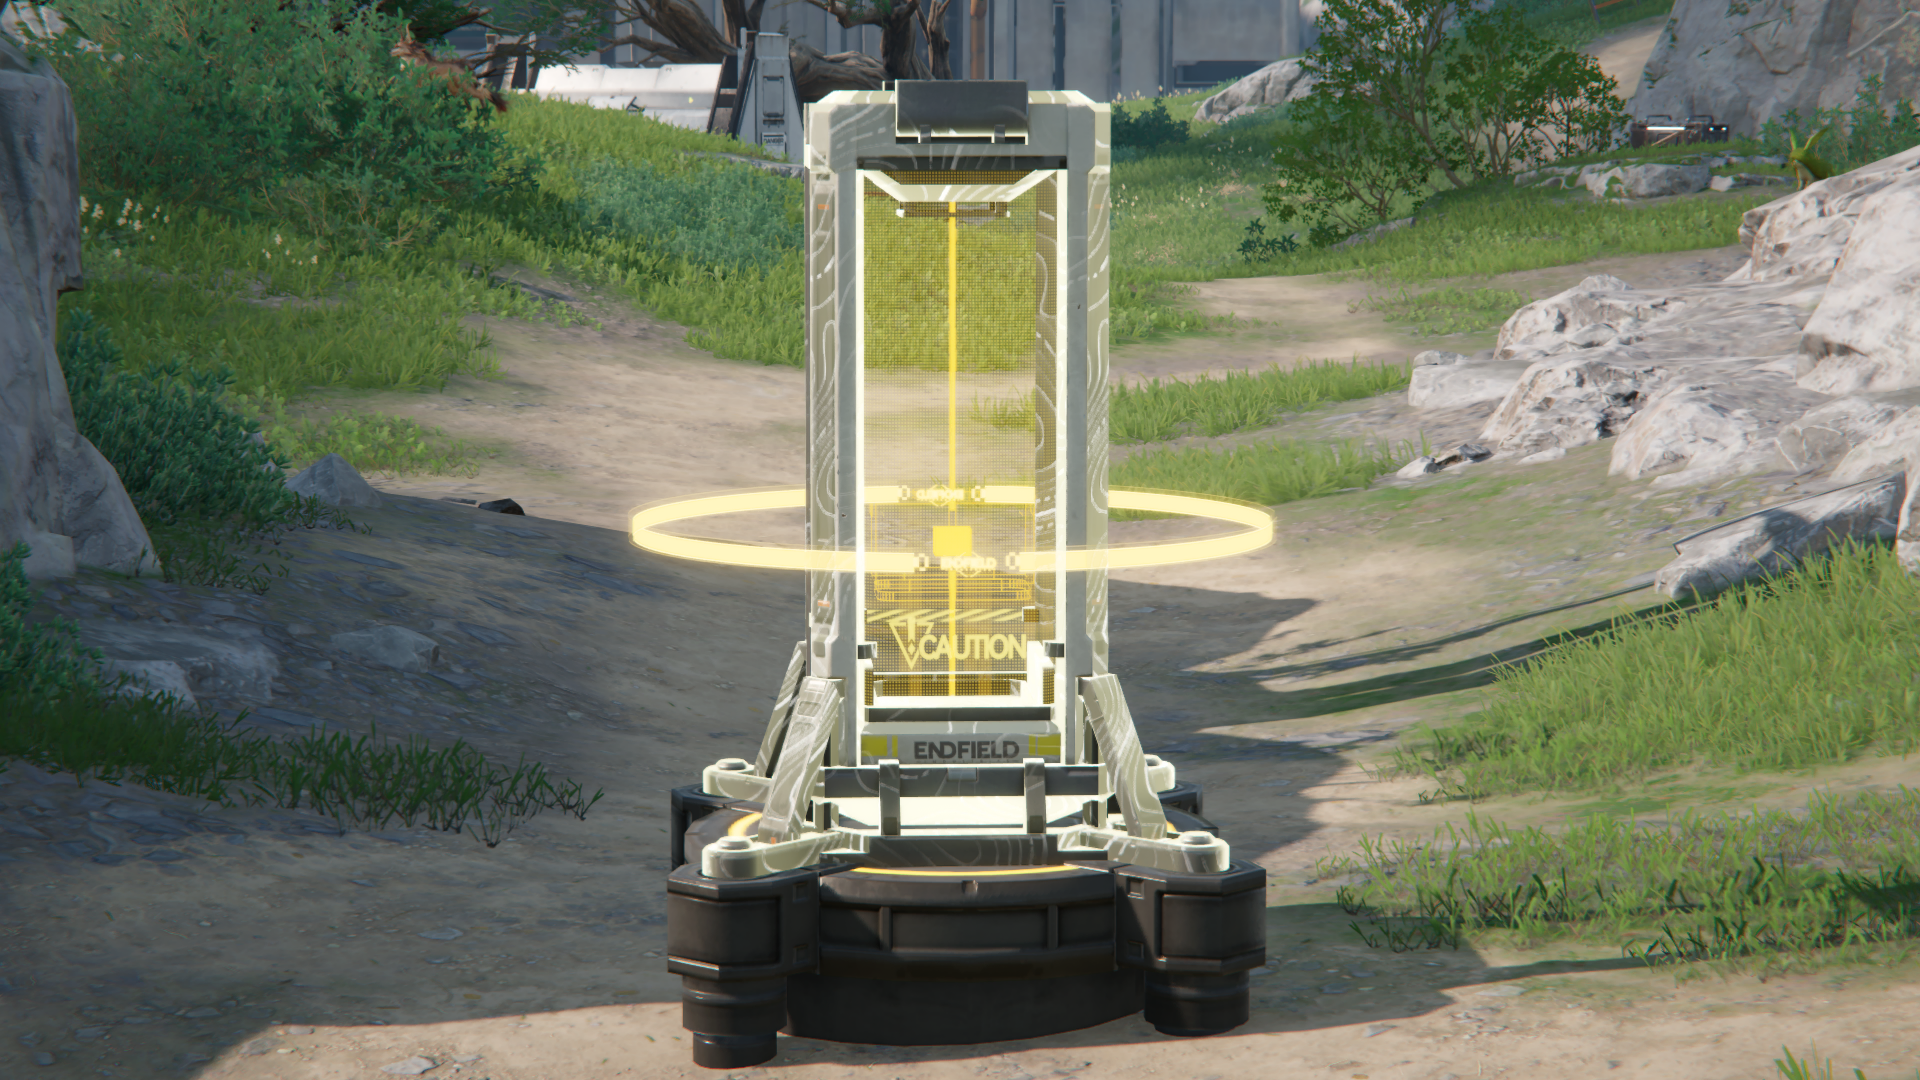
Transport Belt: Placement Restrictions

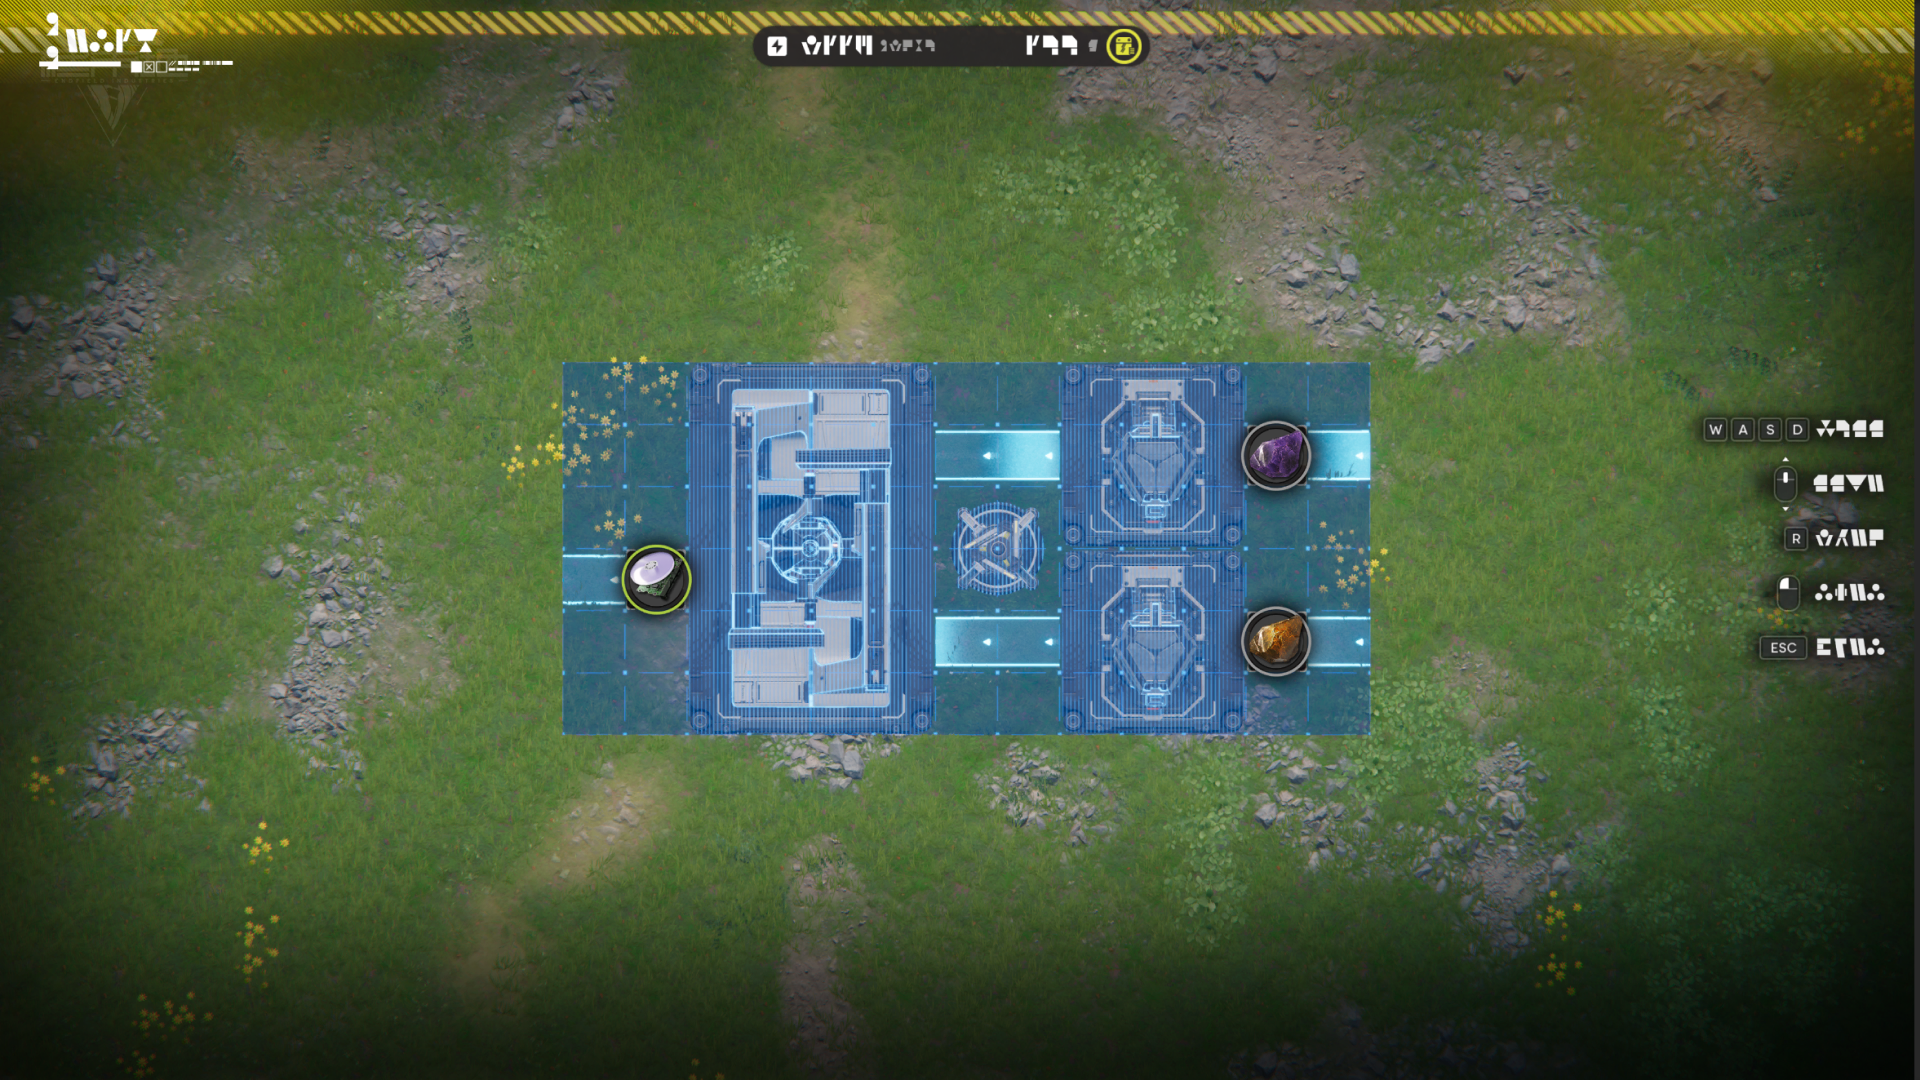
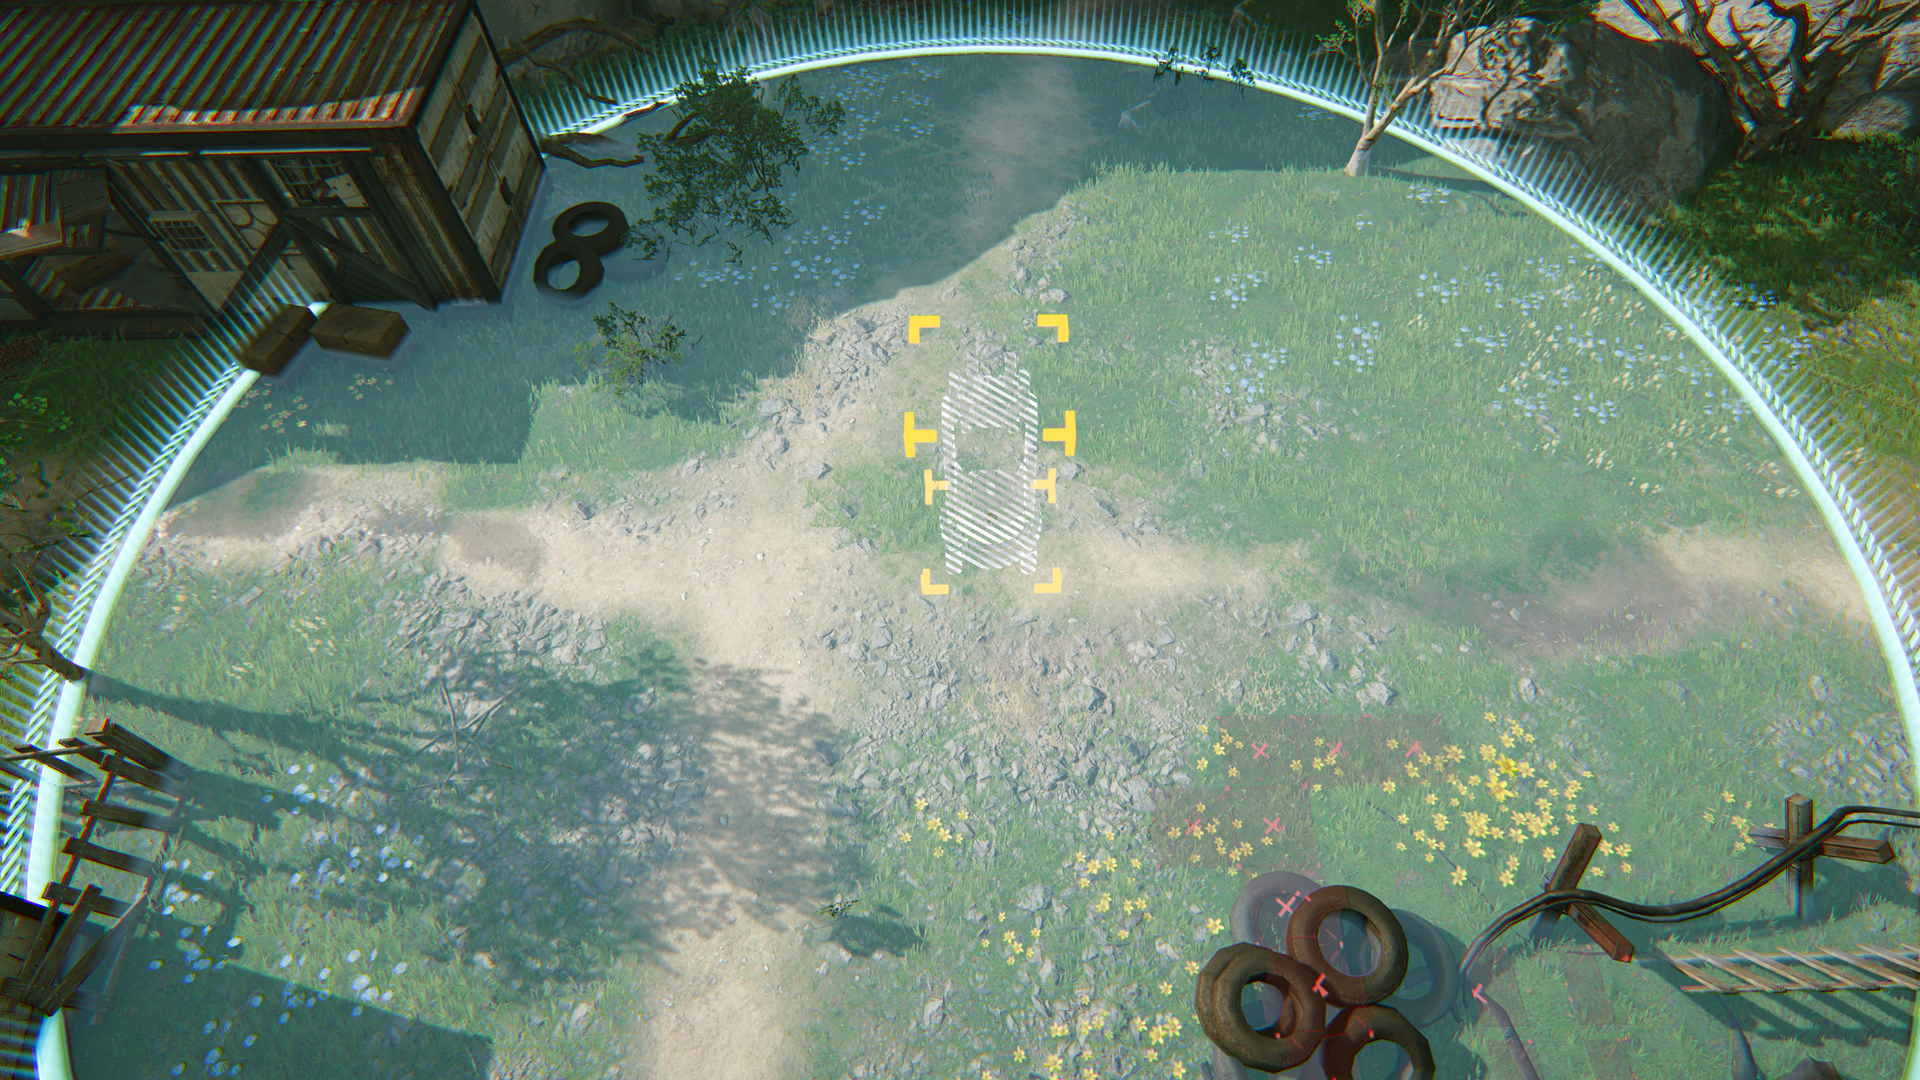
Transport belts are basic logistics units. They are used to move materials and products between facilities. Transport belts can only be placed in the Core AIC Area.

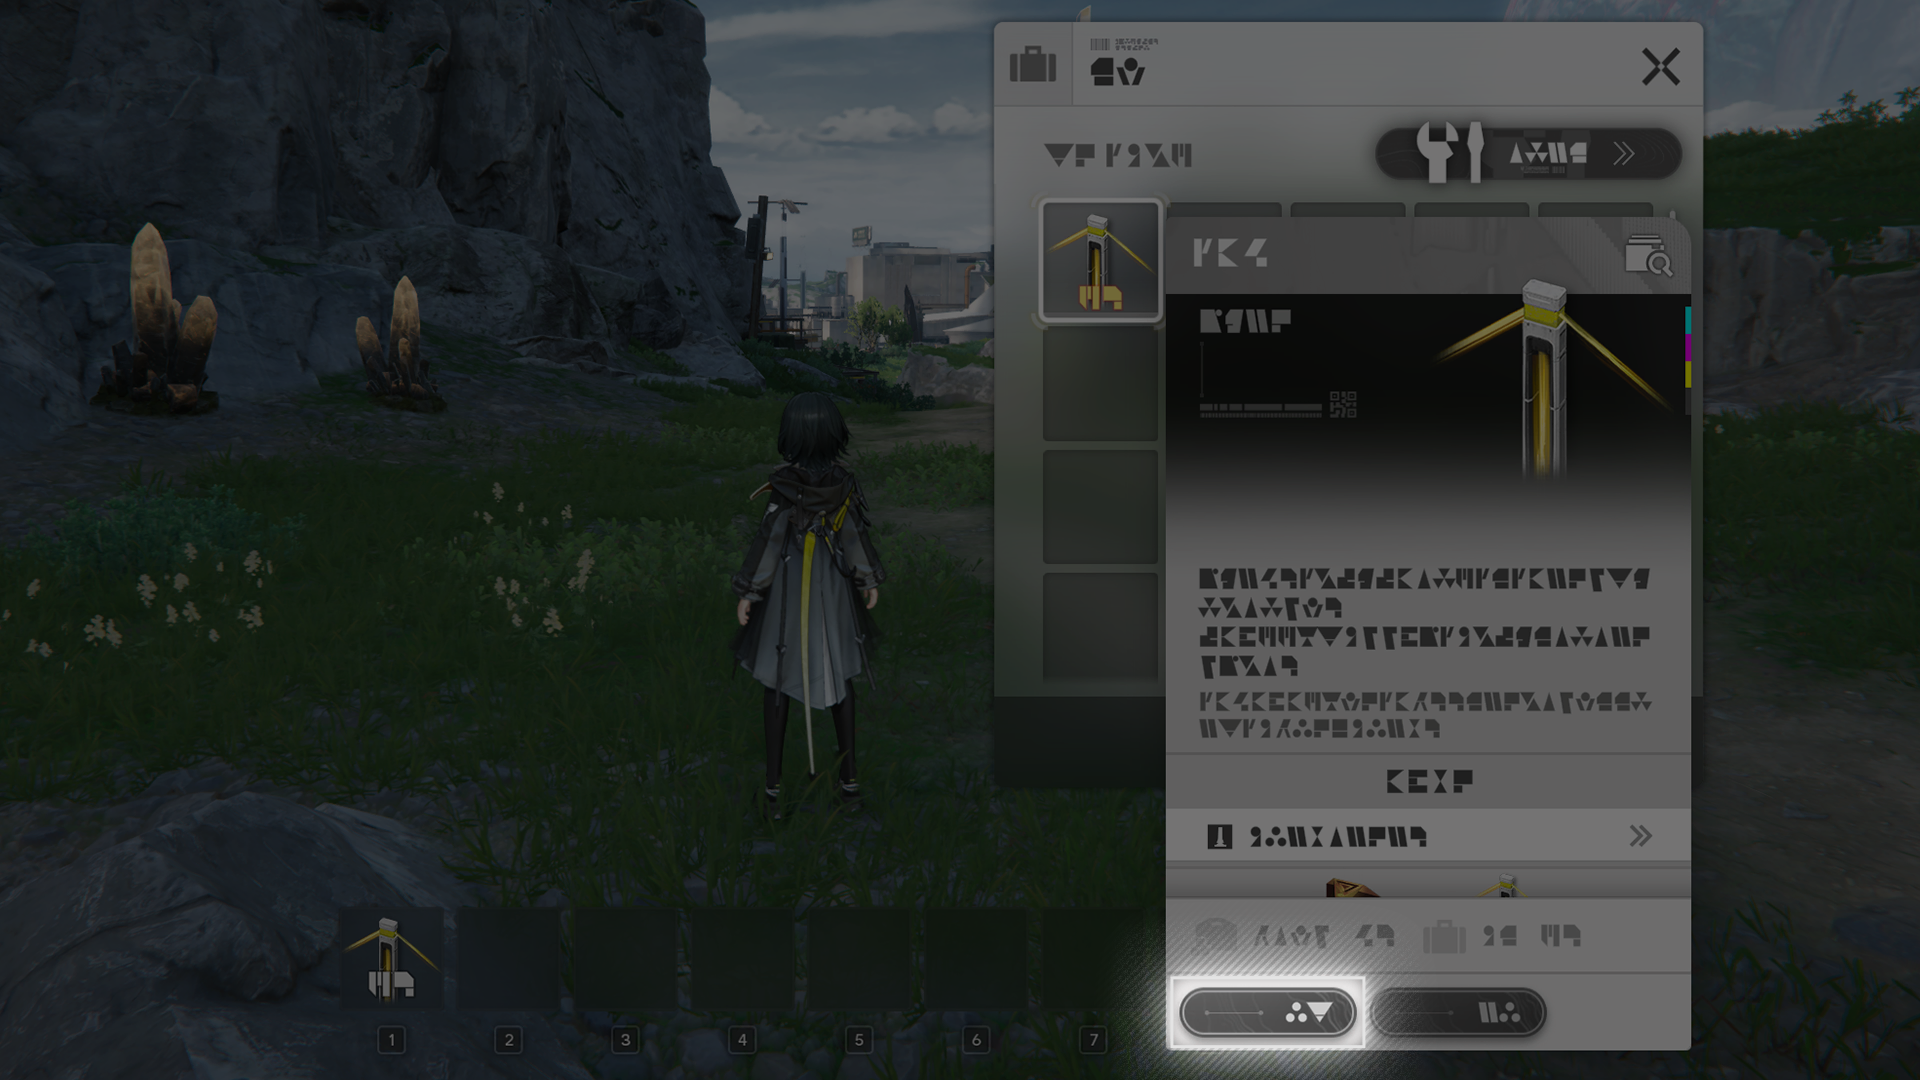
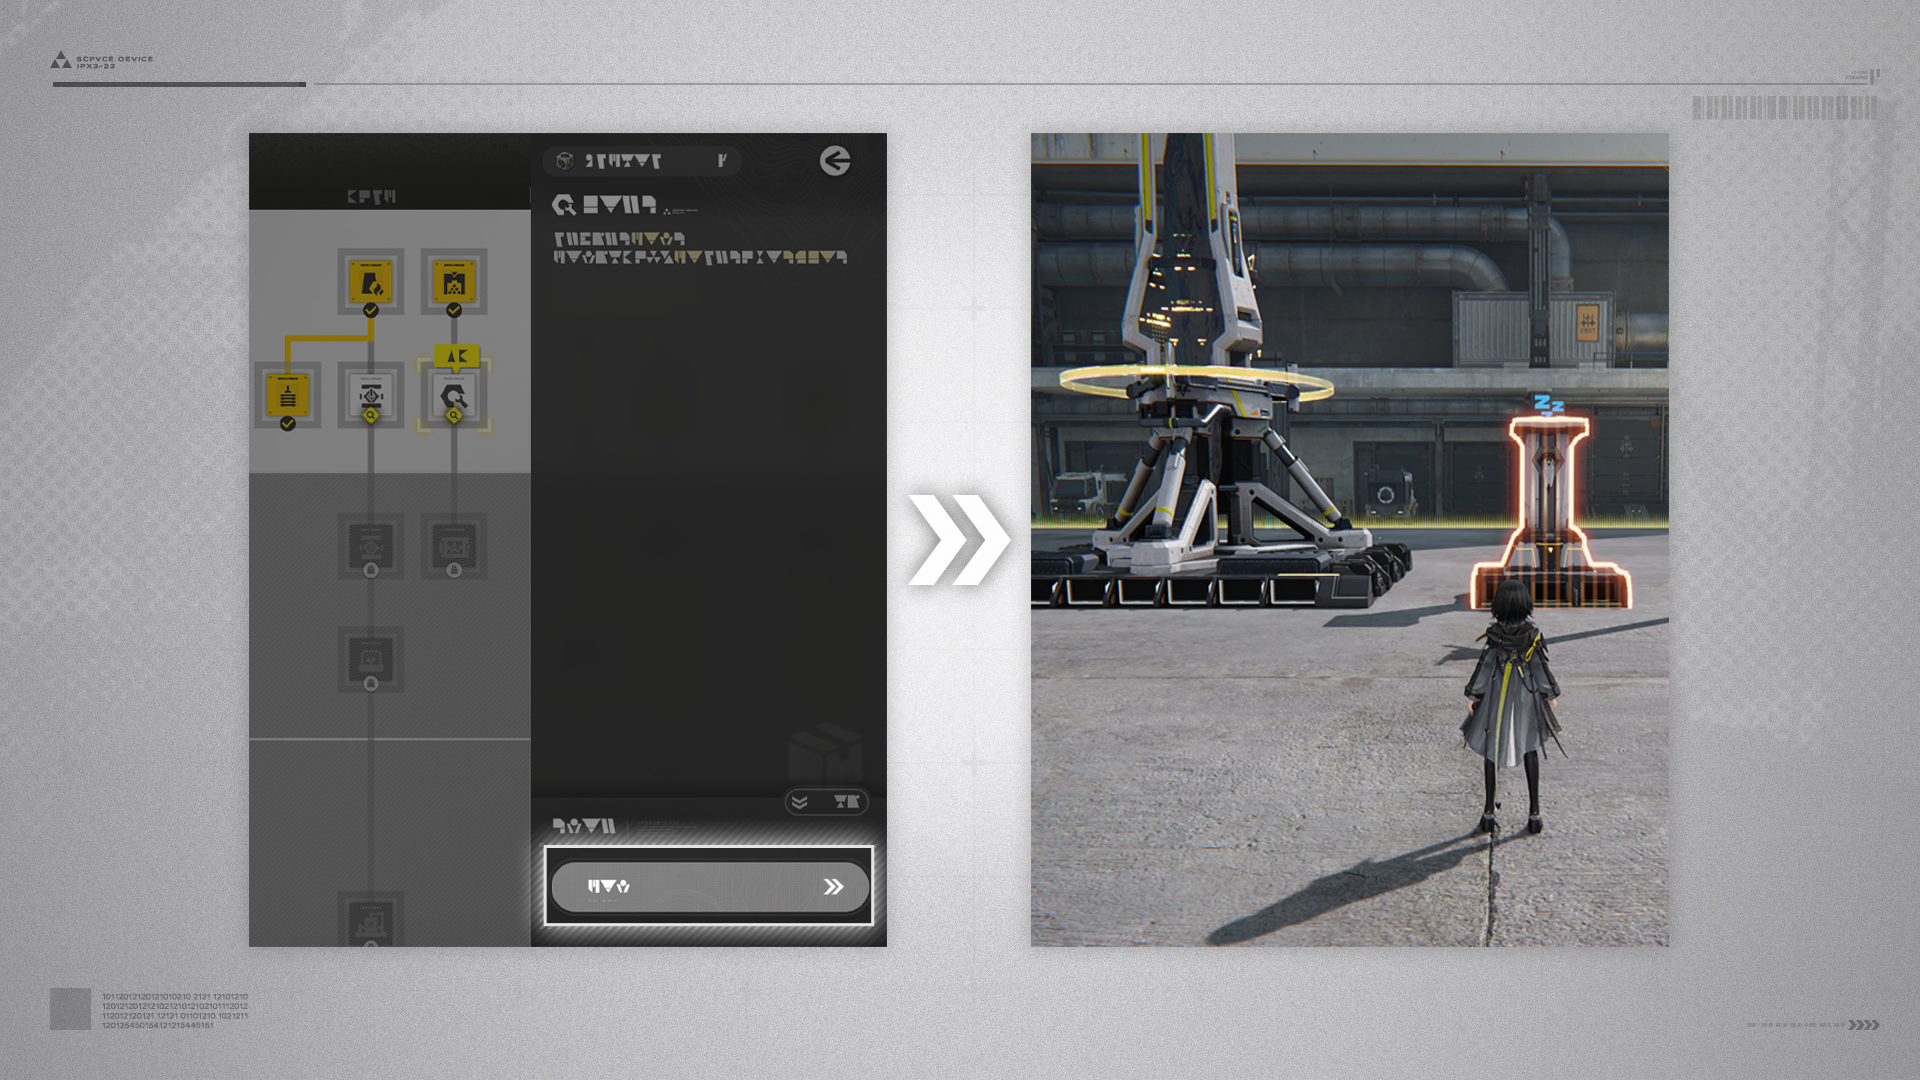
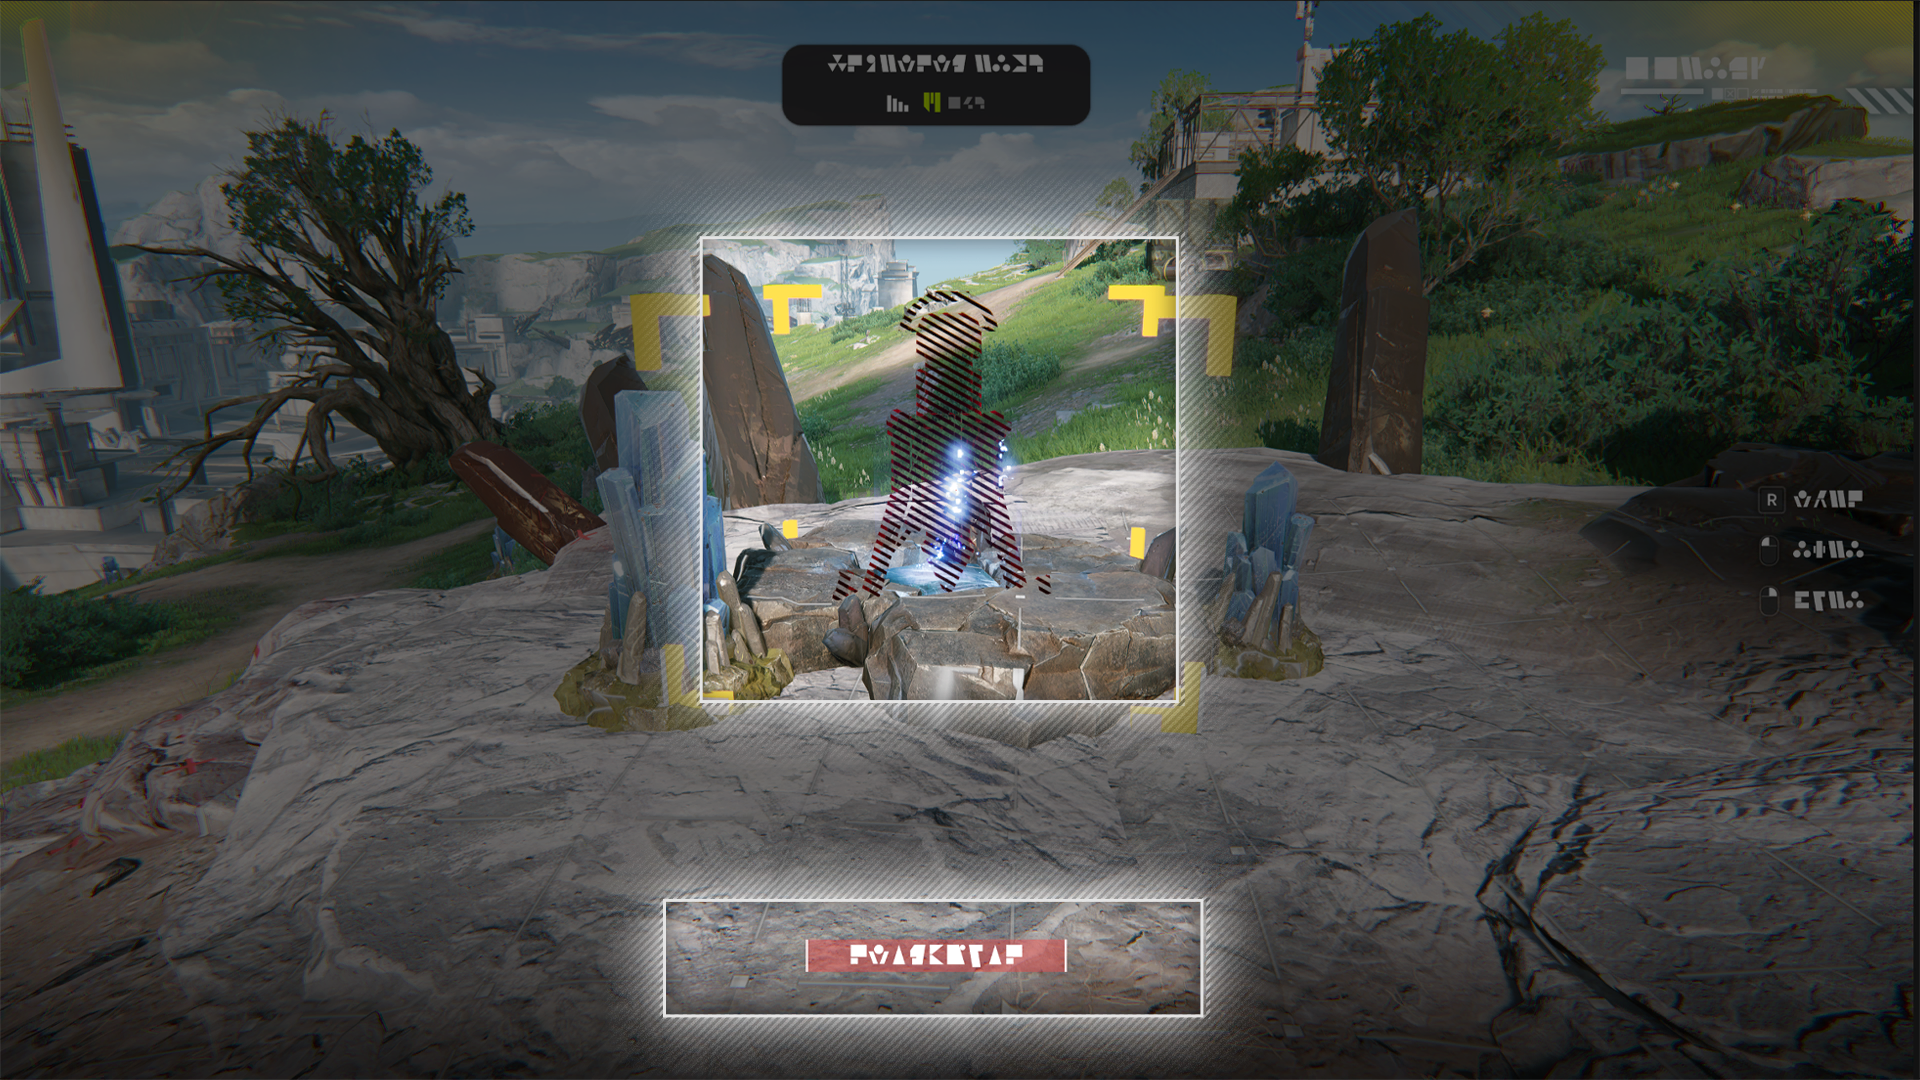
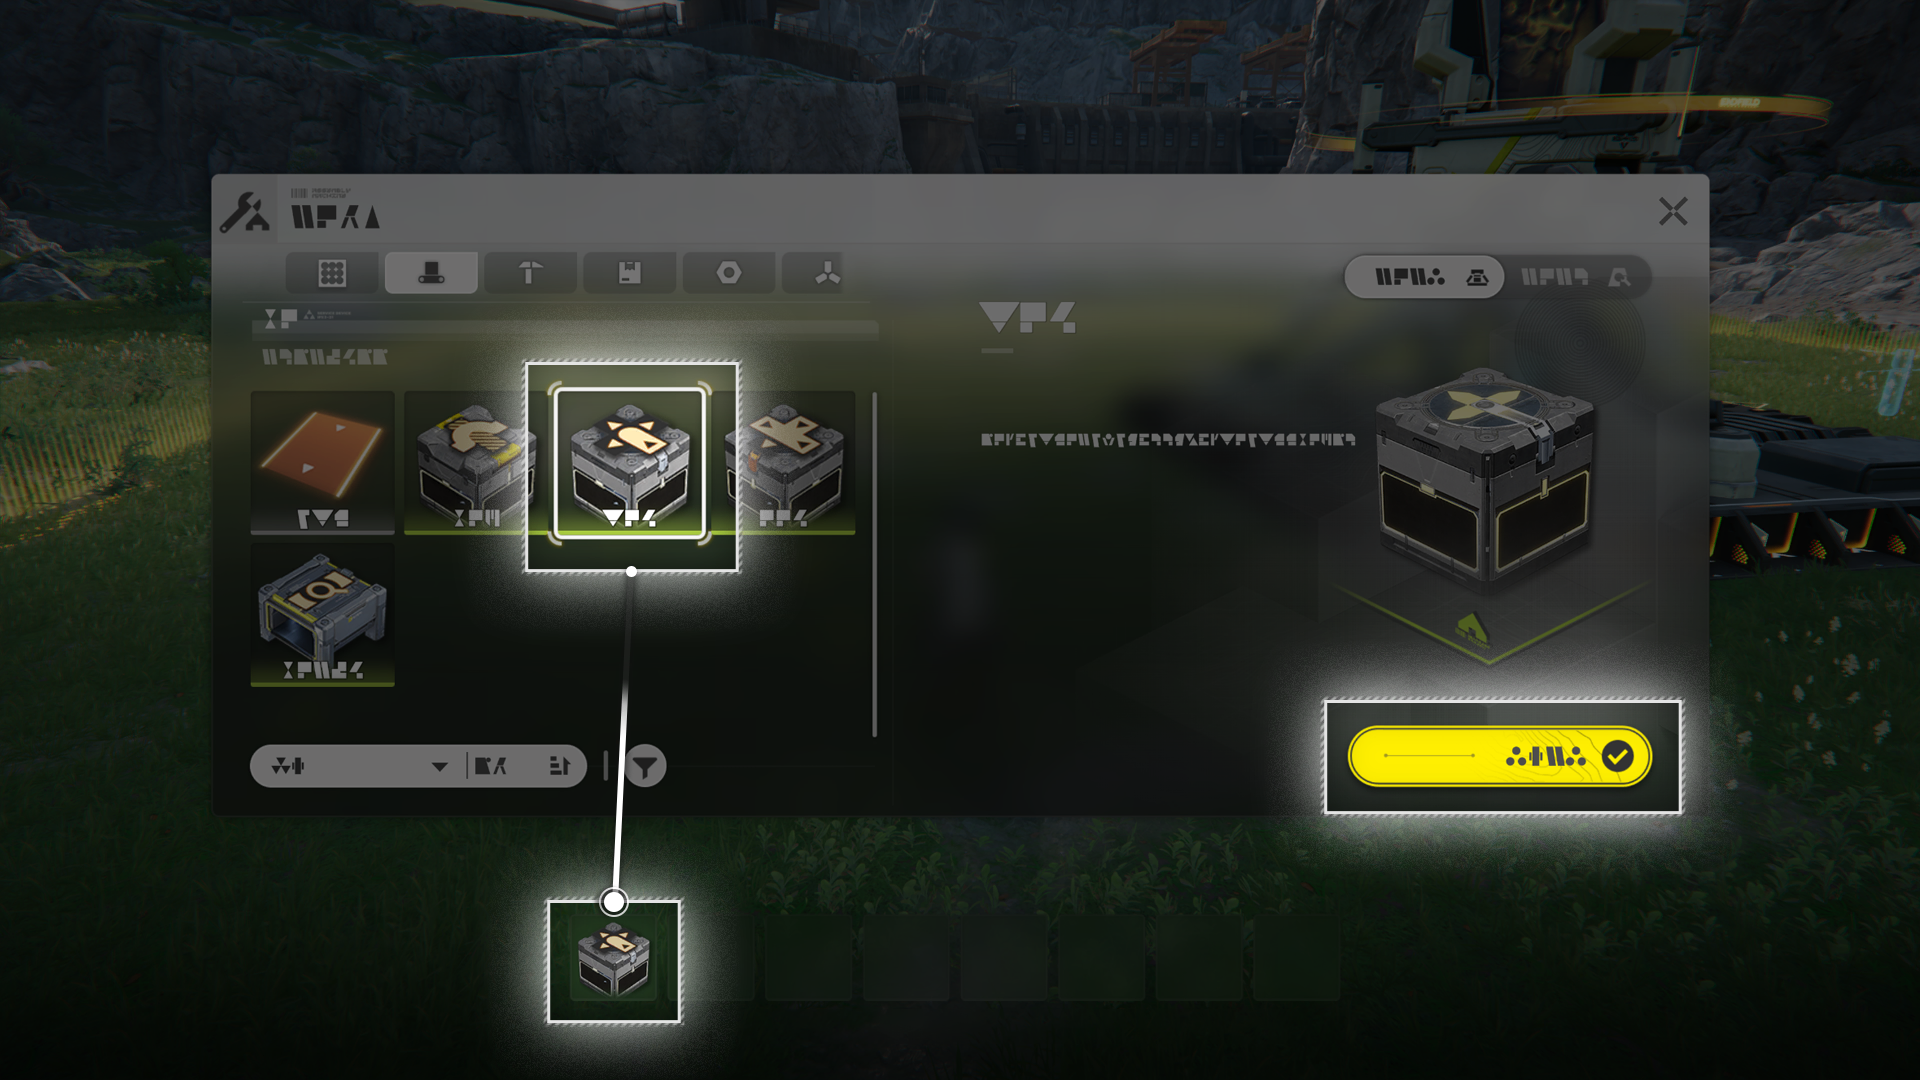
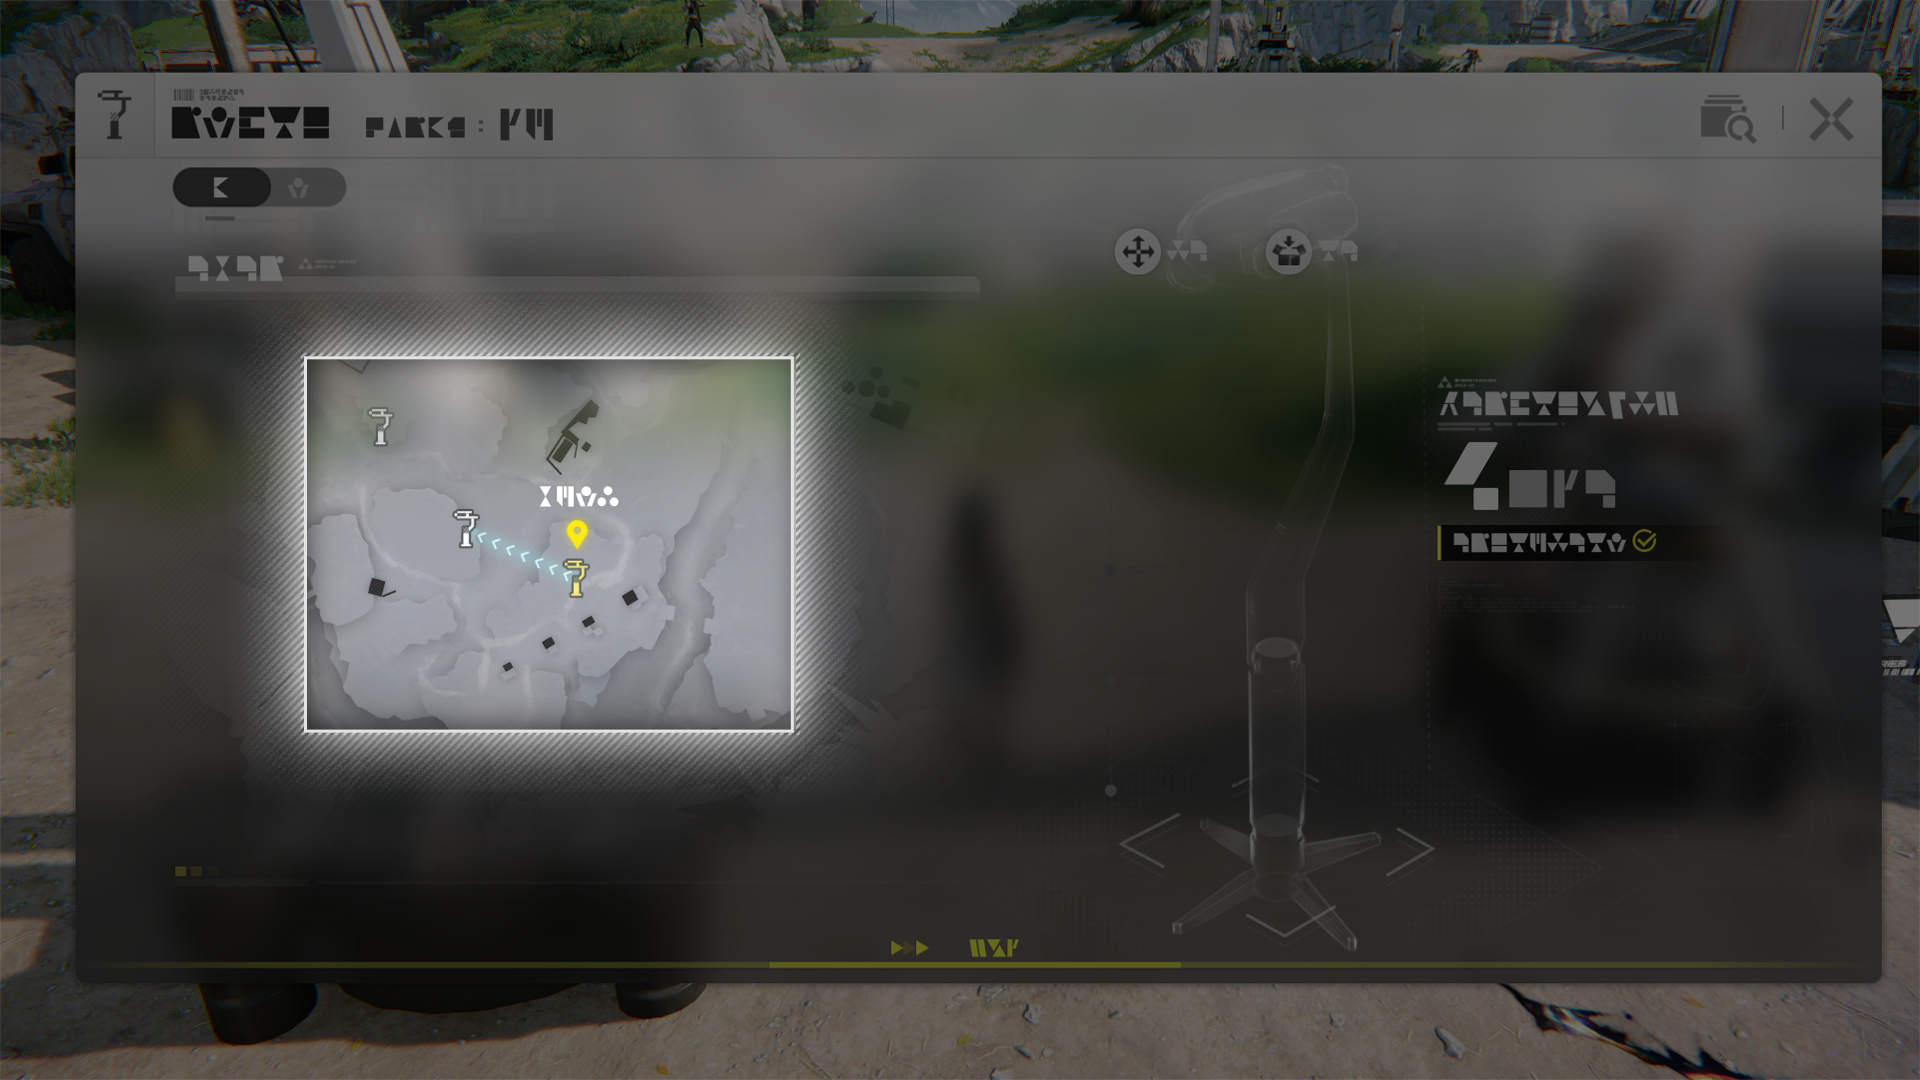
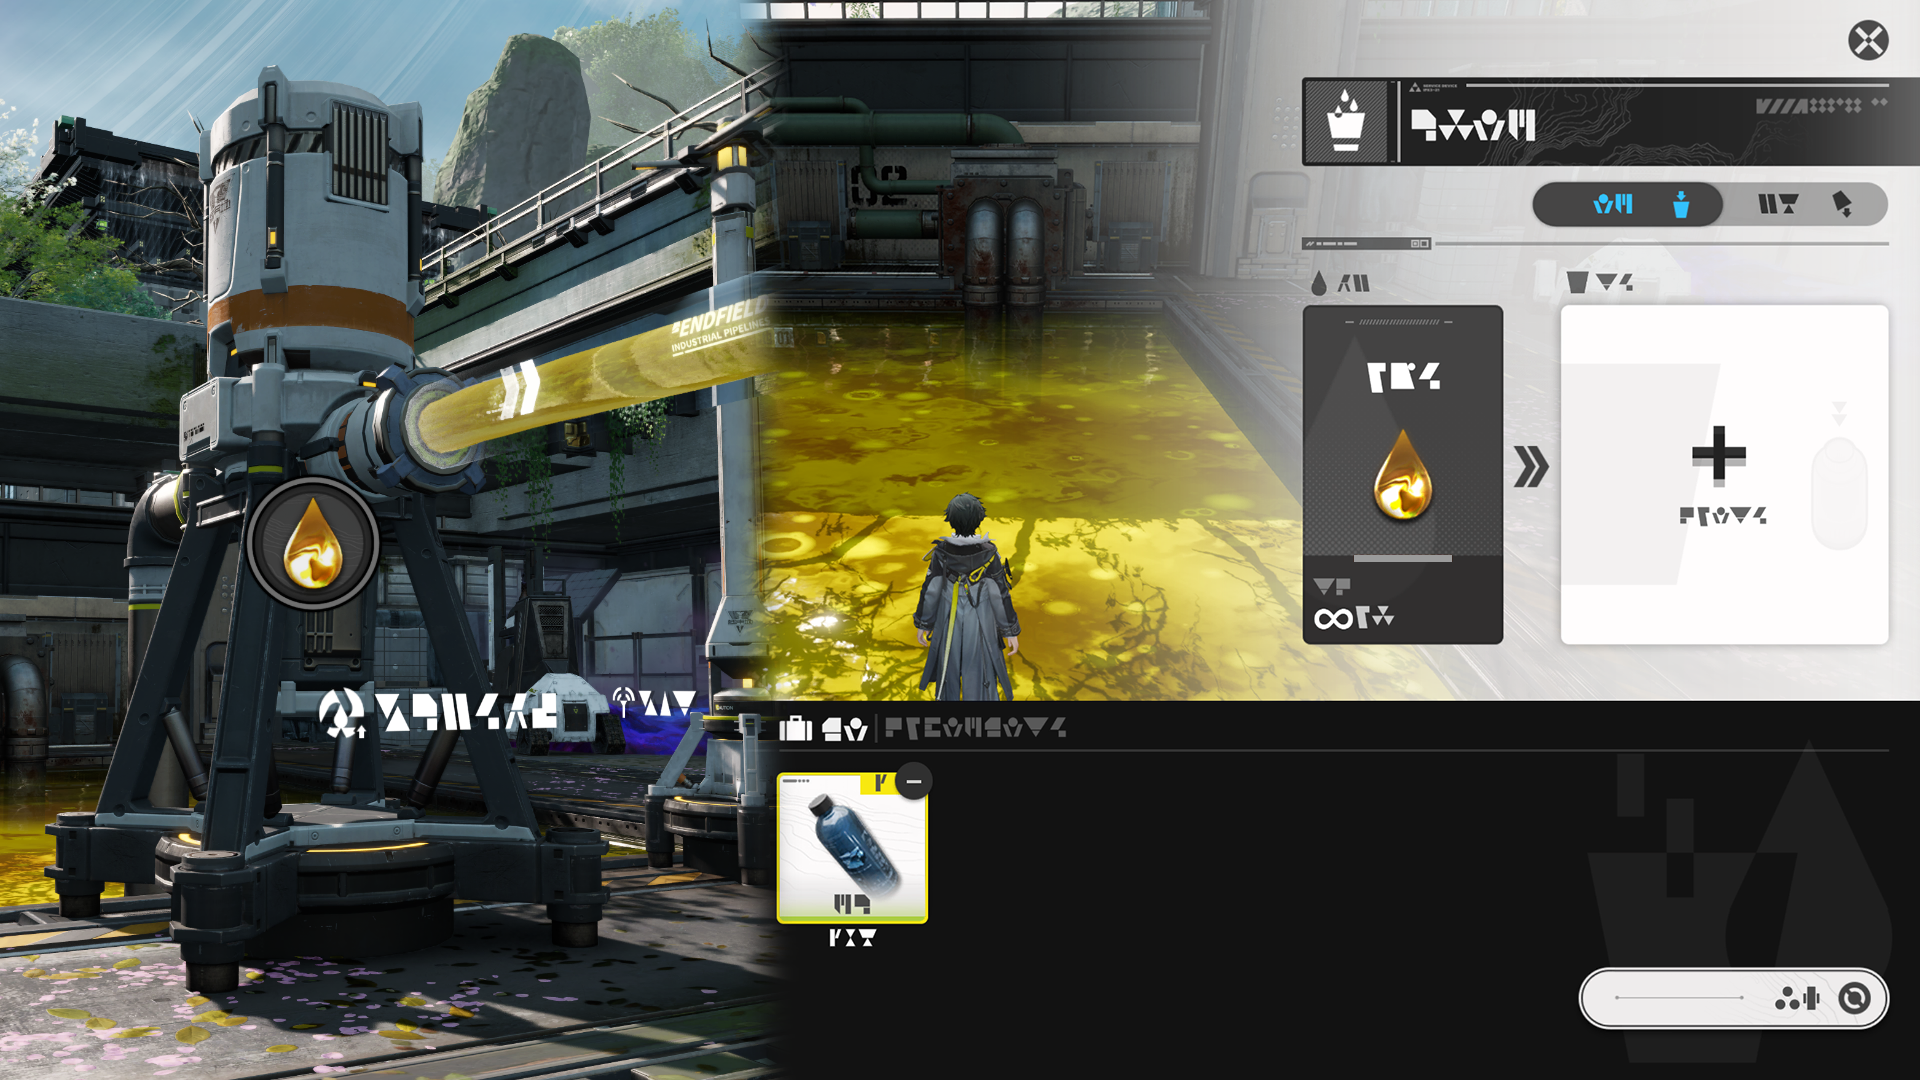
Transport Belt: Usage

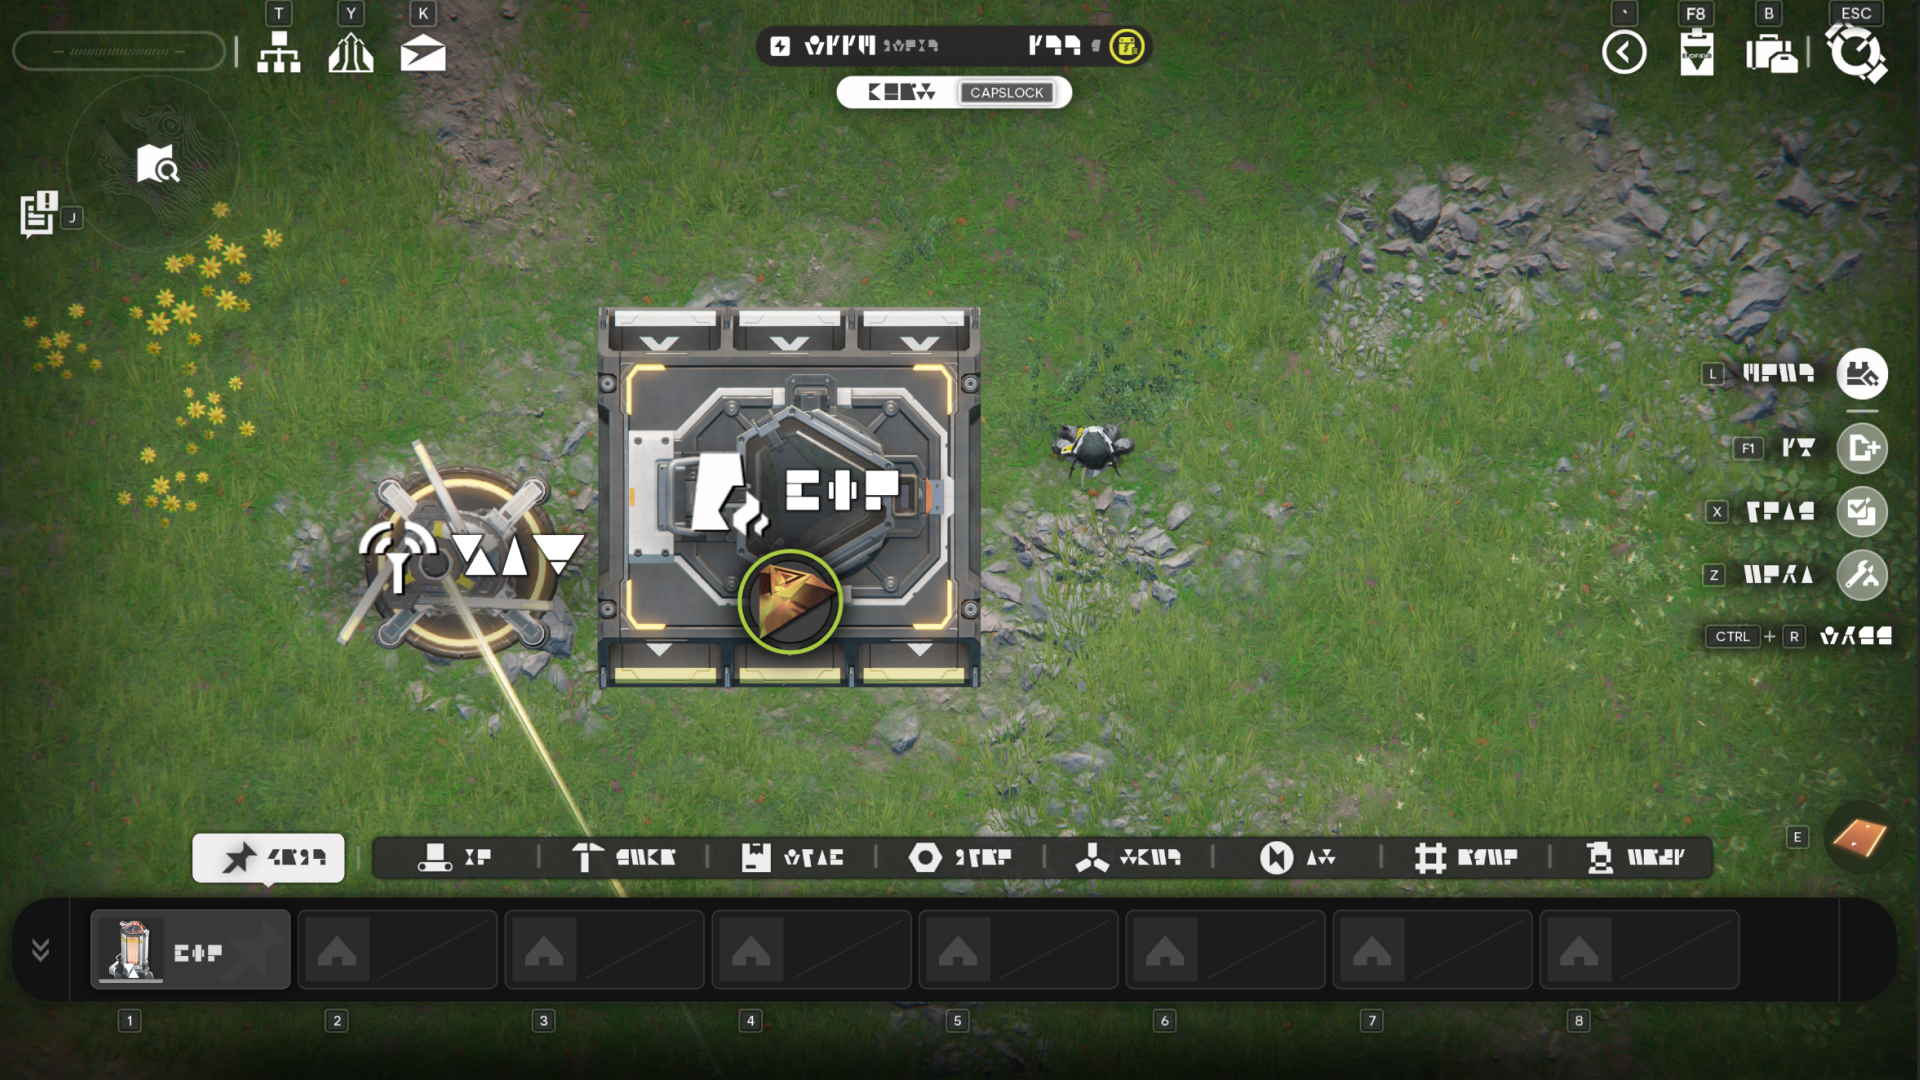
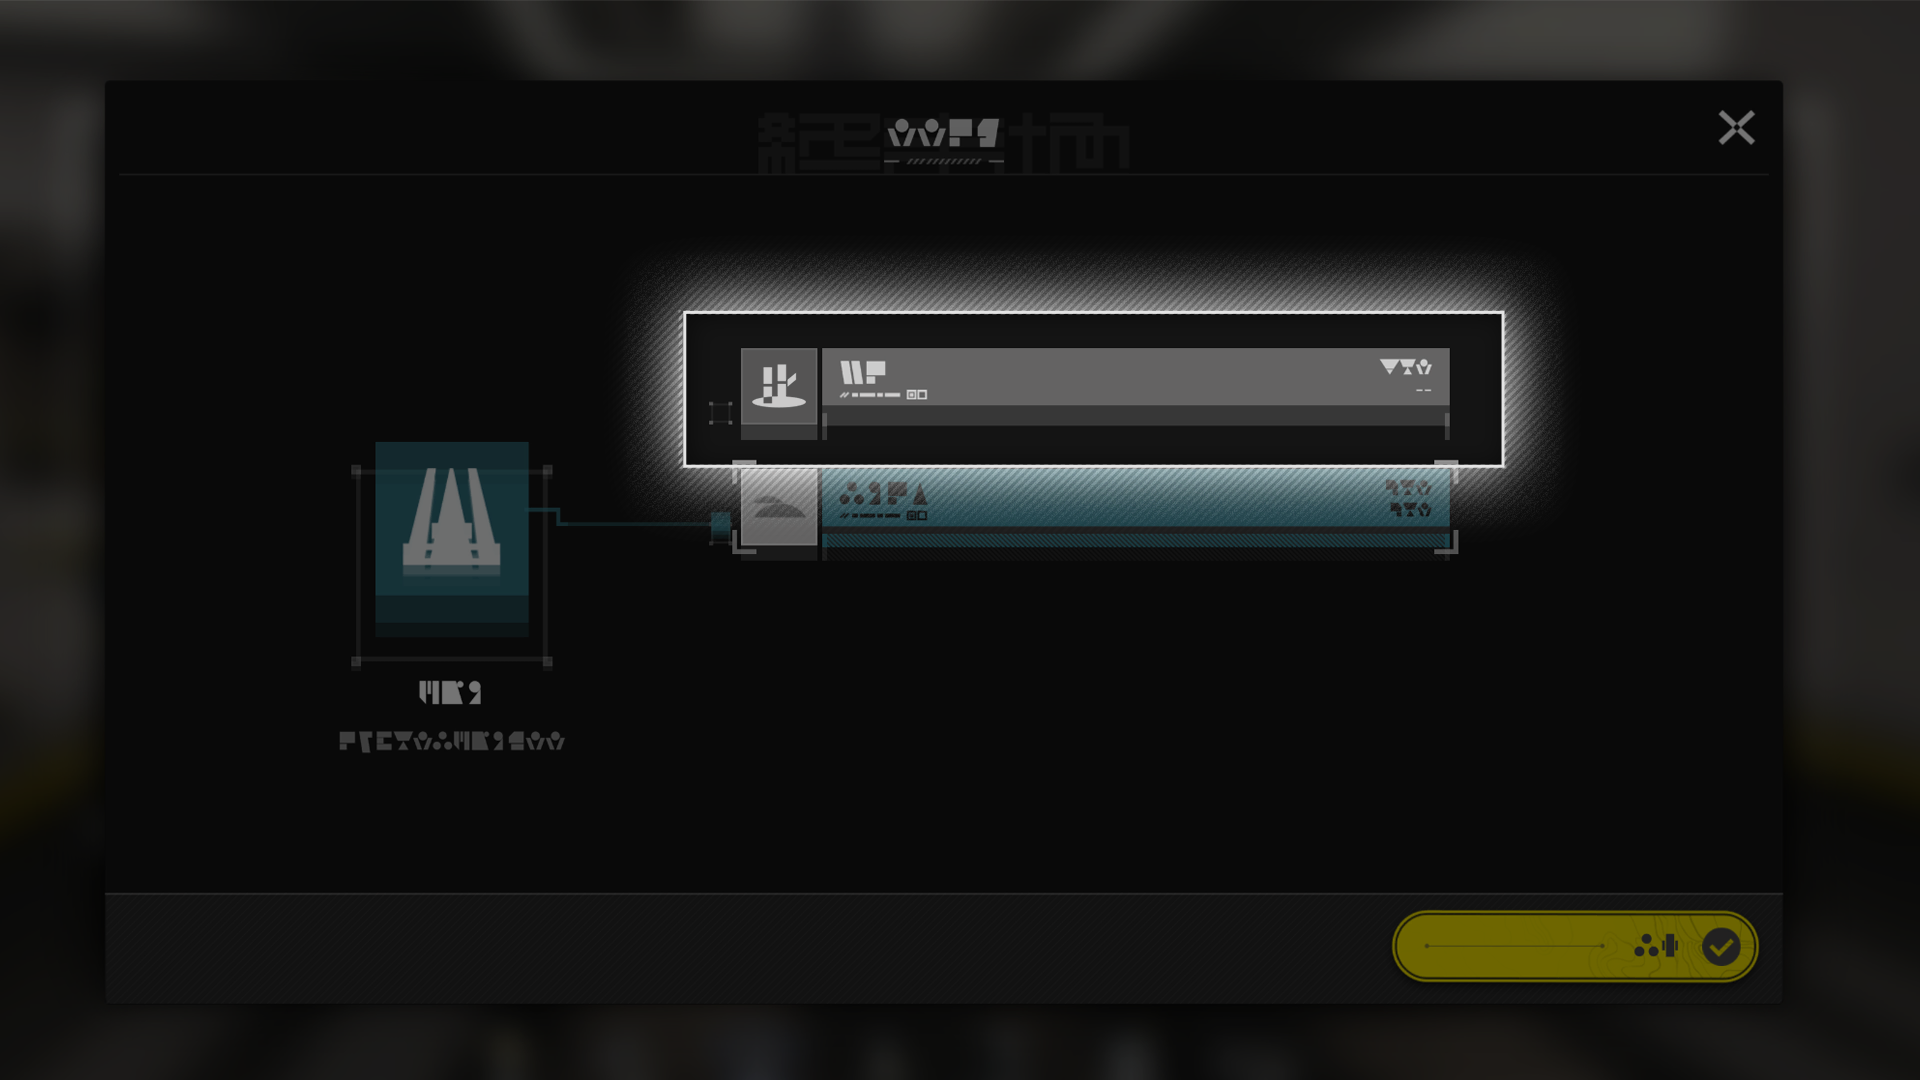
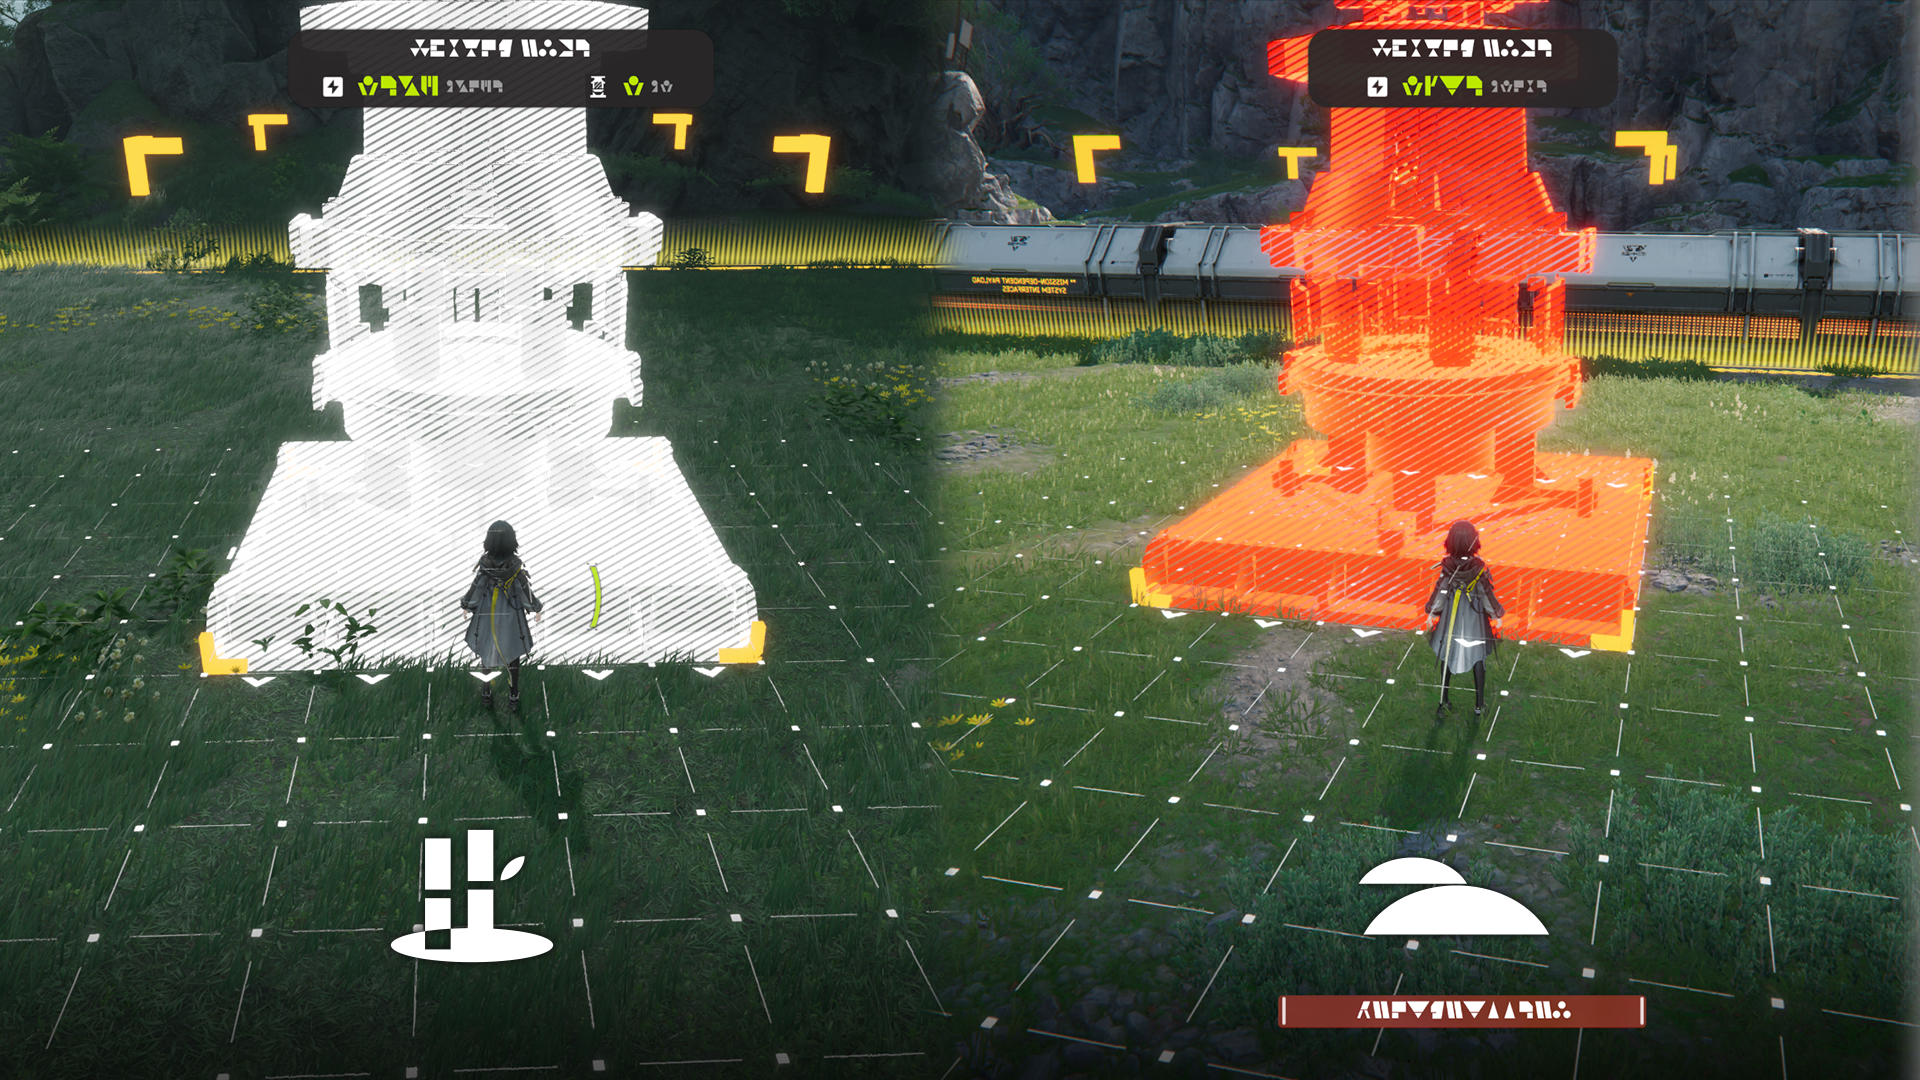
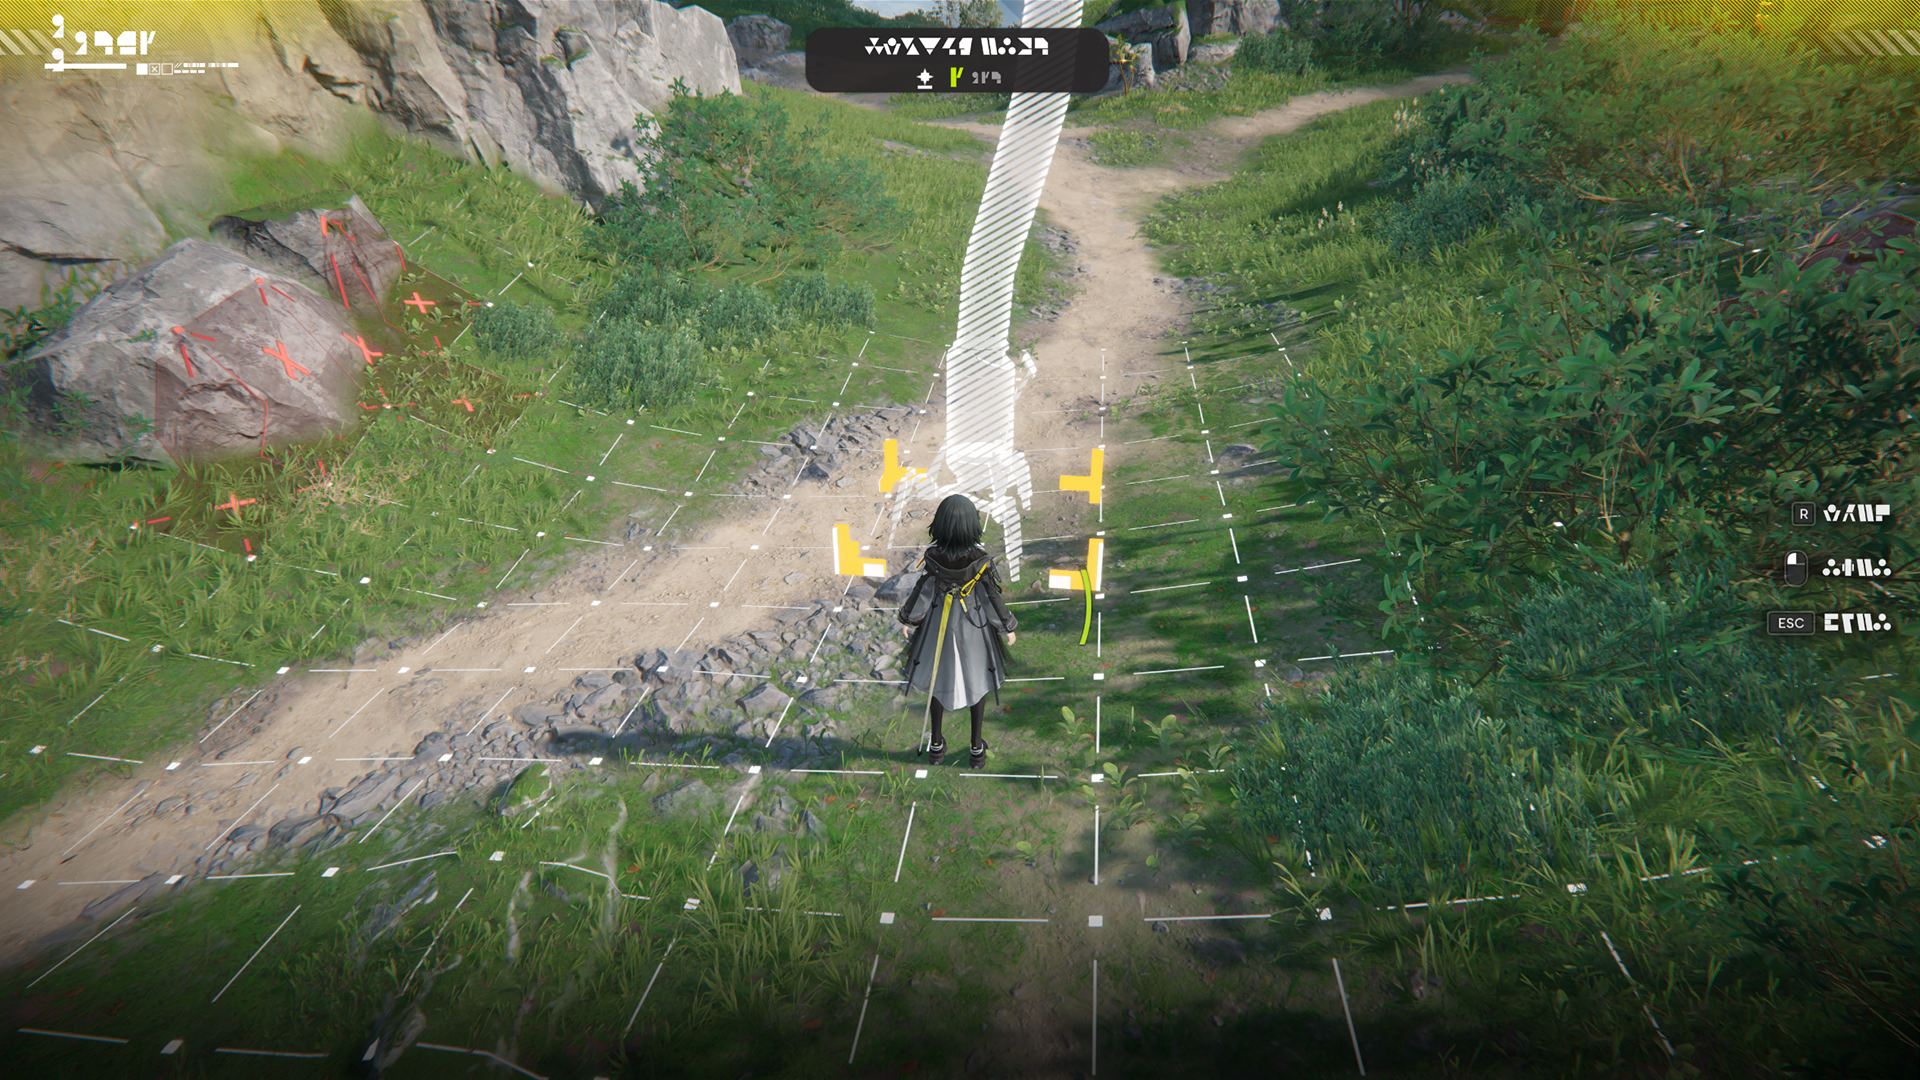
In the Core AIC Area, enter the transport belt mode to start placing transport belts. Select any grid on the ground, facility outputs, or facility inputs to determine the directions of the transport belt and plan its route.

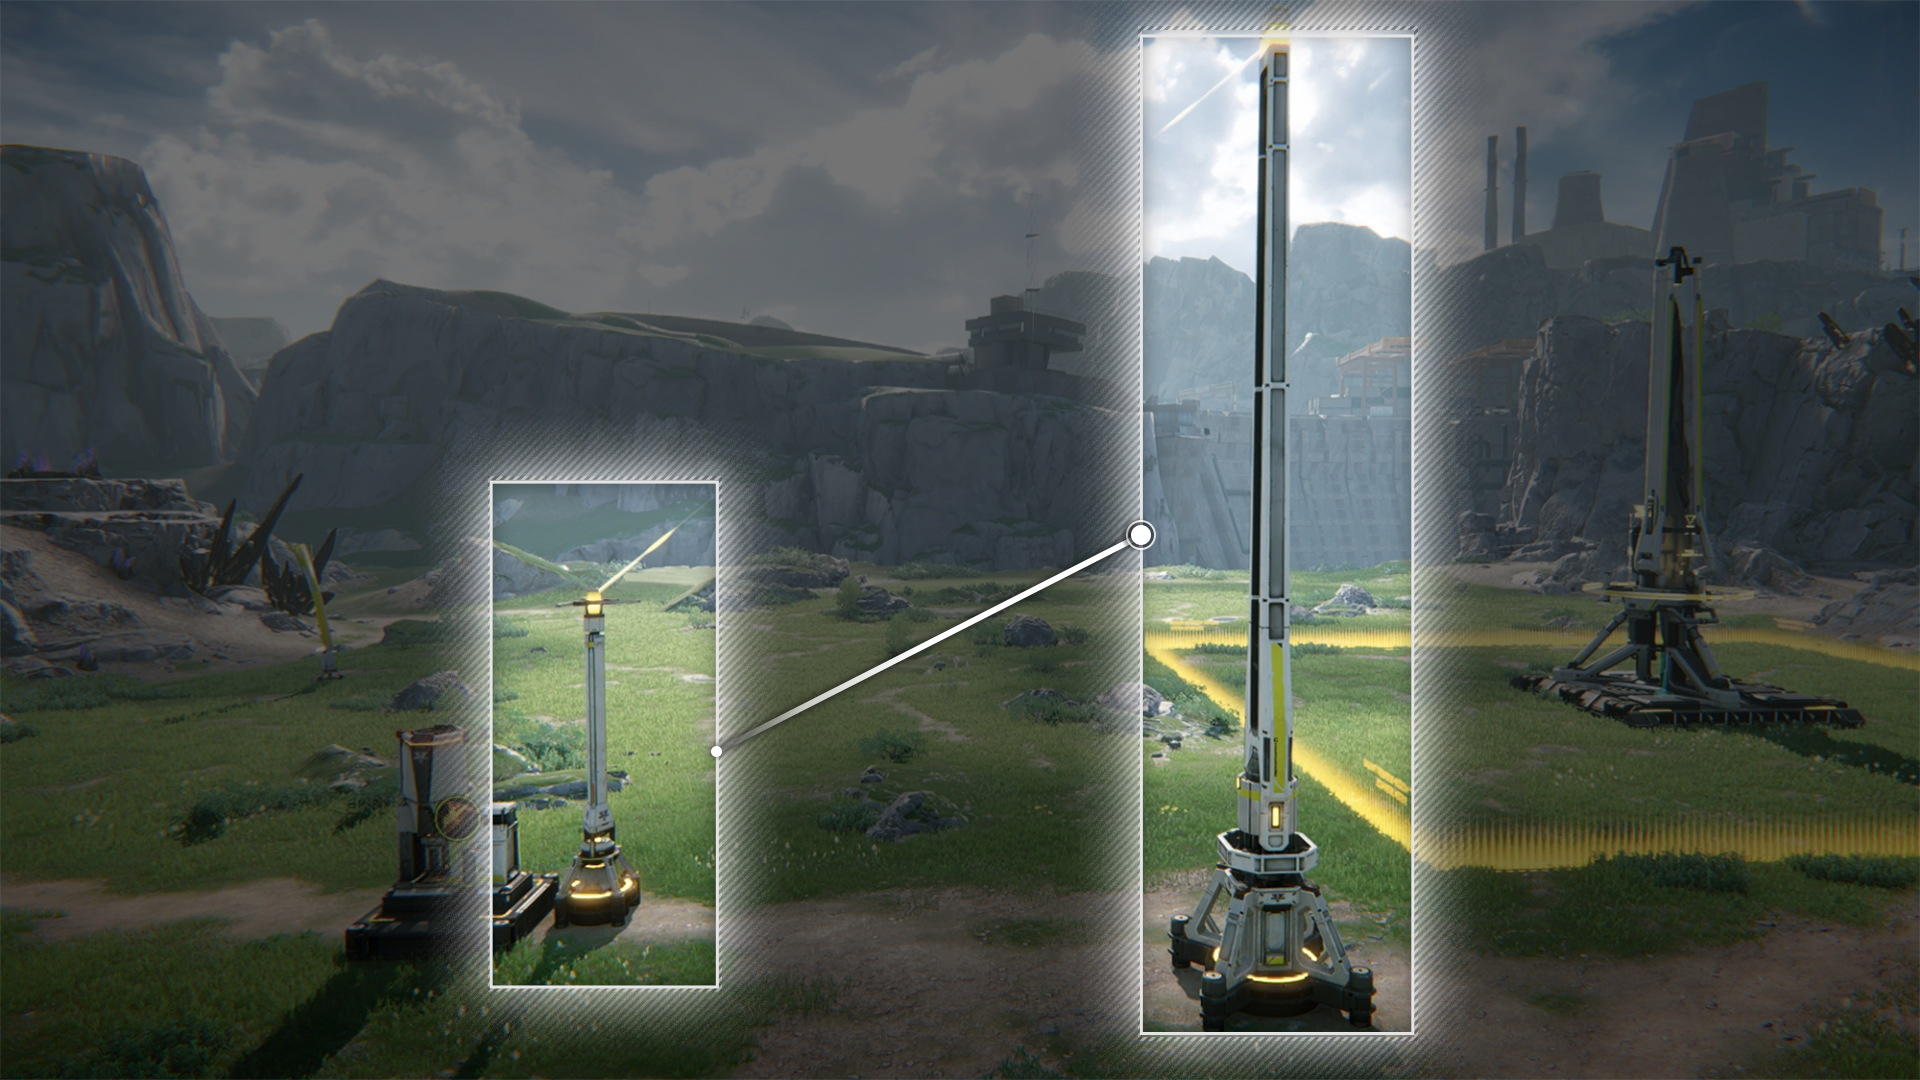
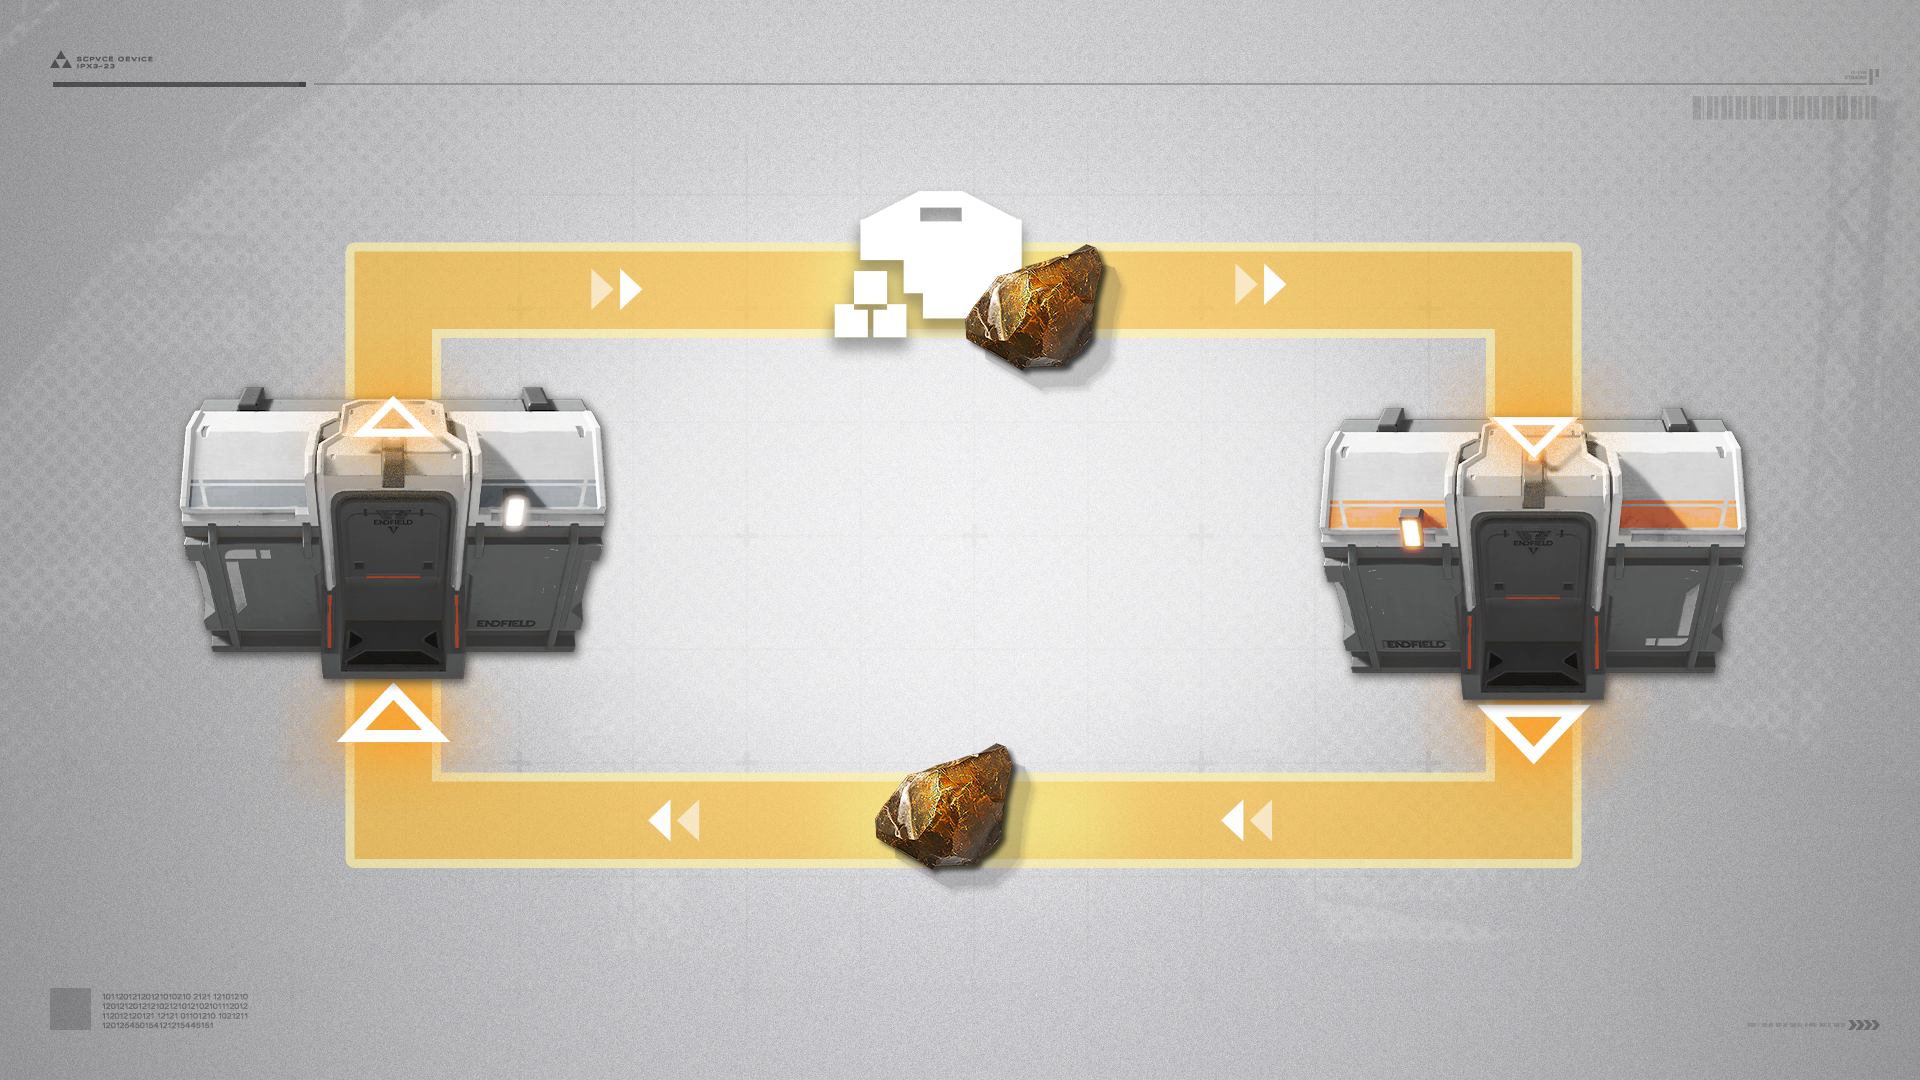
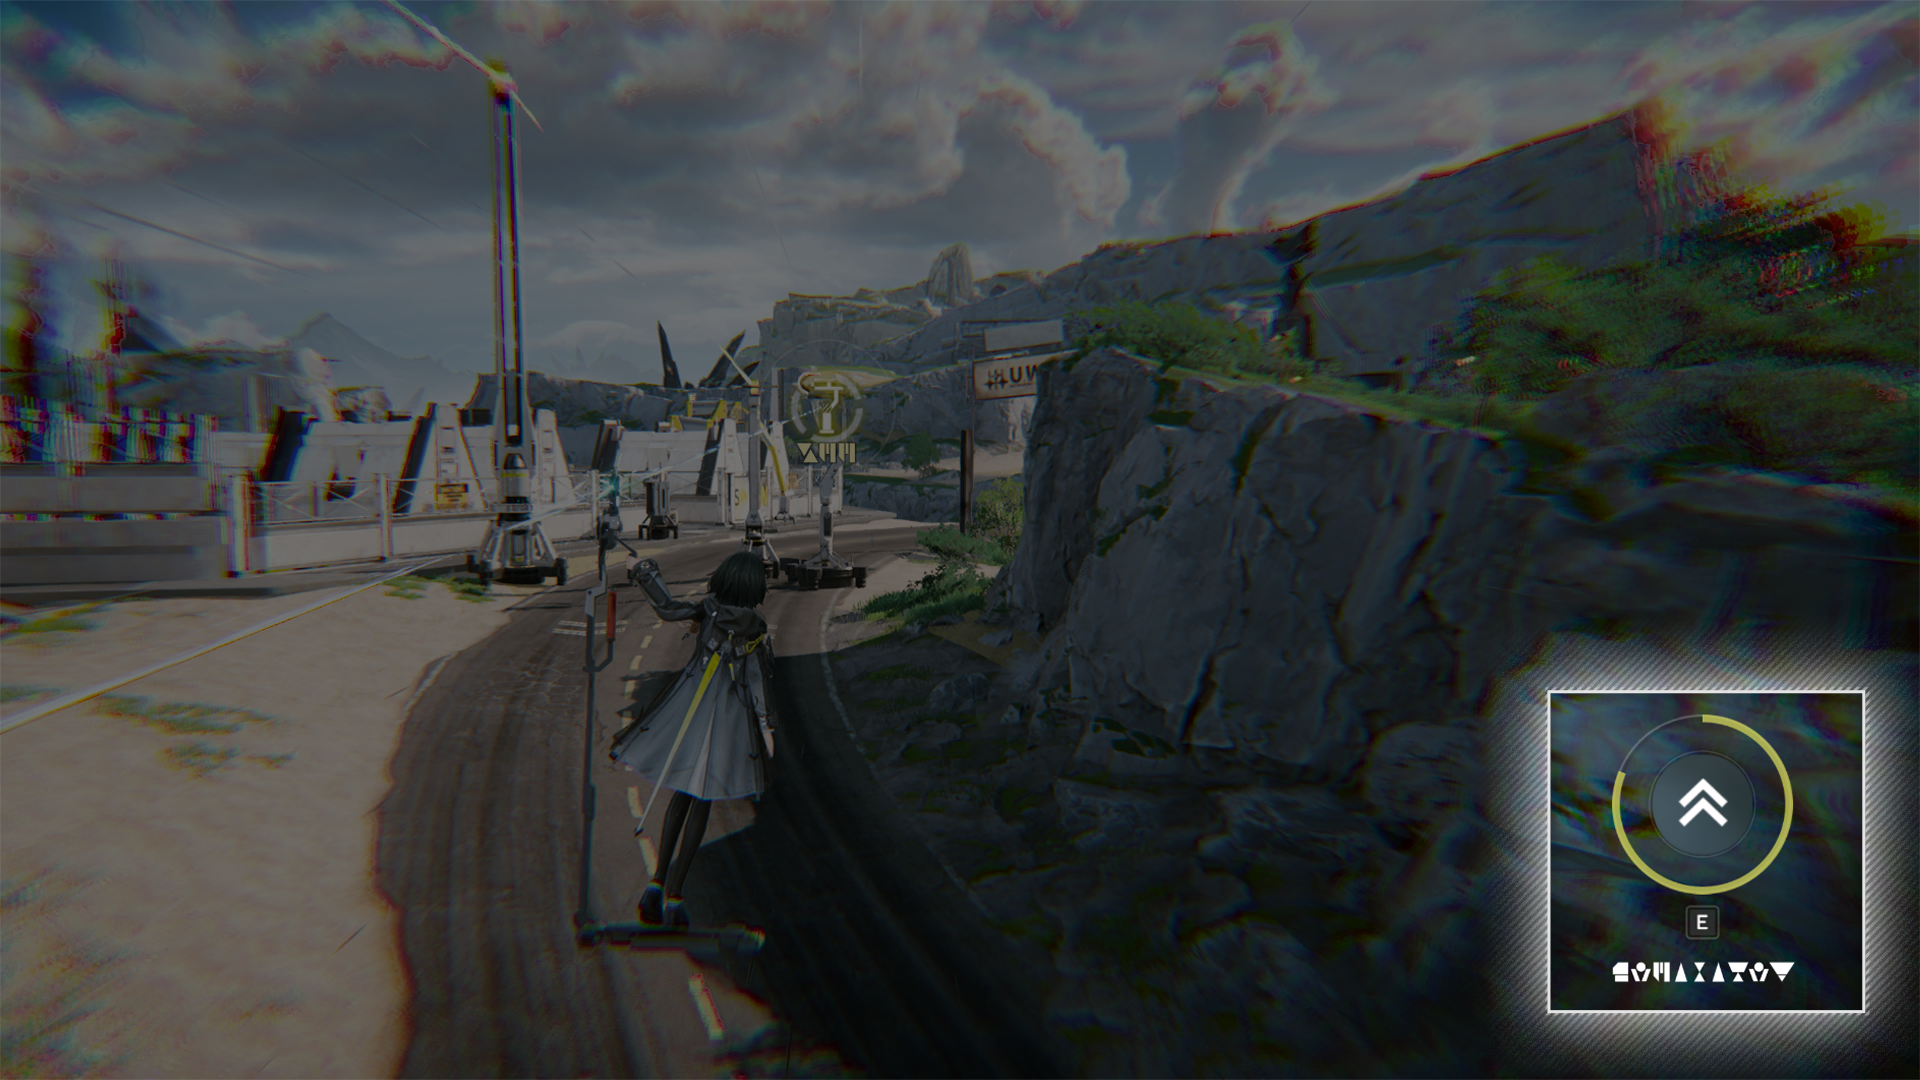
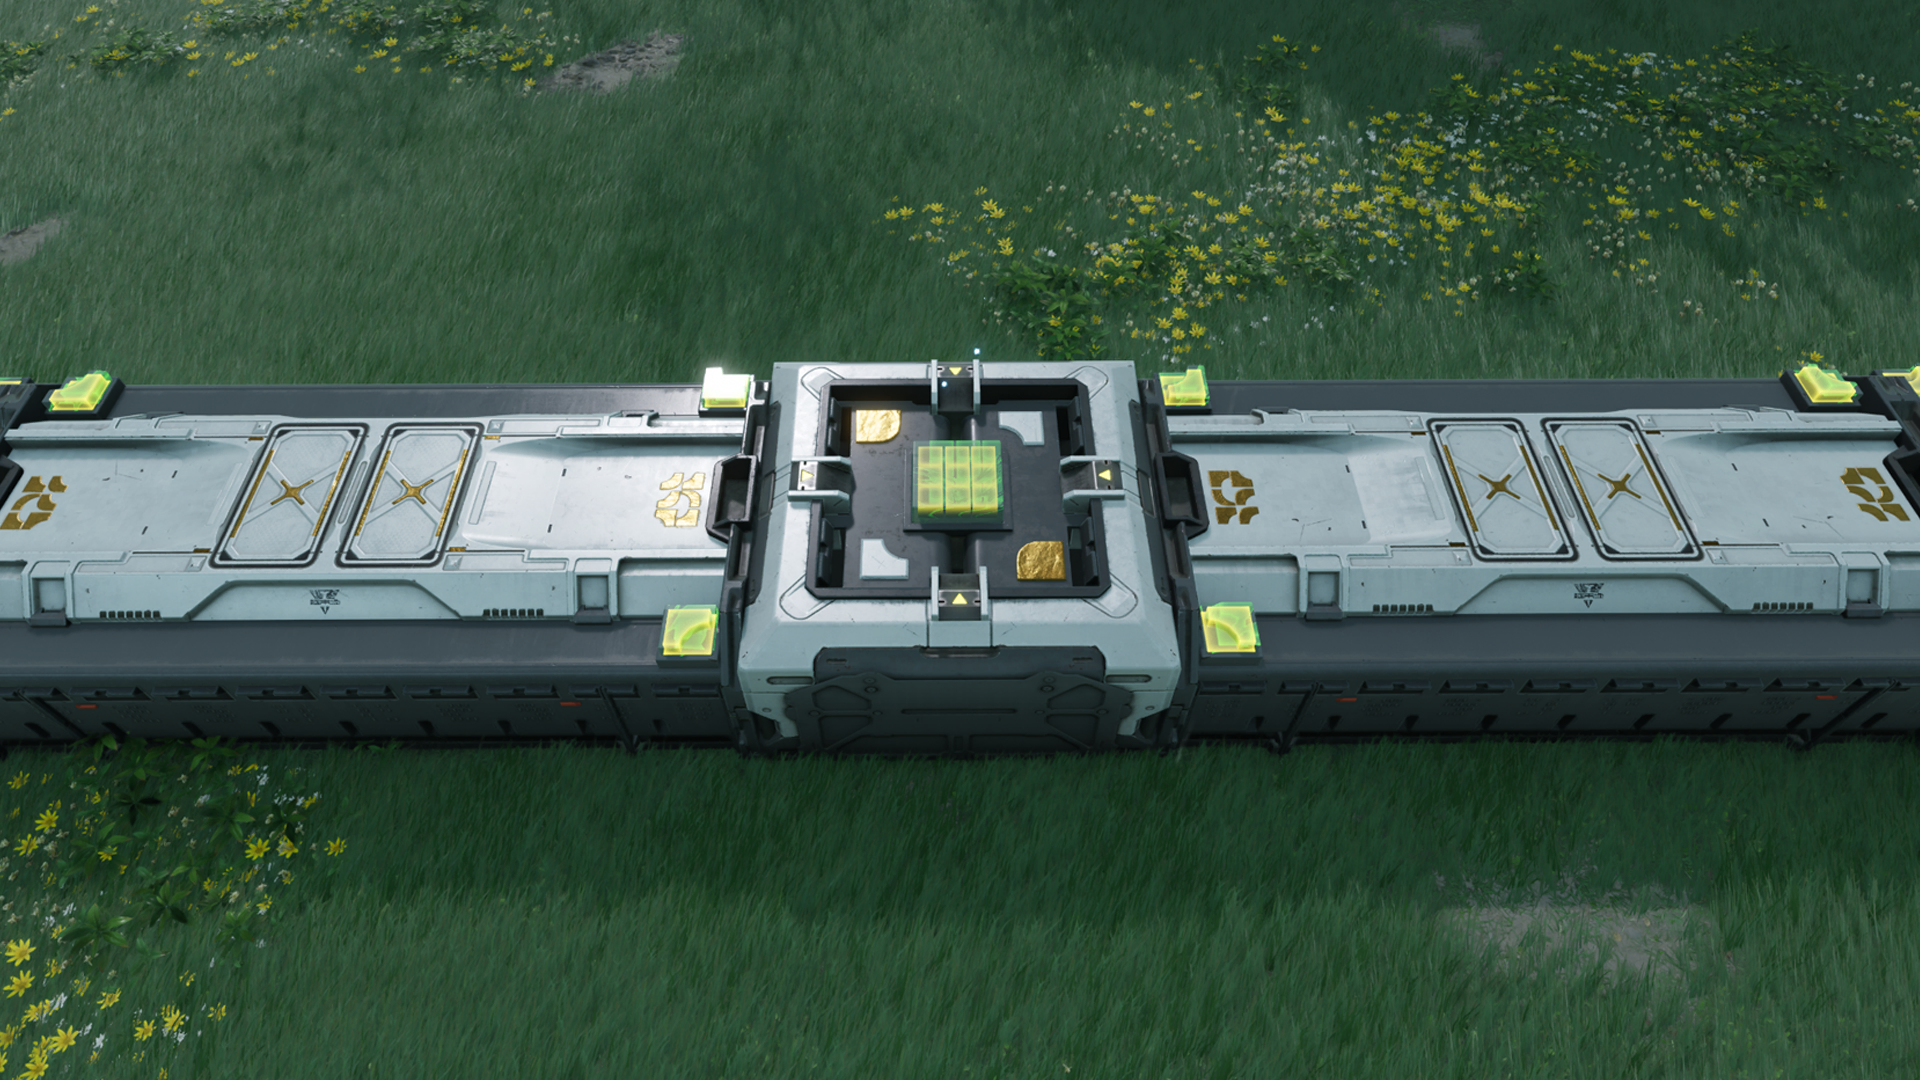
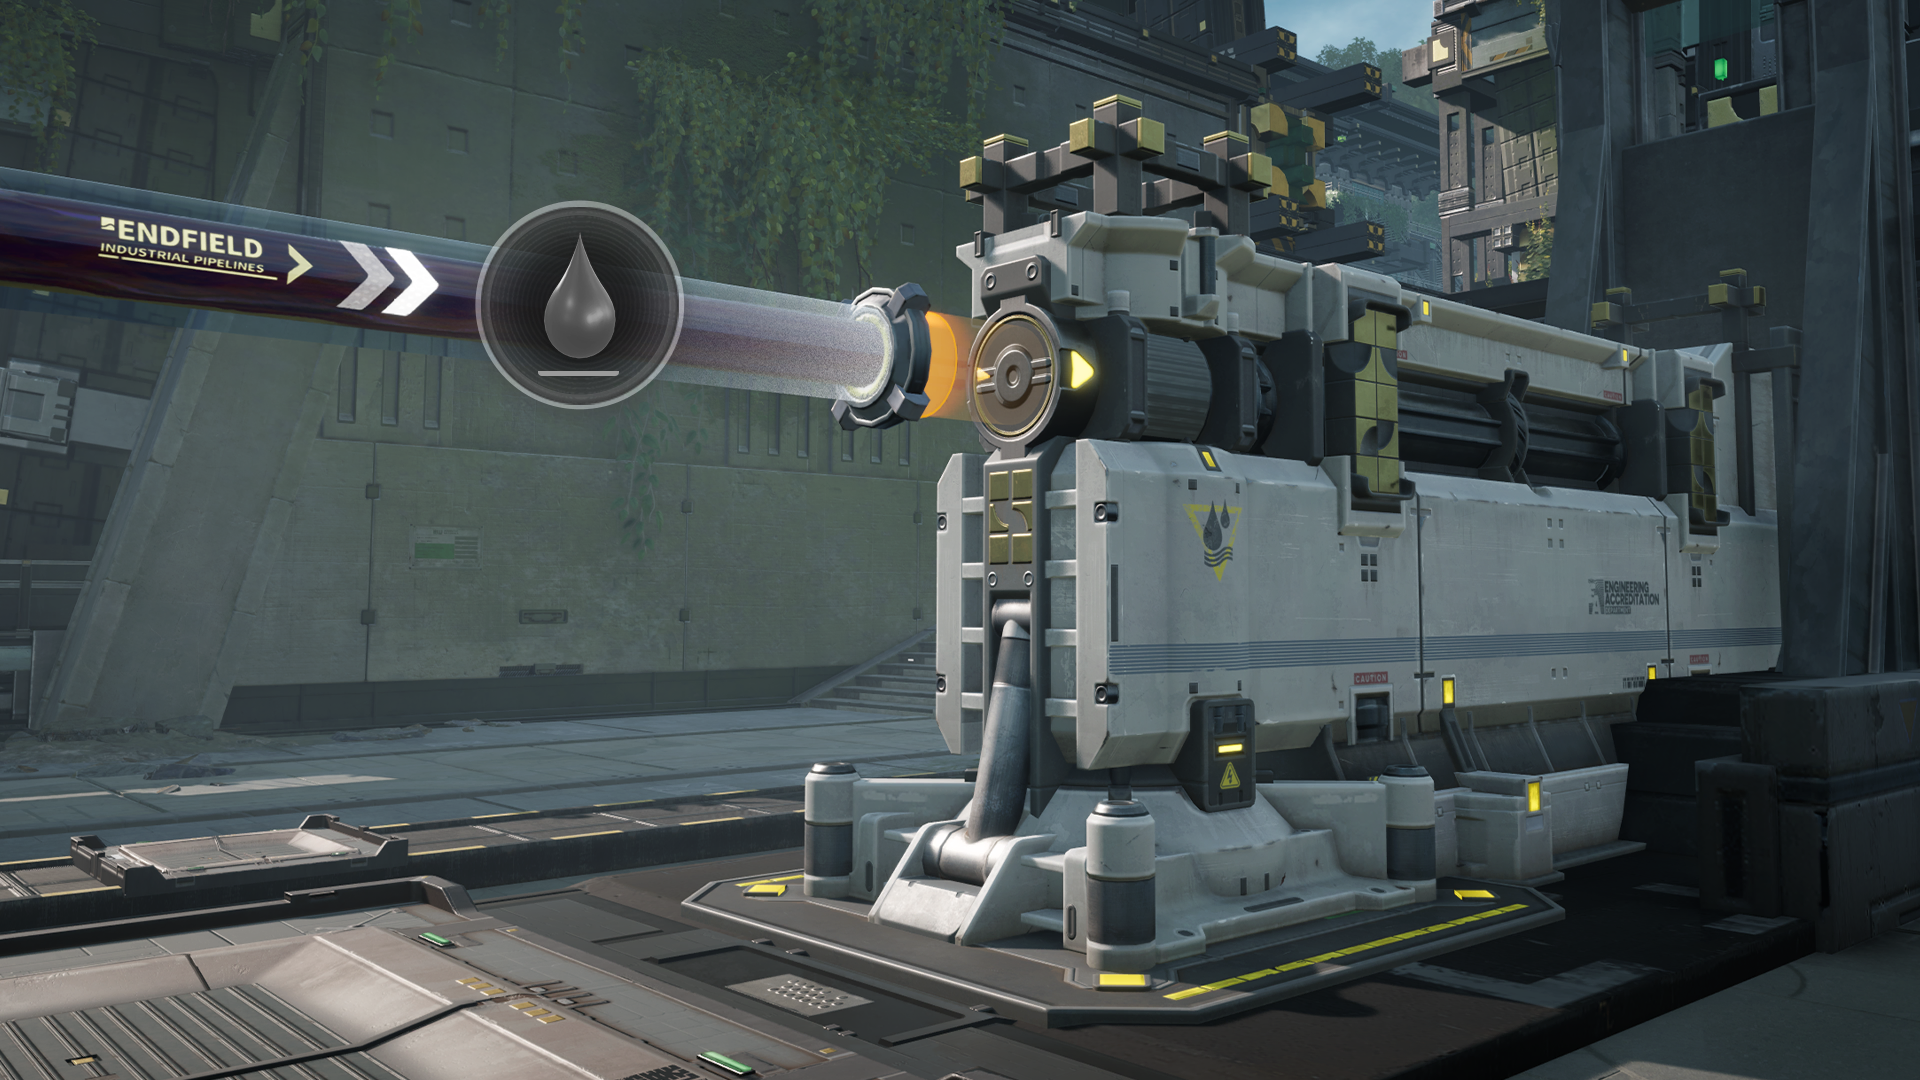
Transport Belt: Logistics Arrows

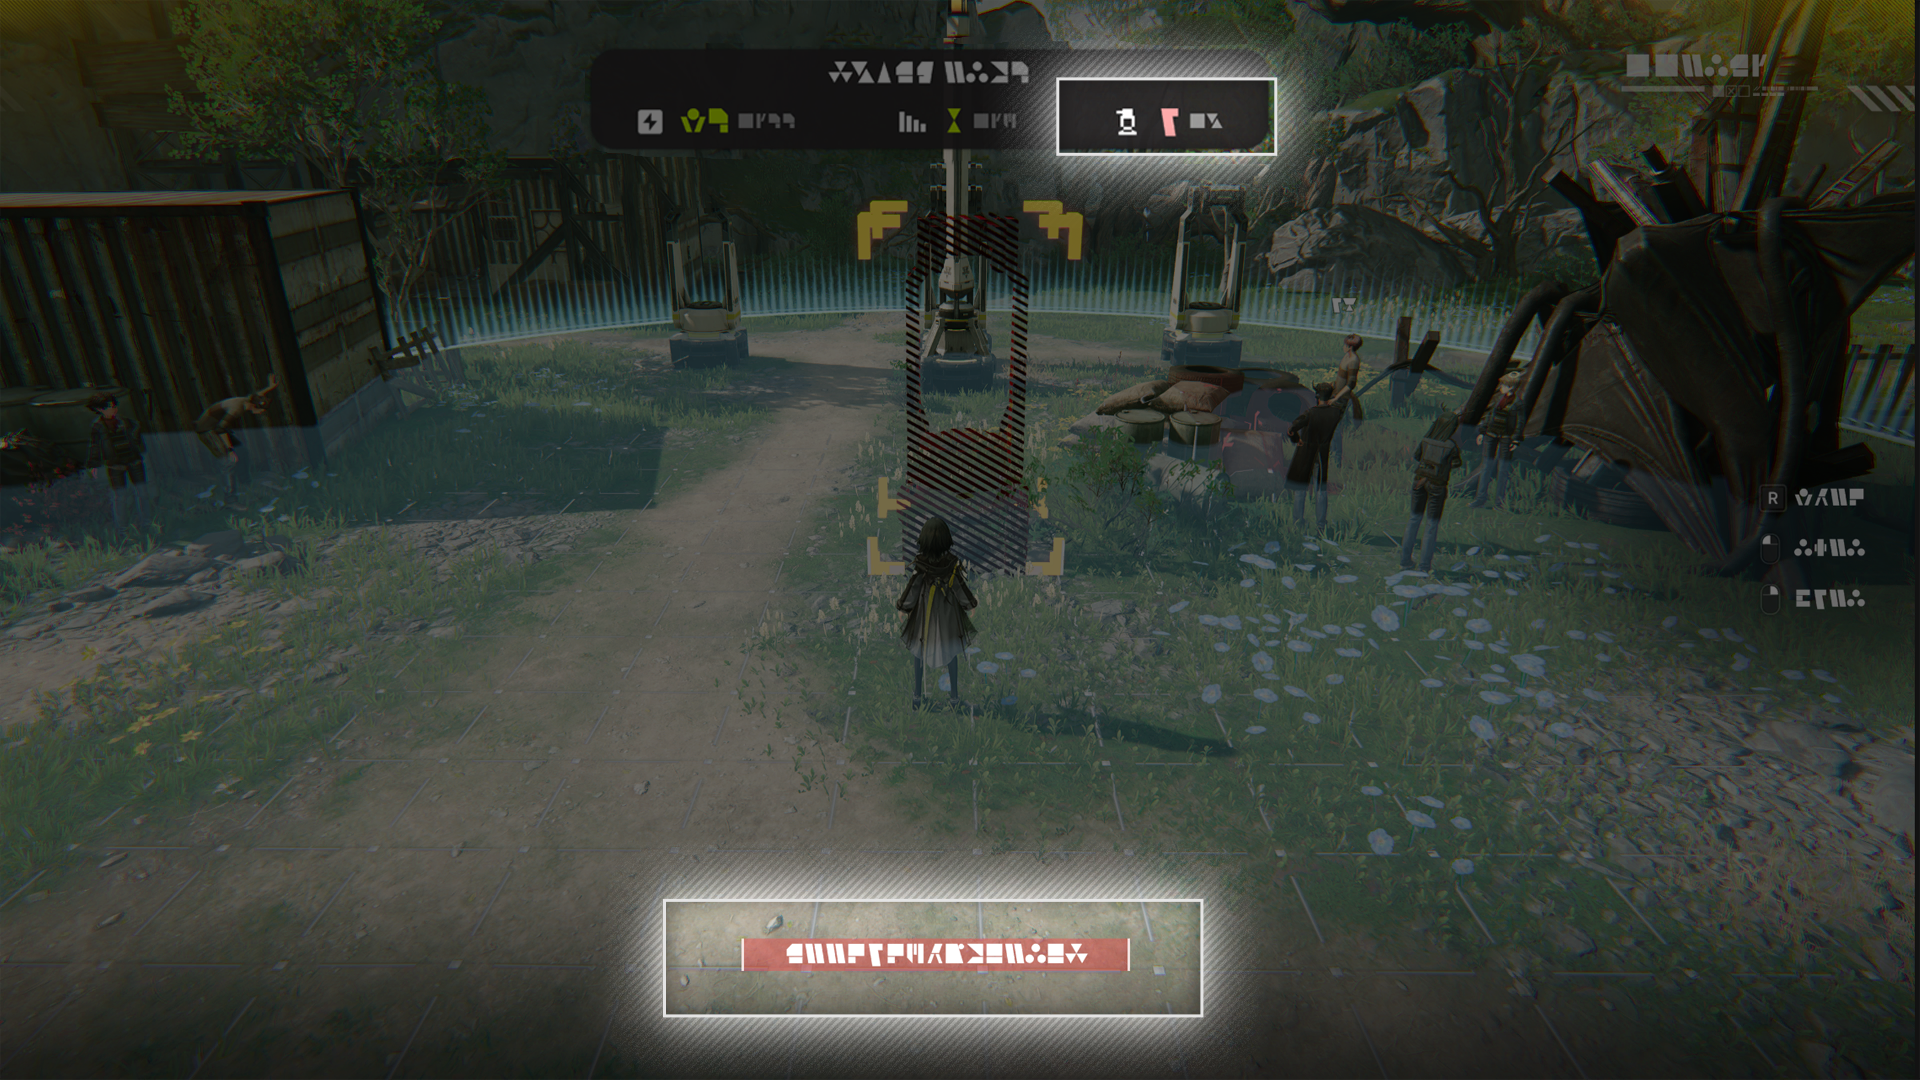
When placing transport belts, the input and output ports of facilities will be marked with conspicuous arrows. Any transport belt must start from a facility or another transport belt already placed.

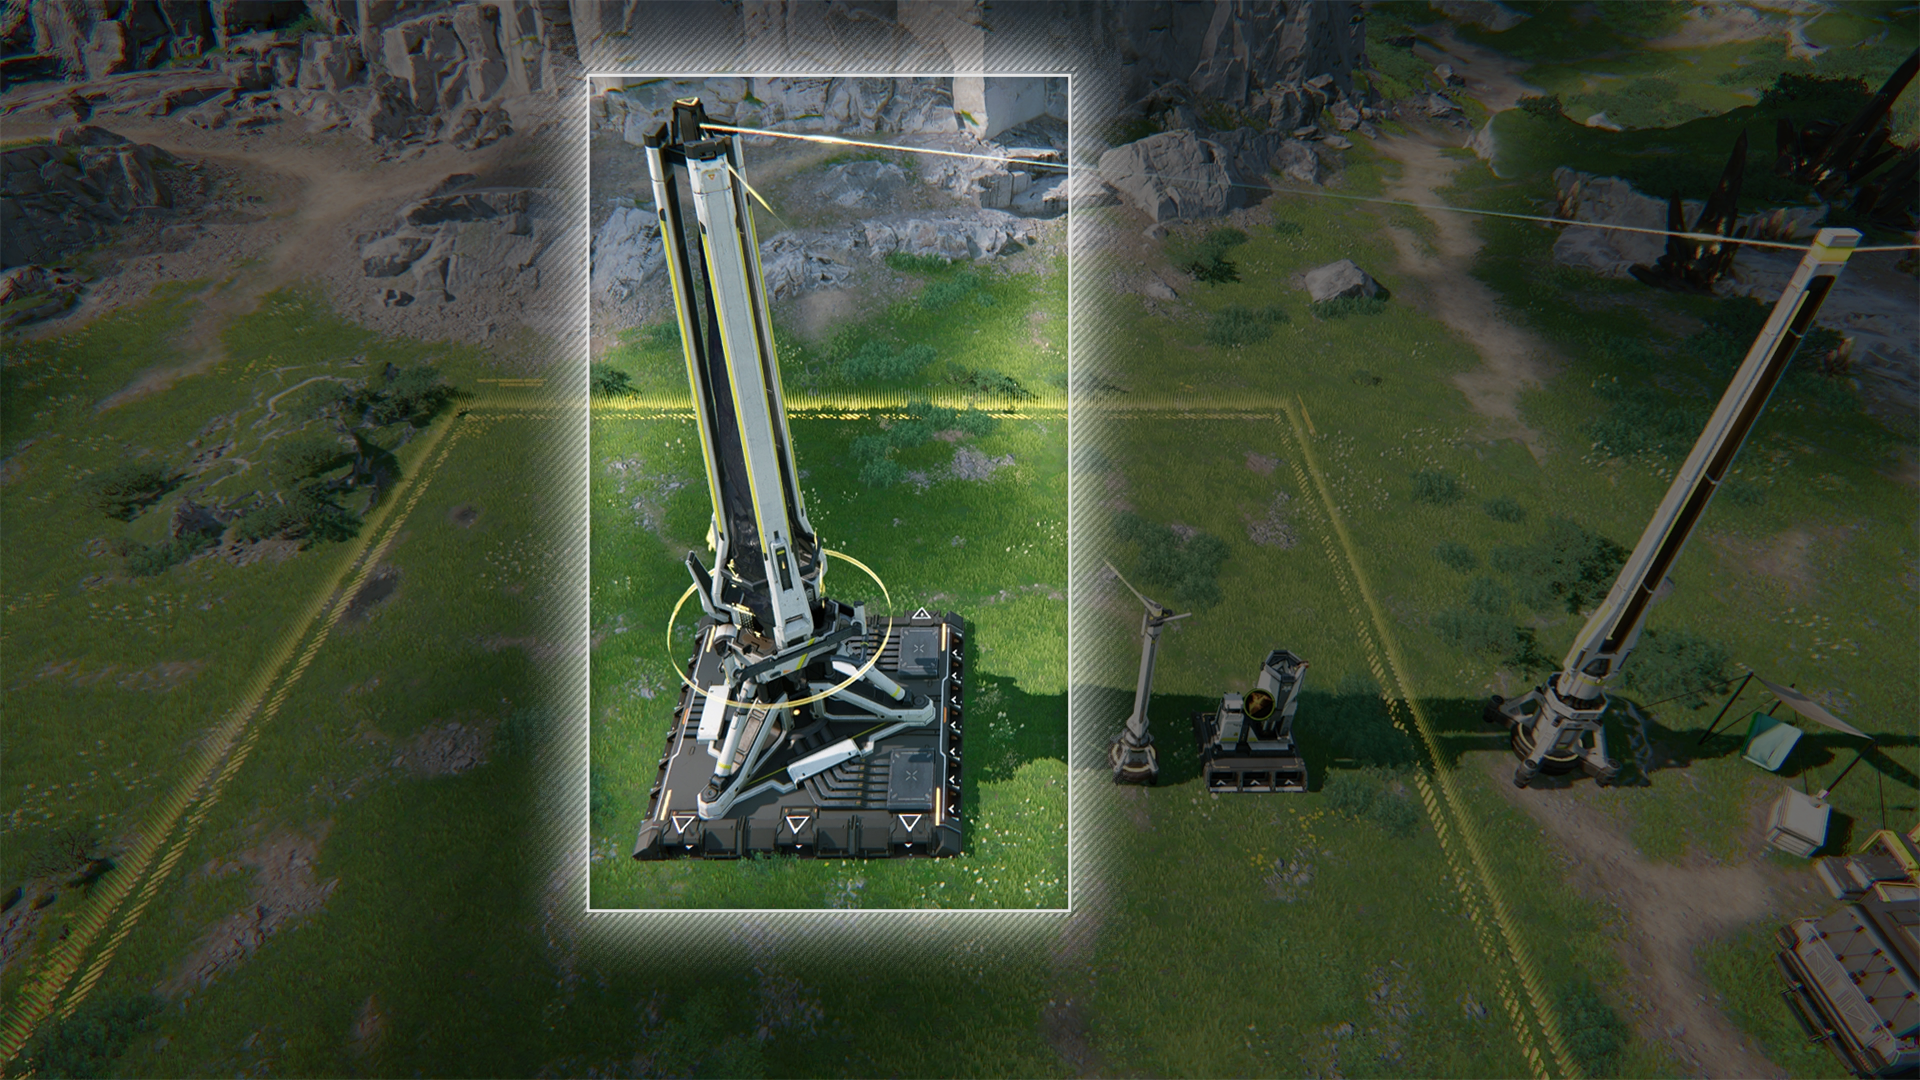
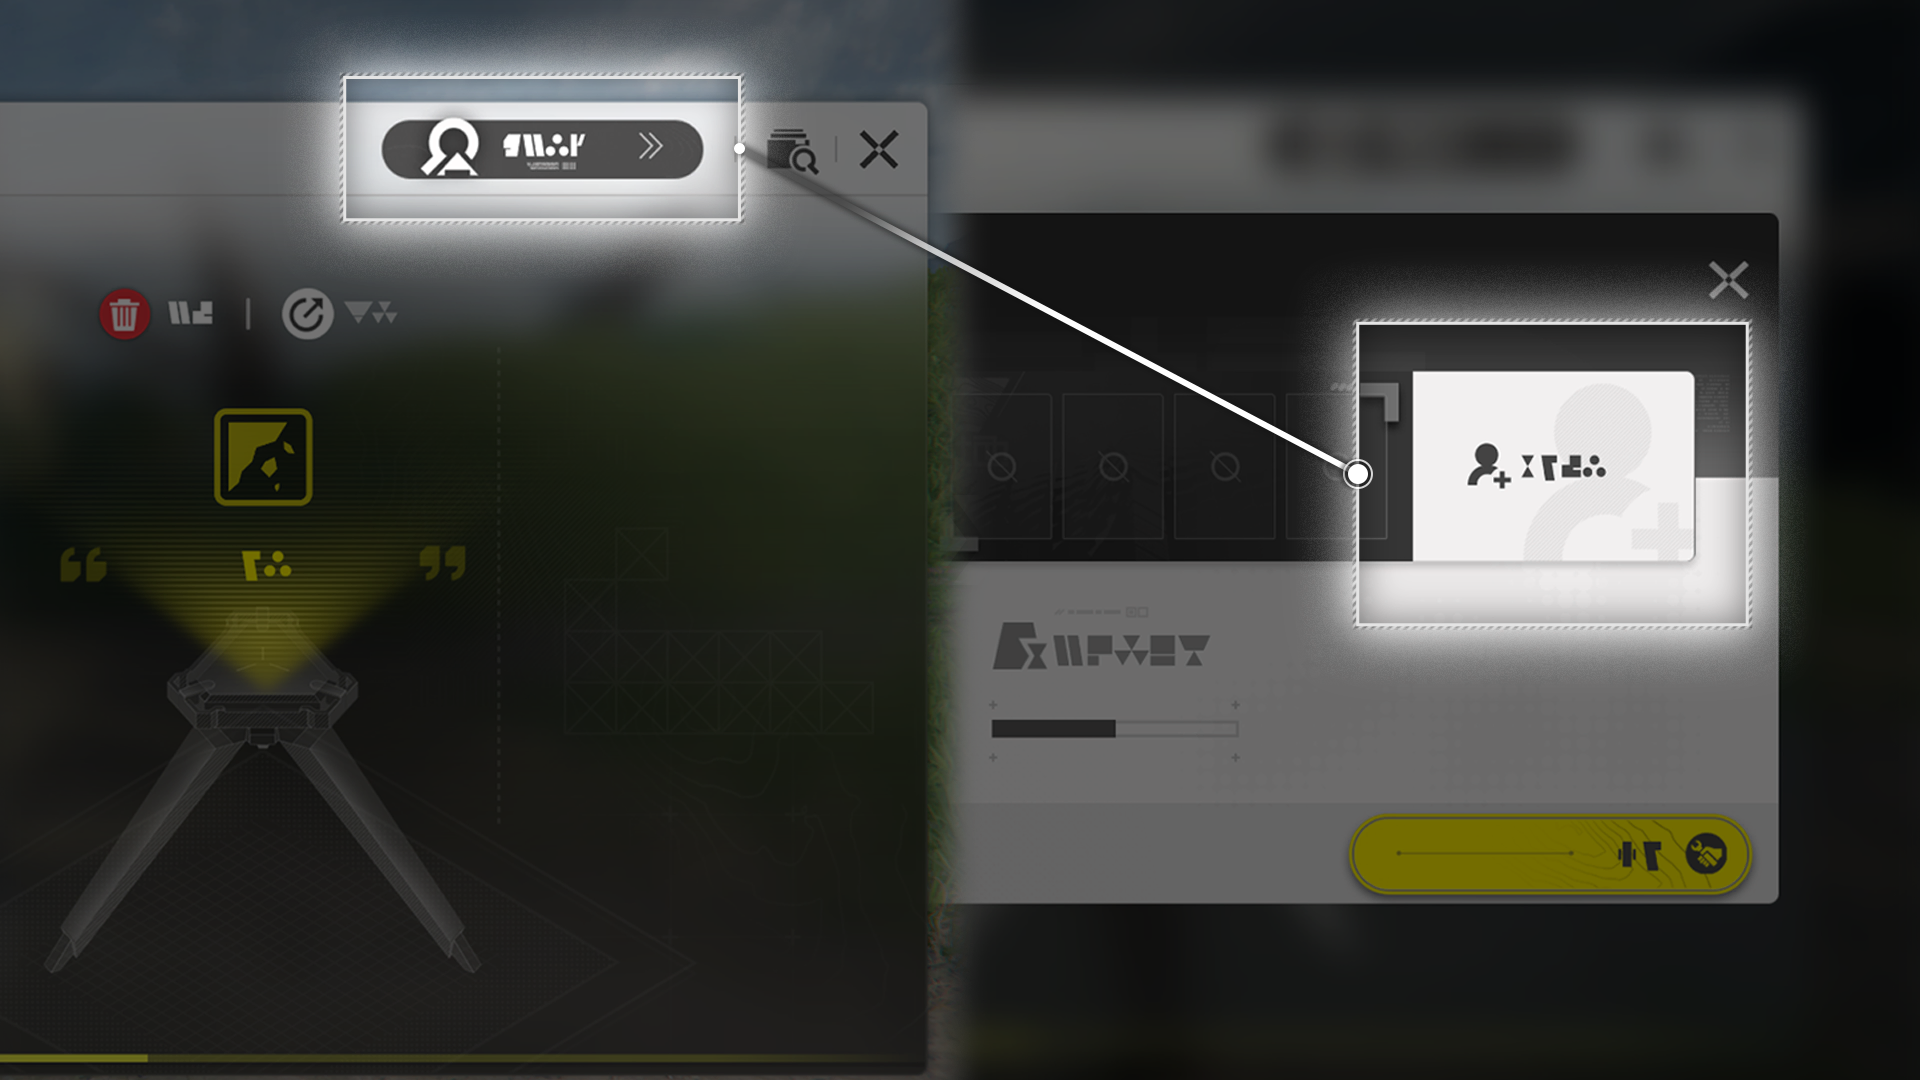
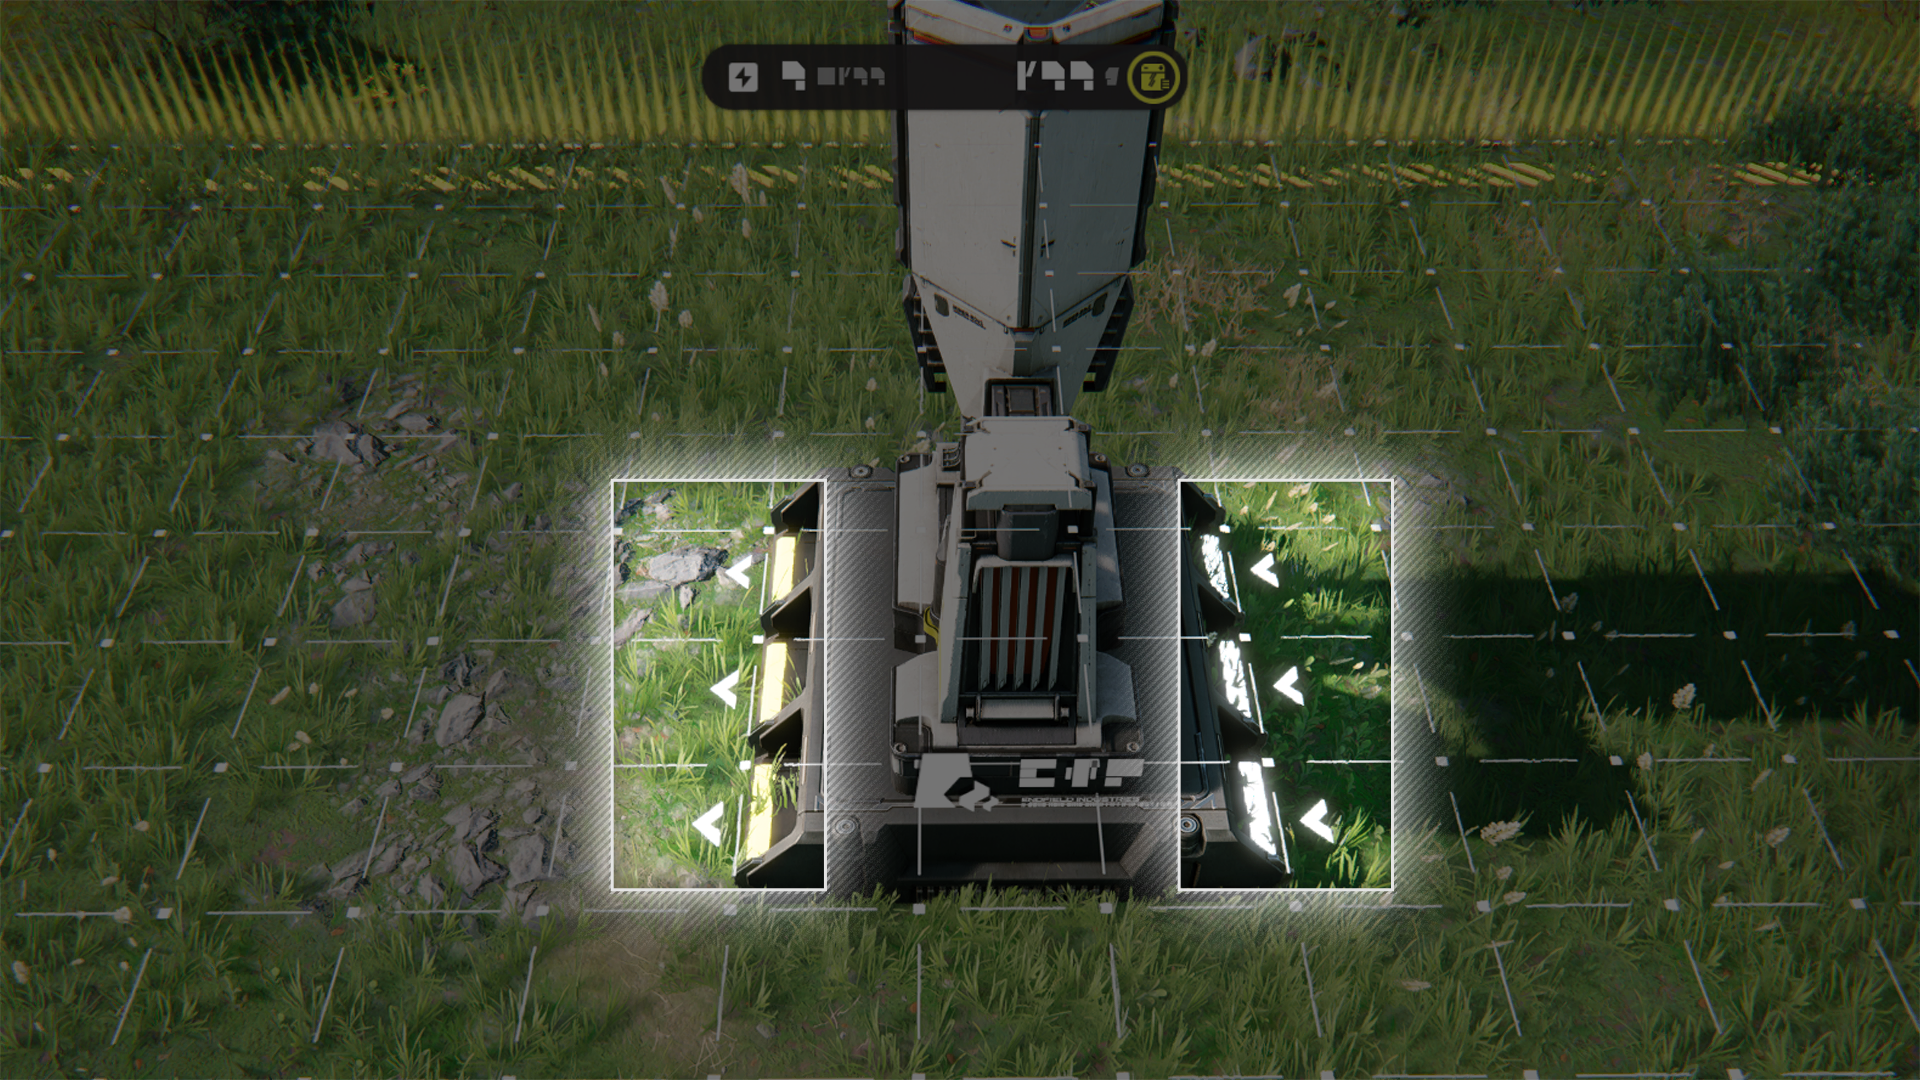
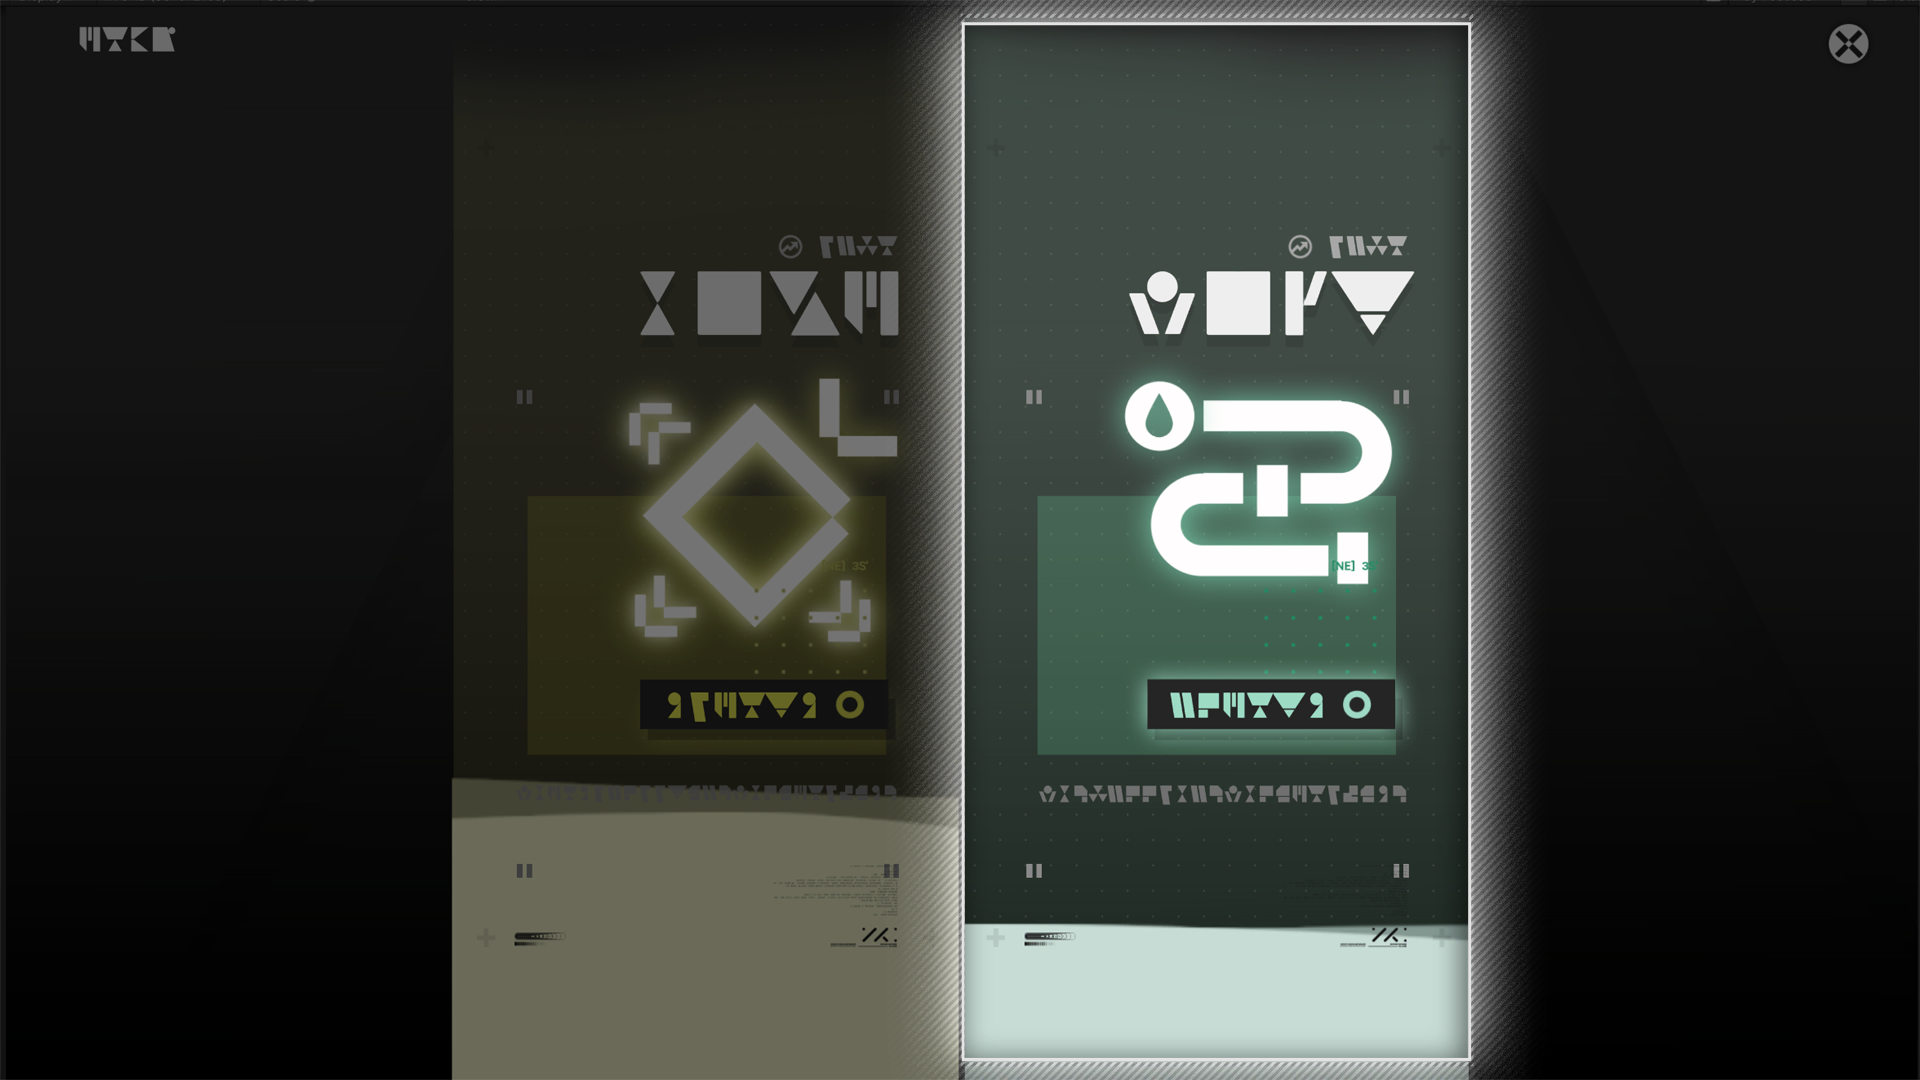
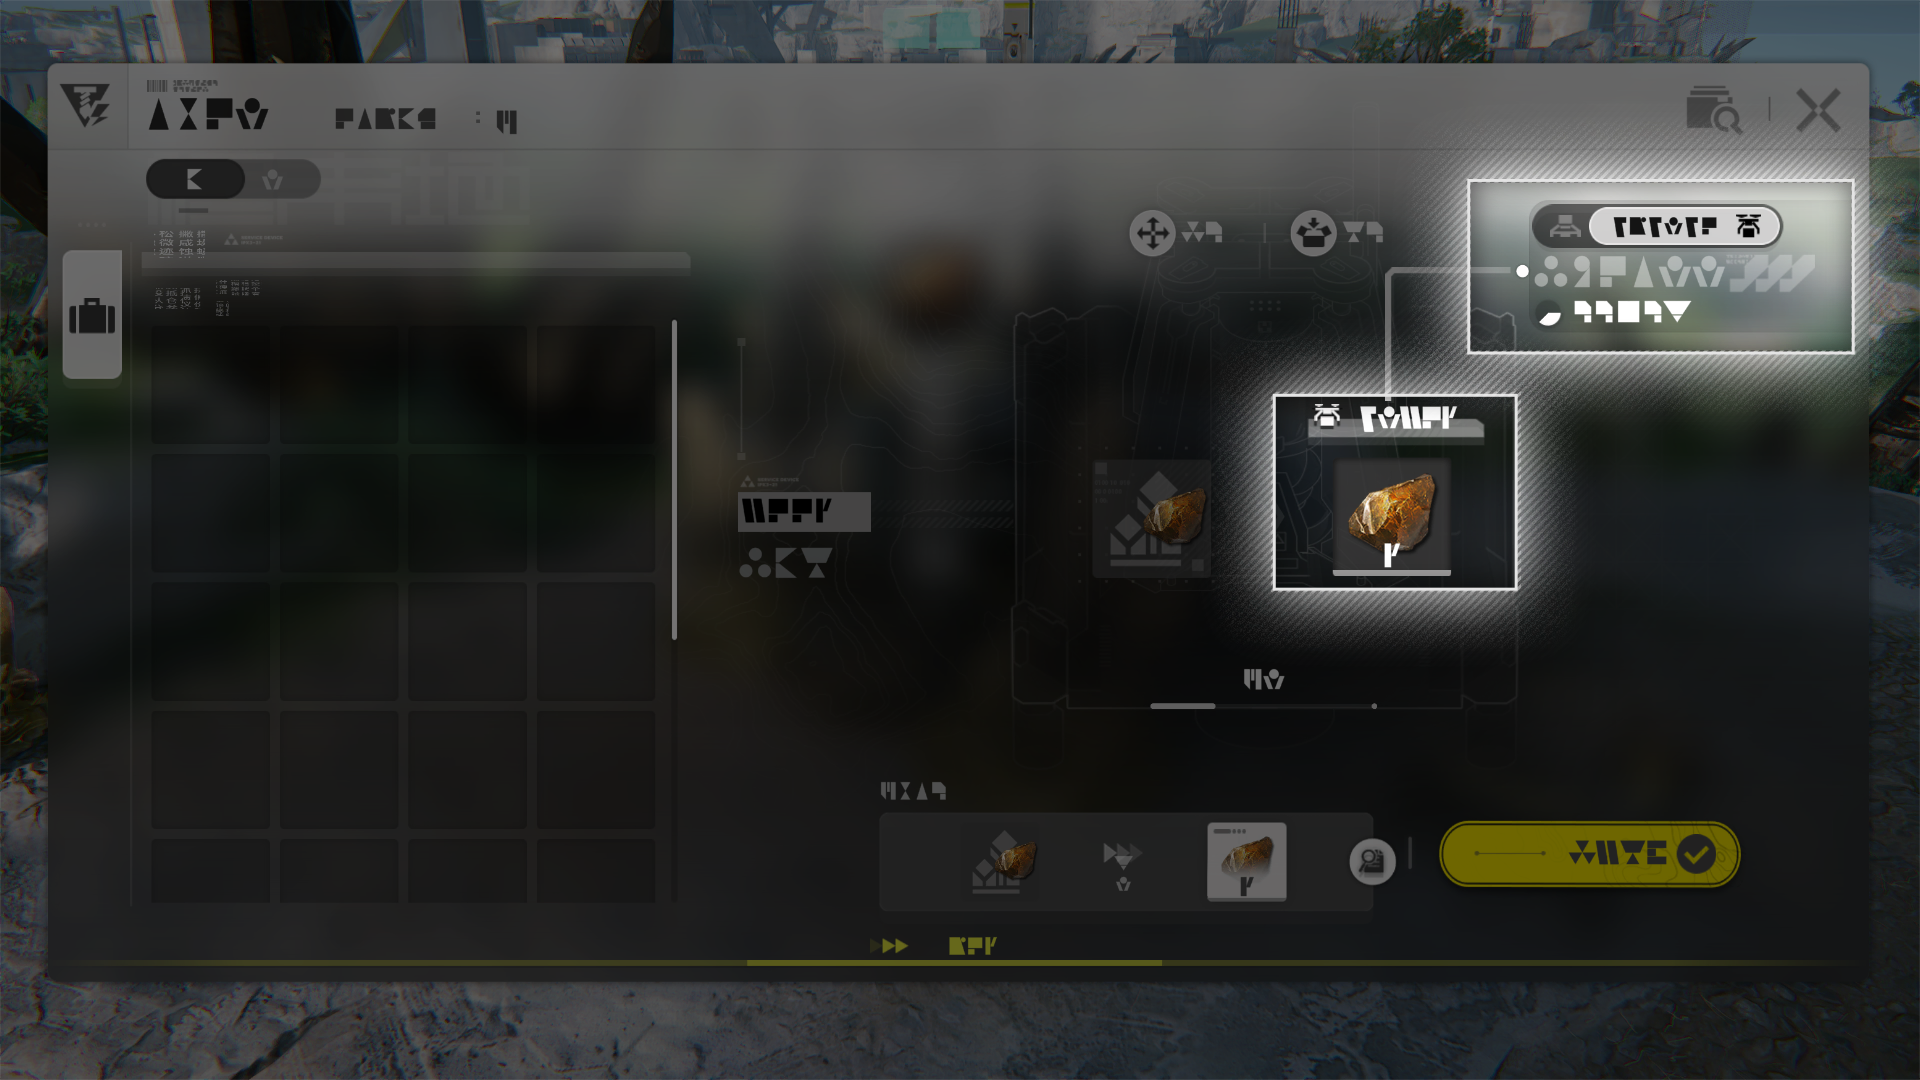
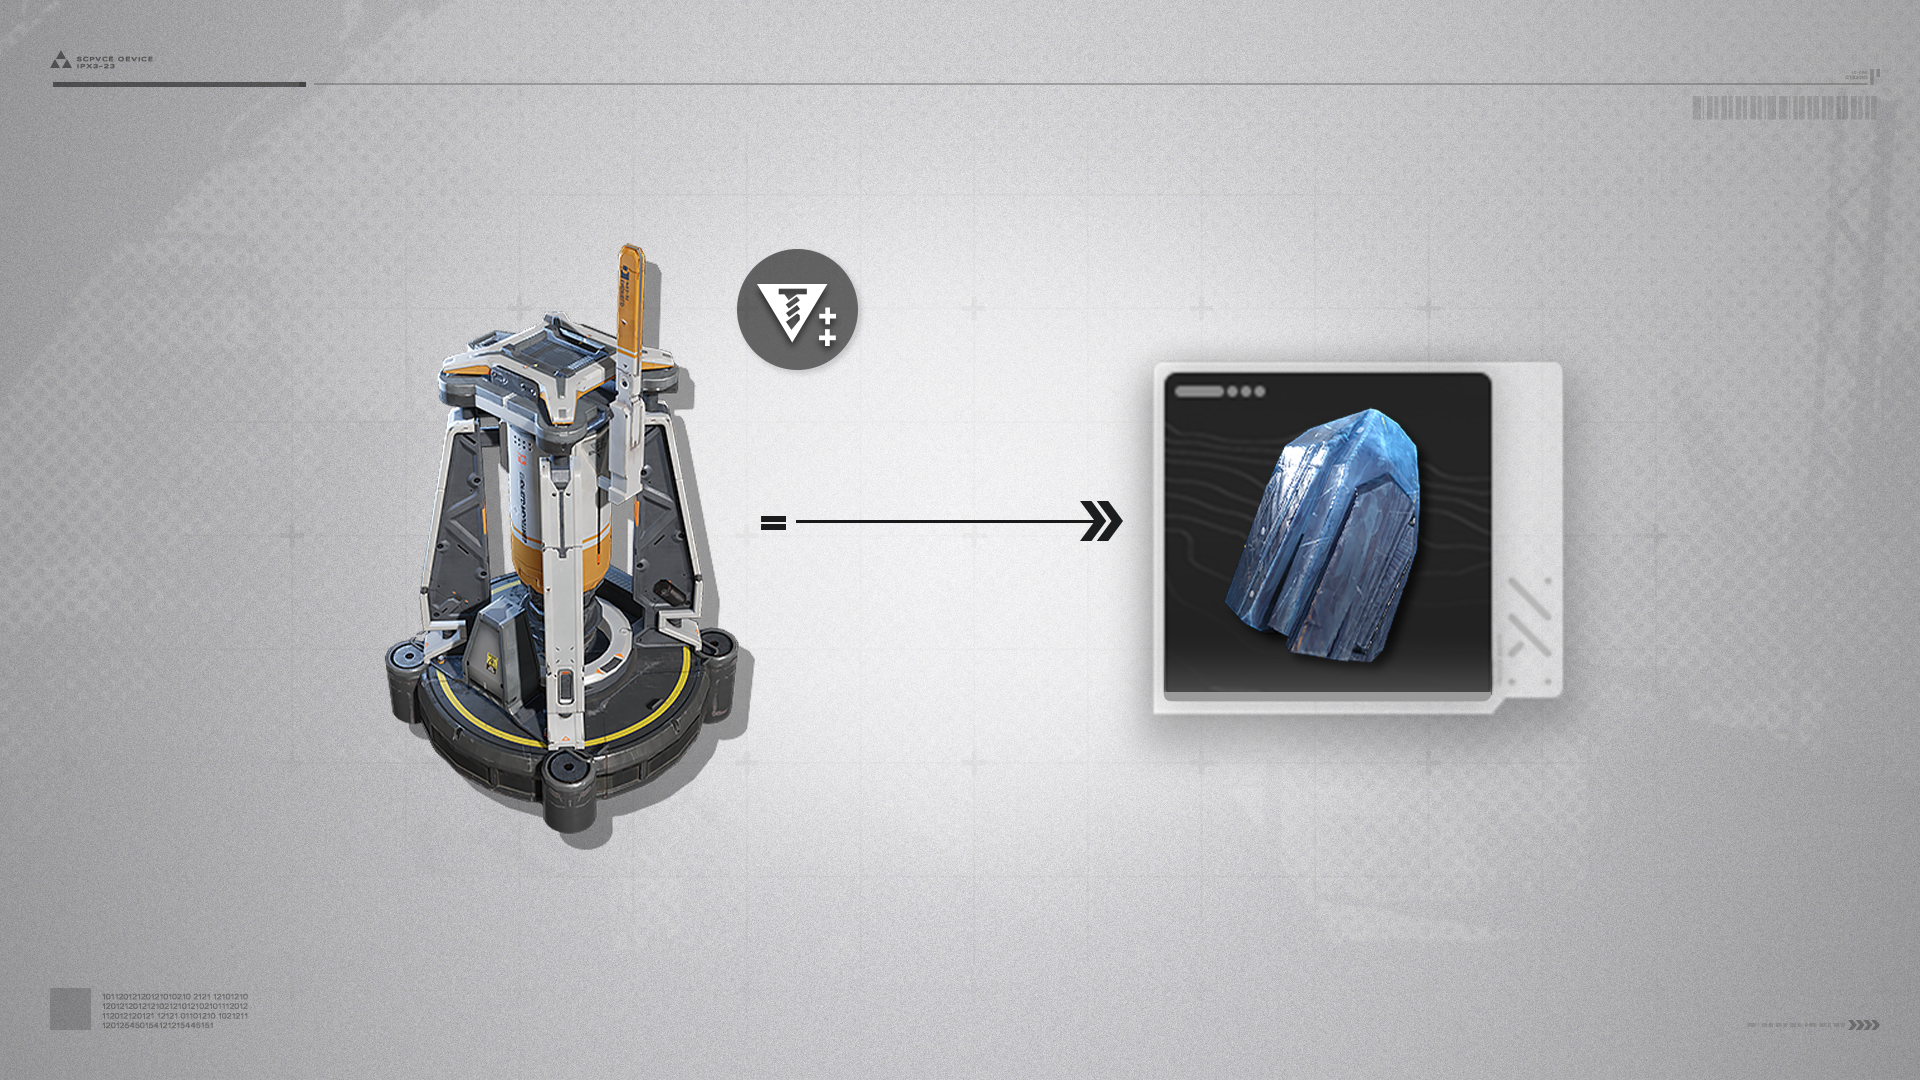
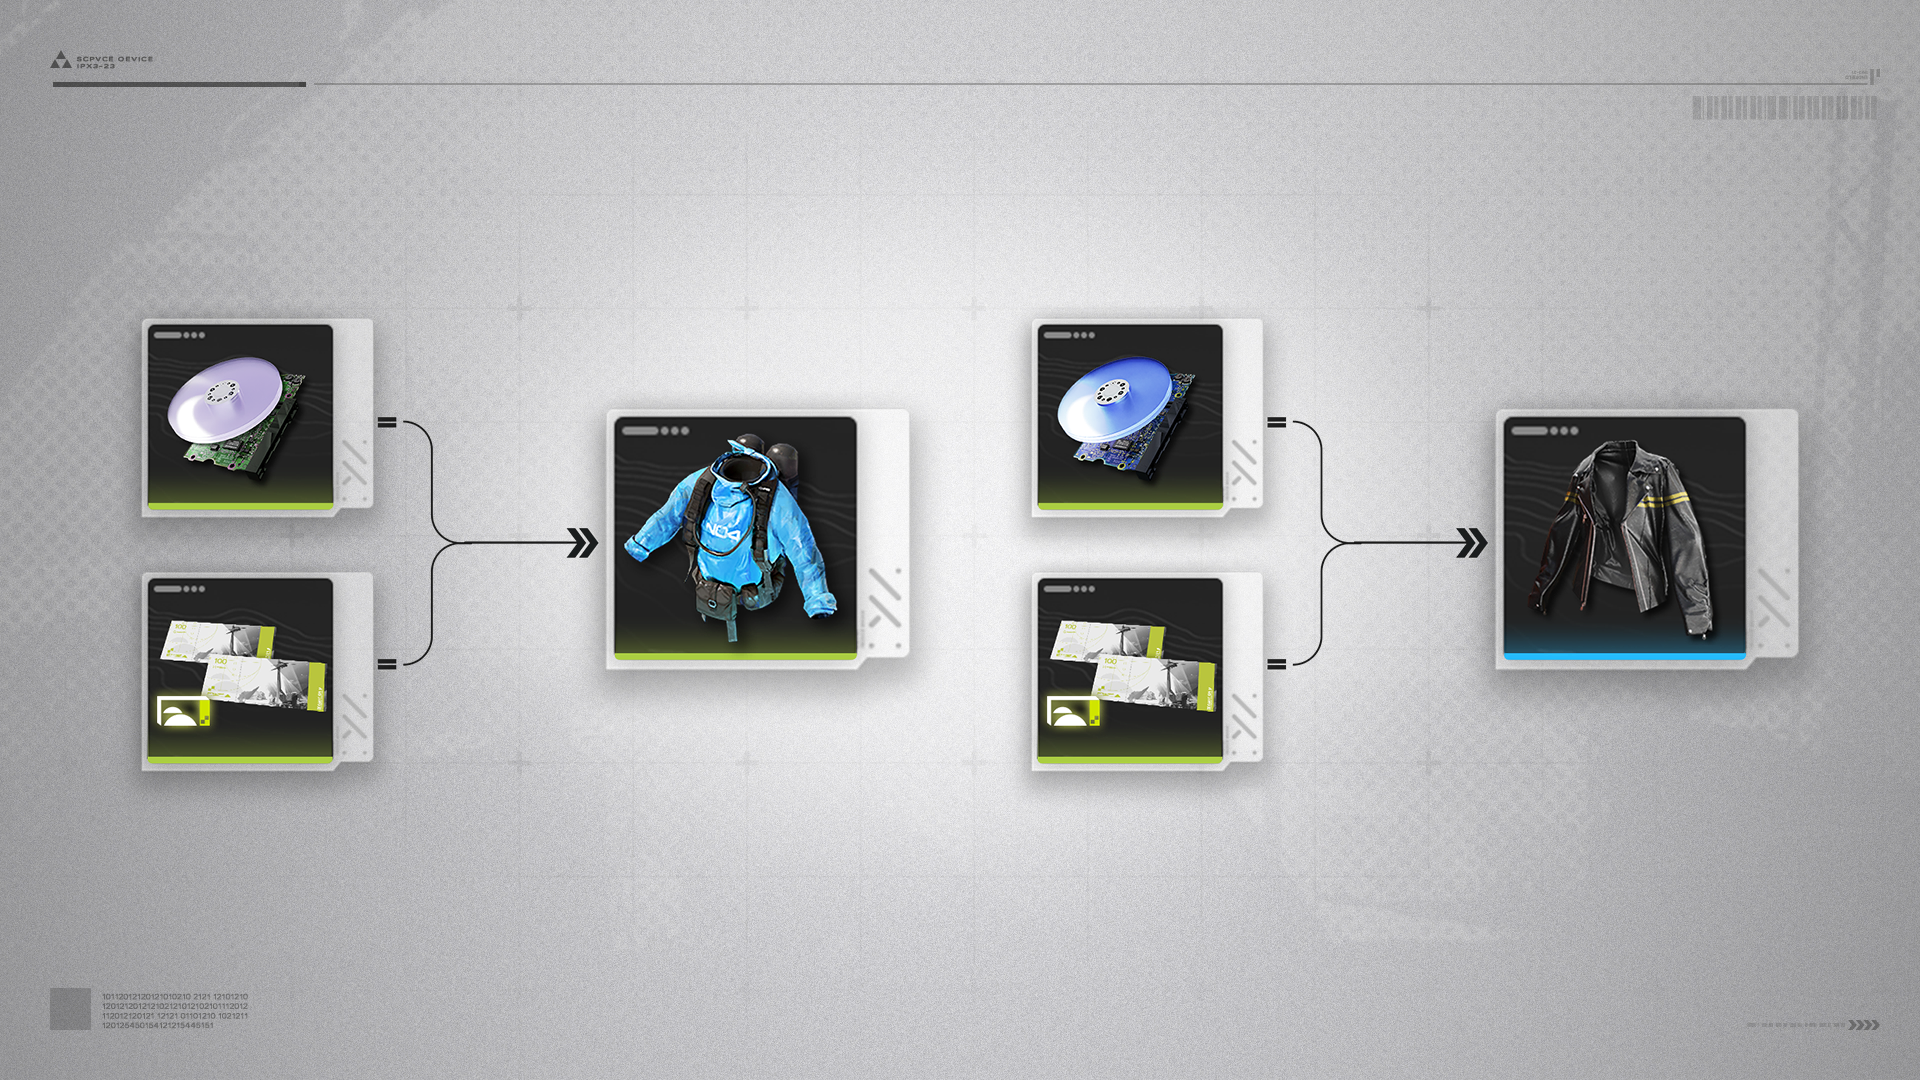
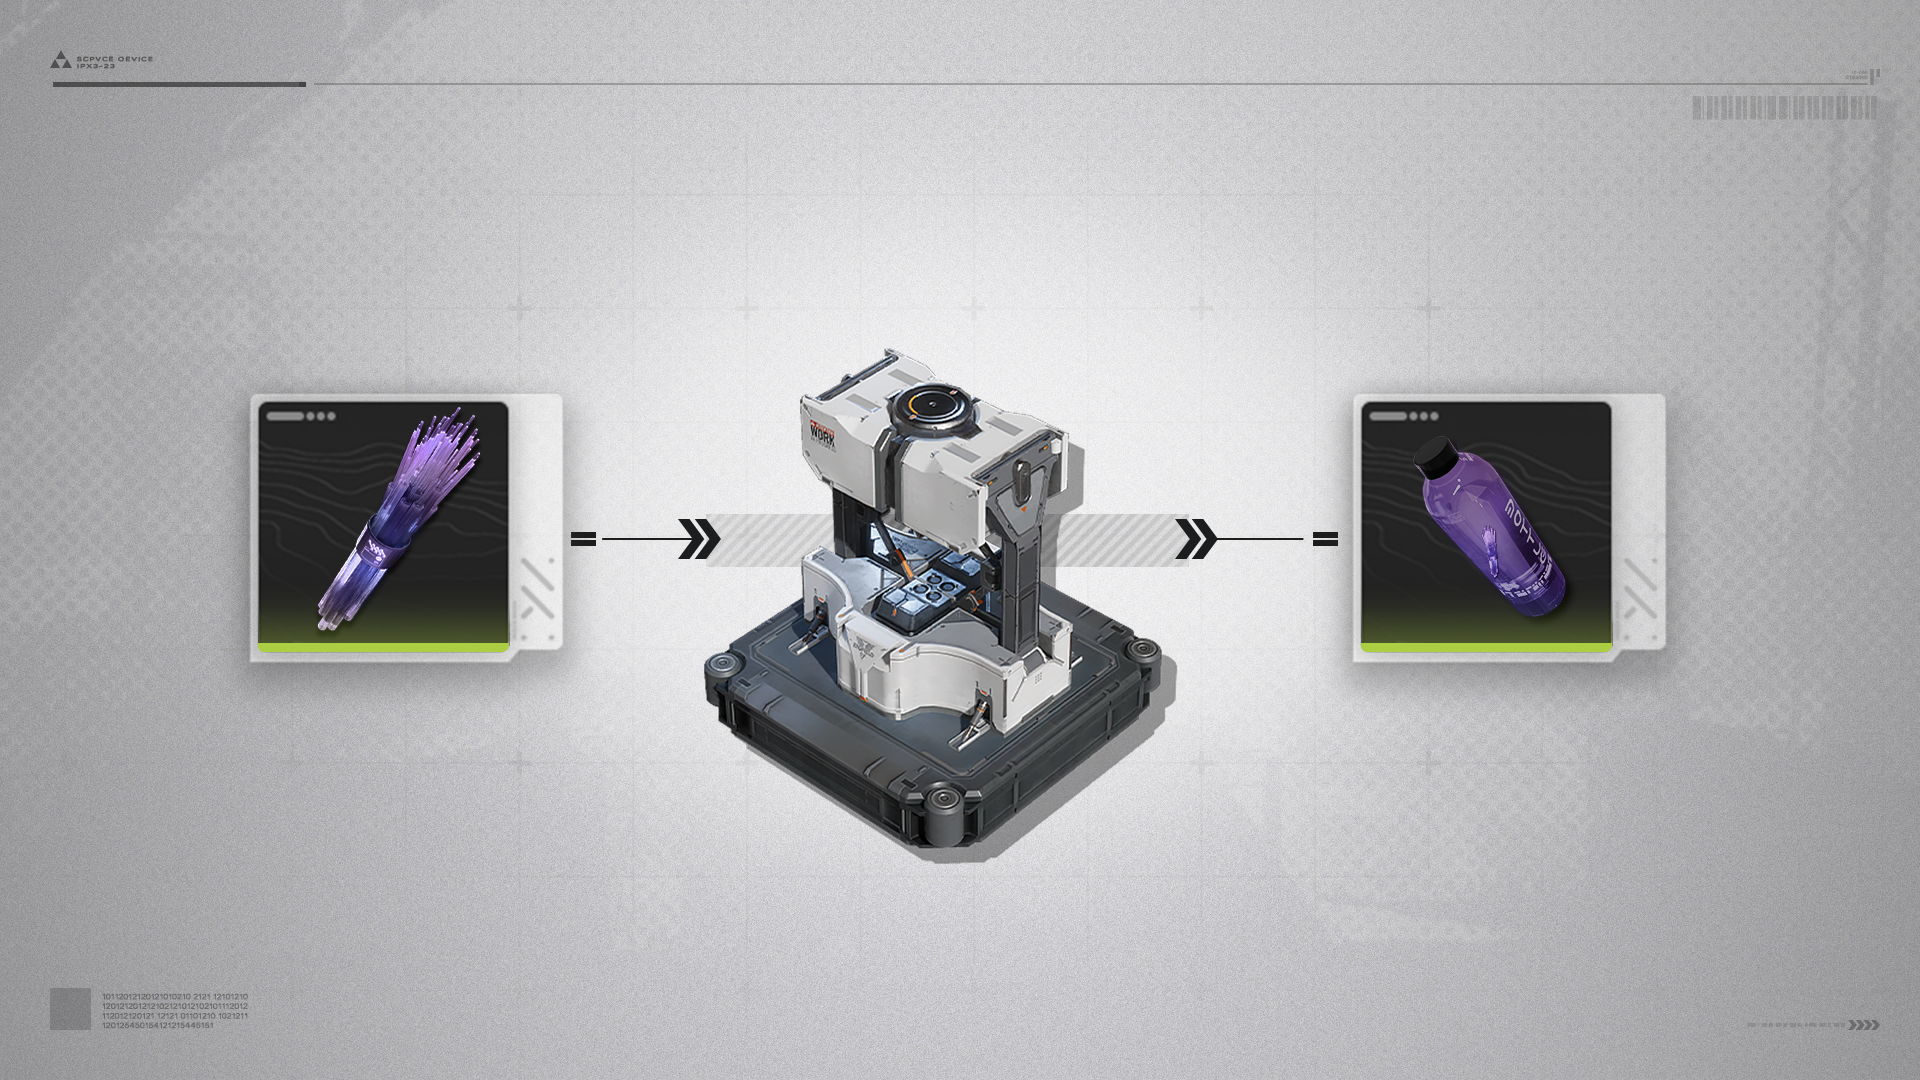
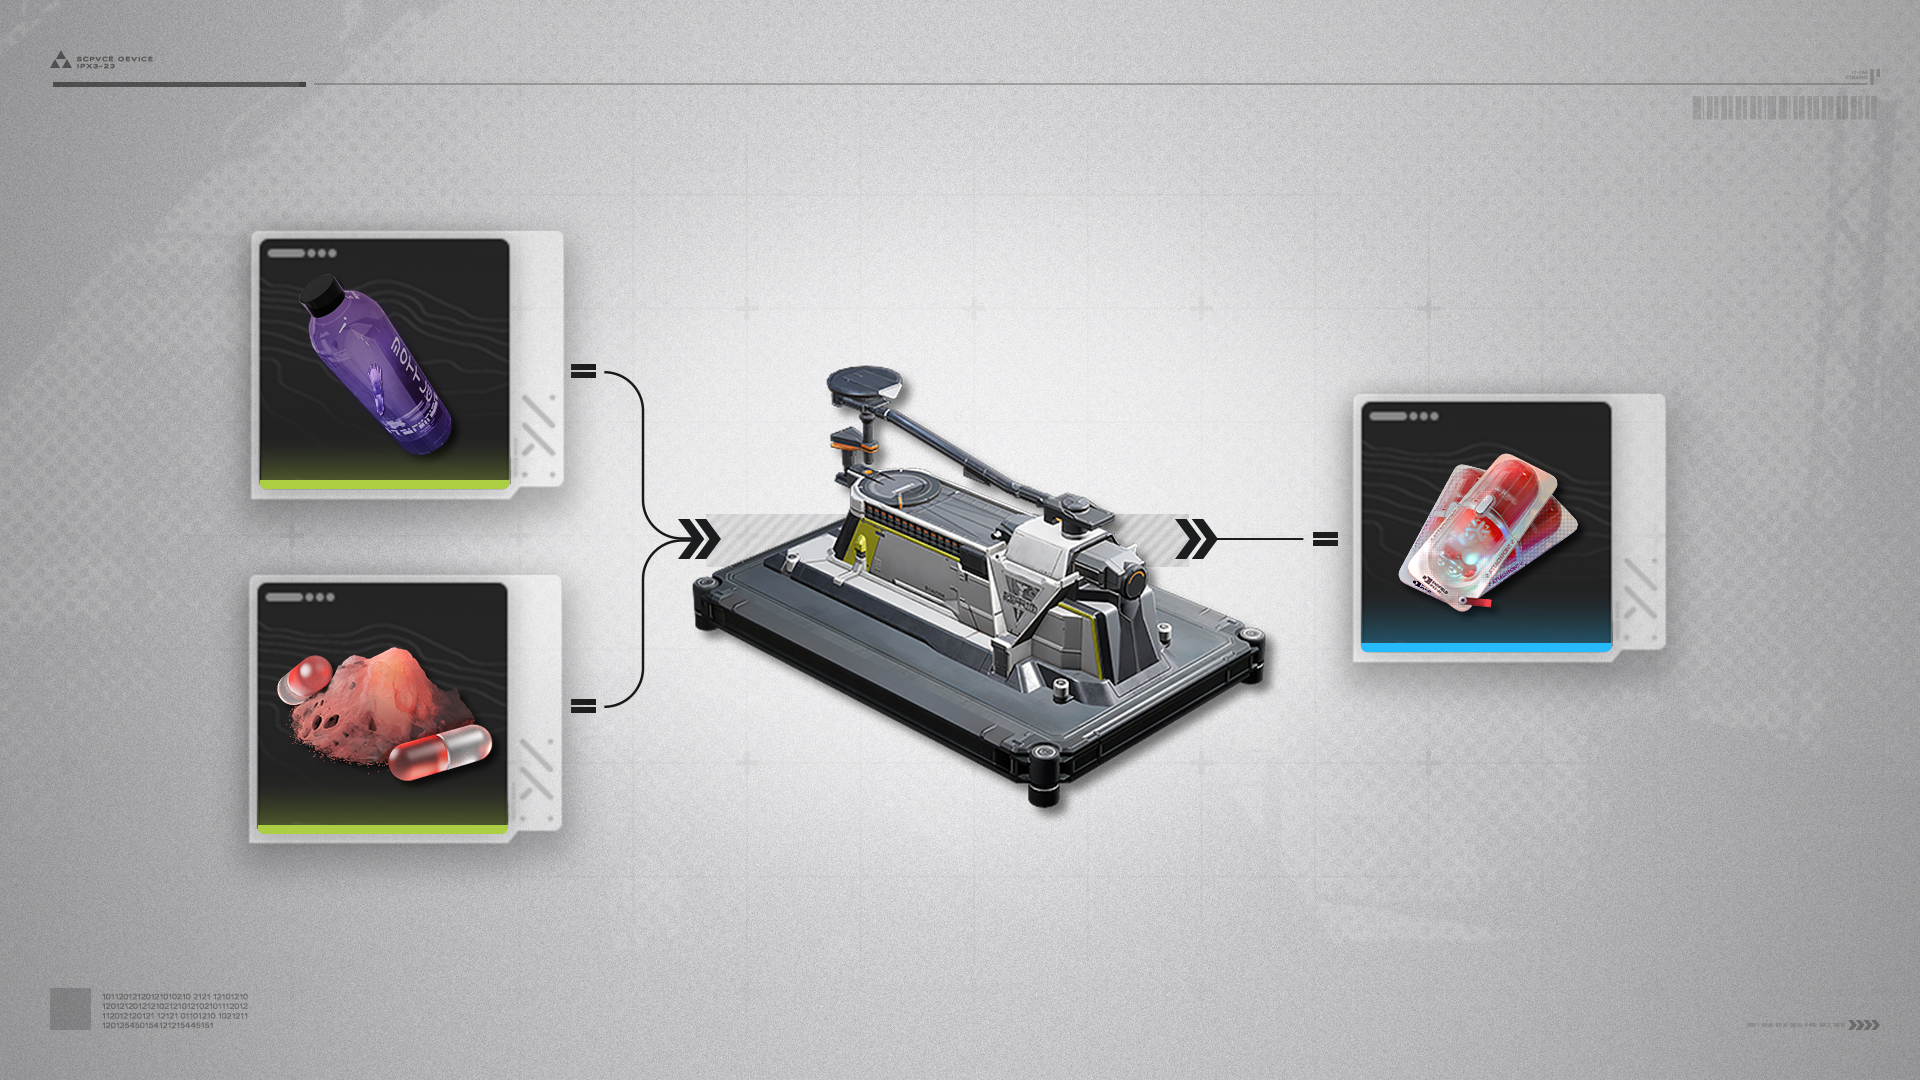
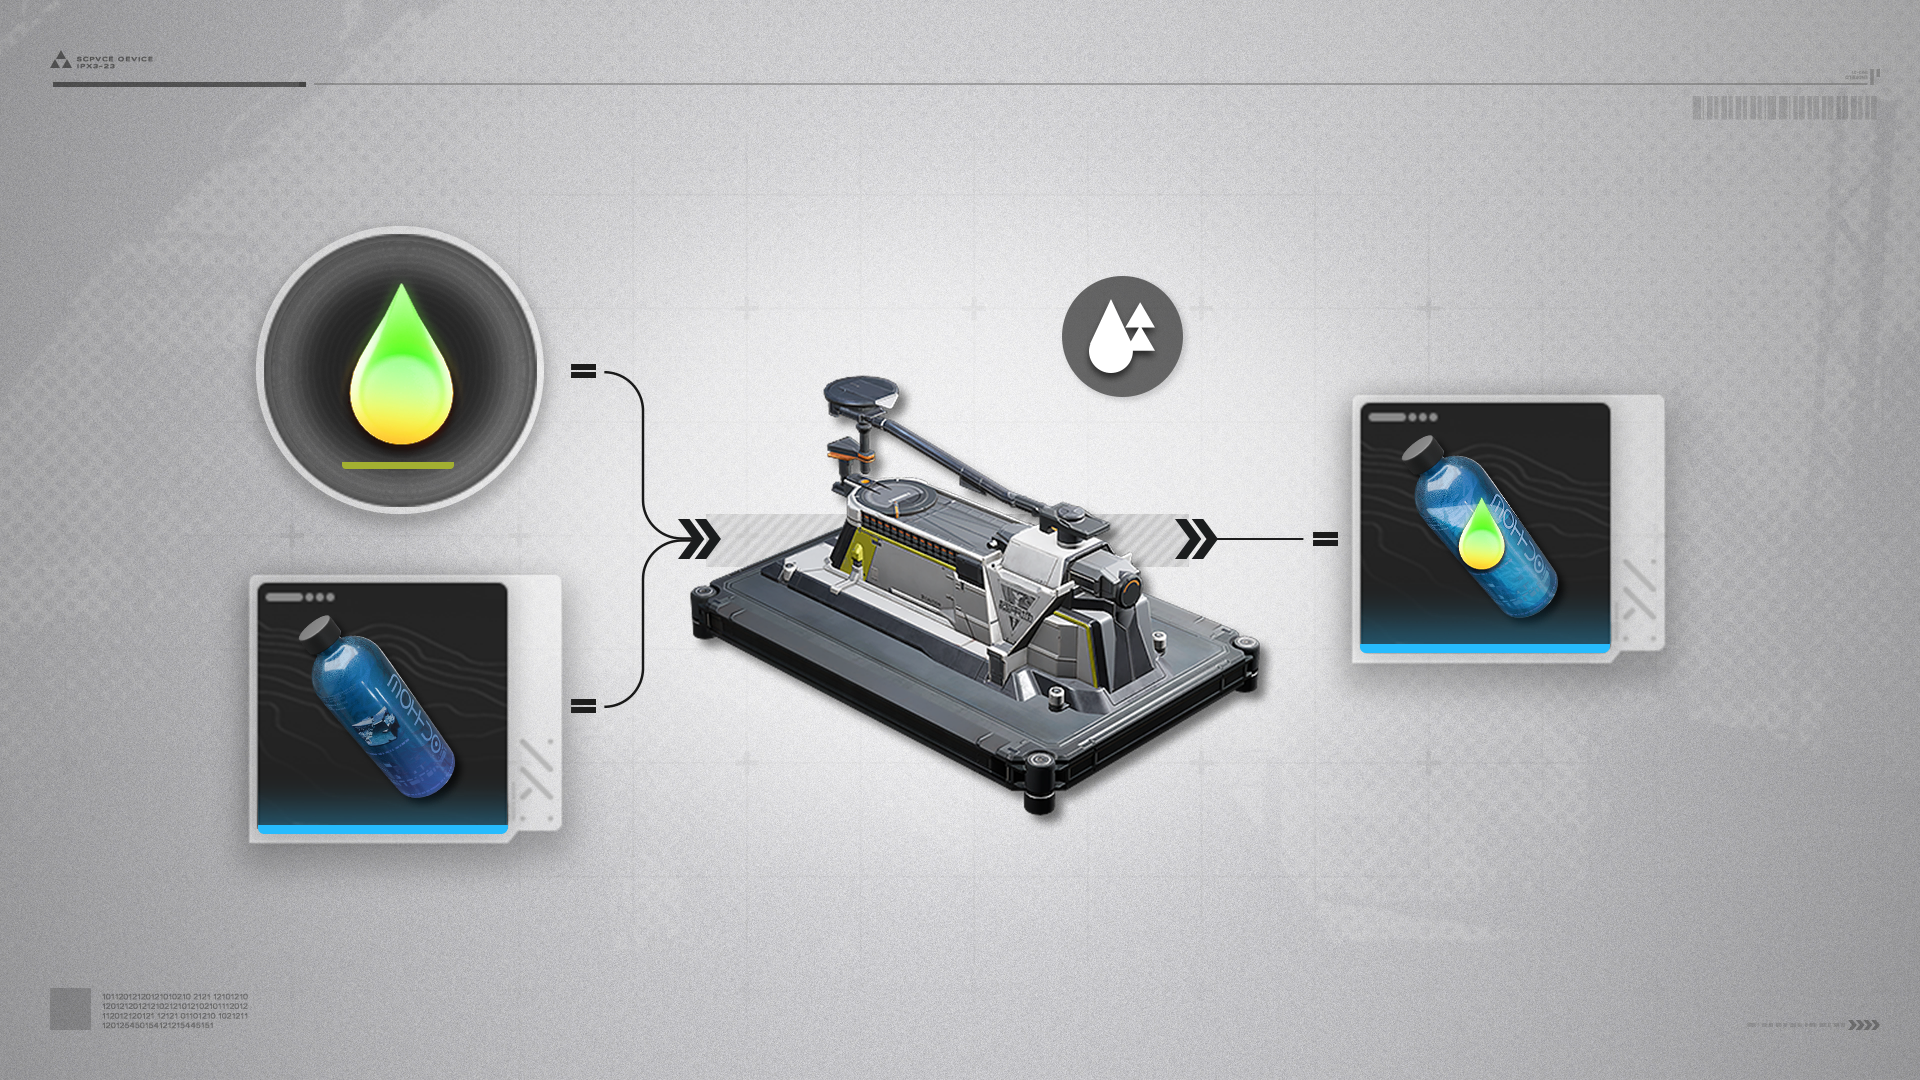
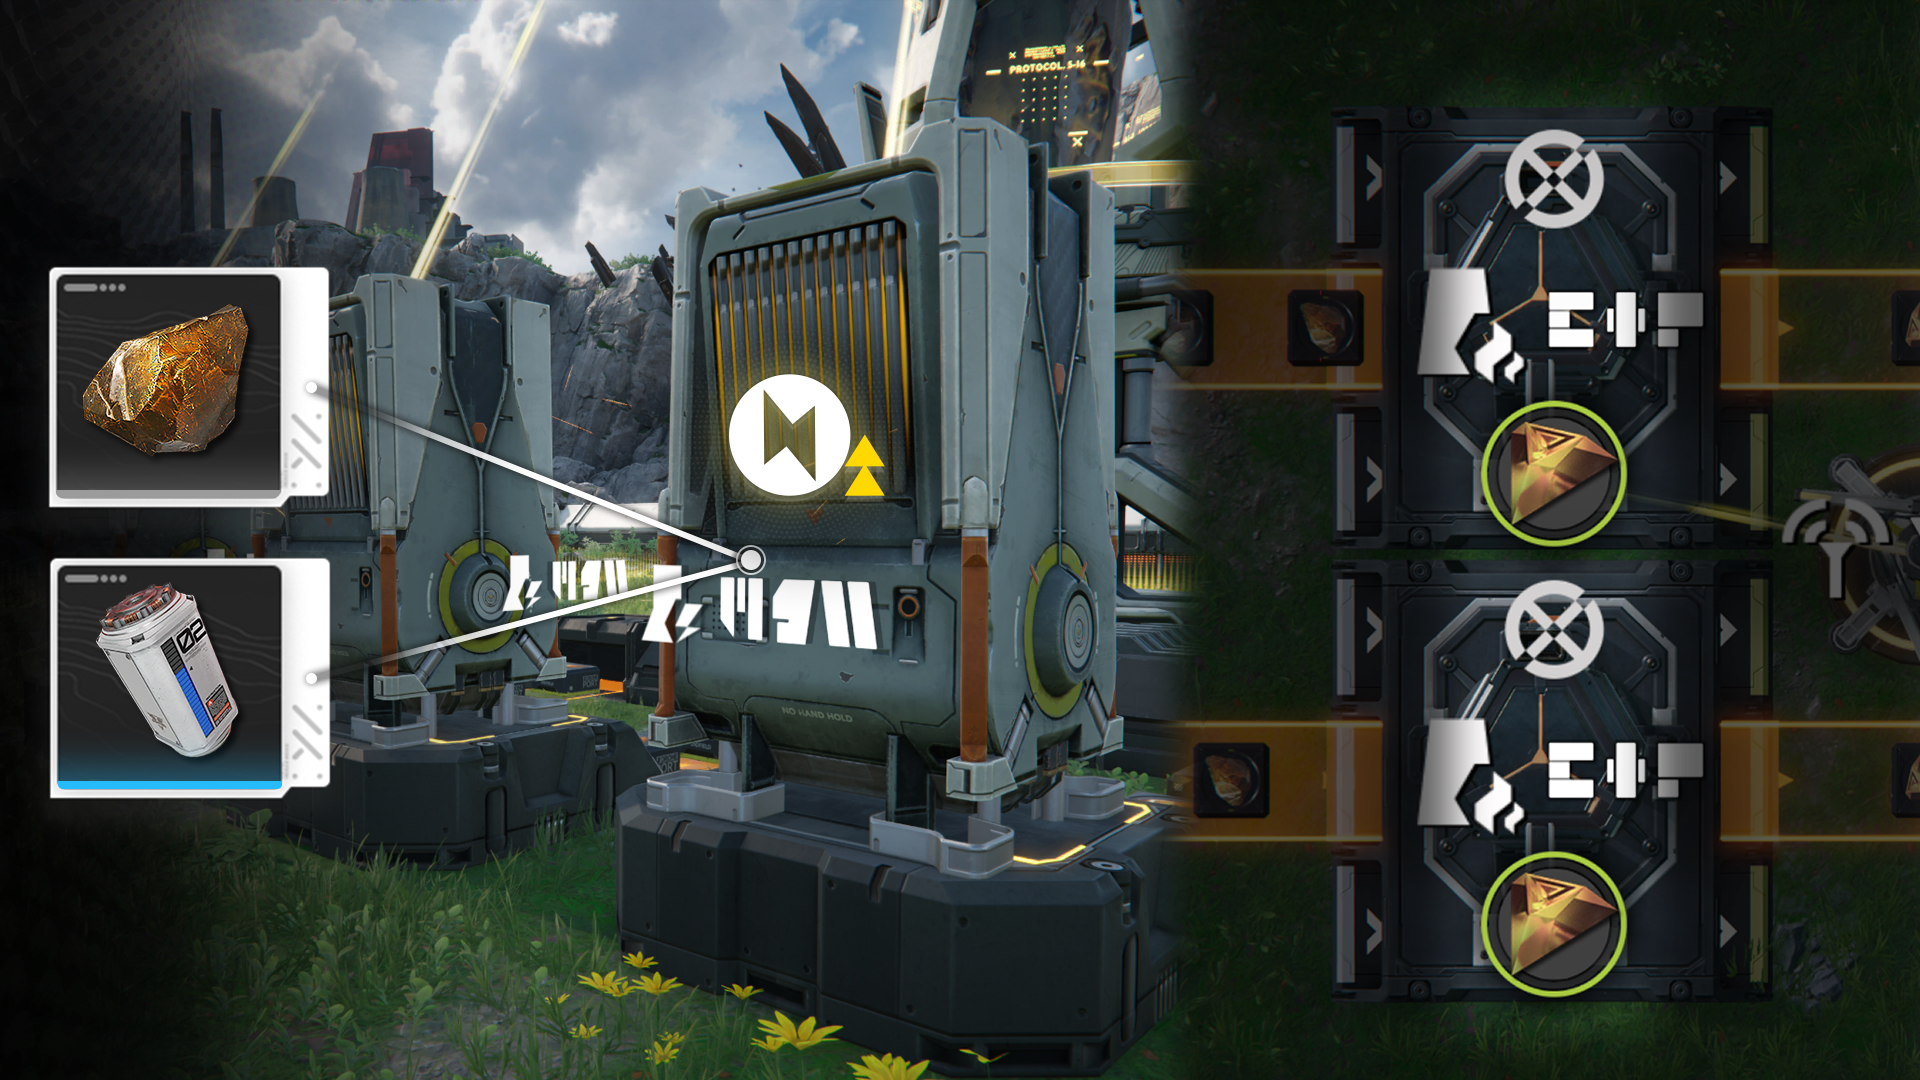
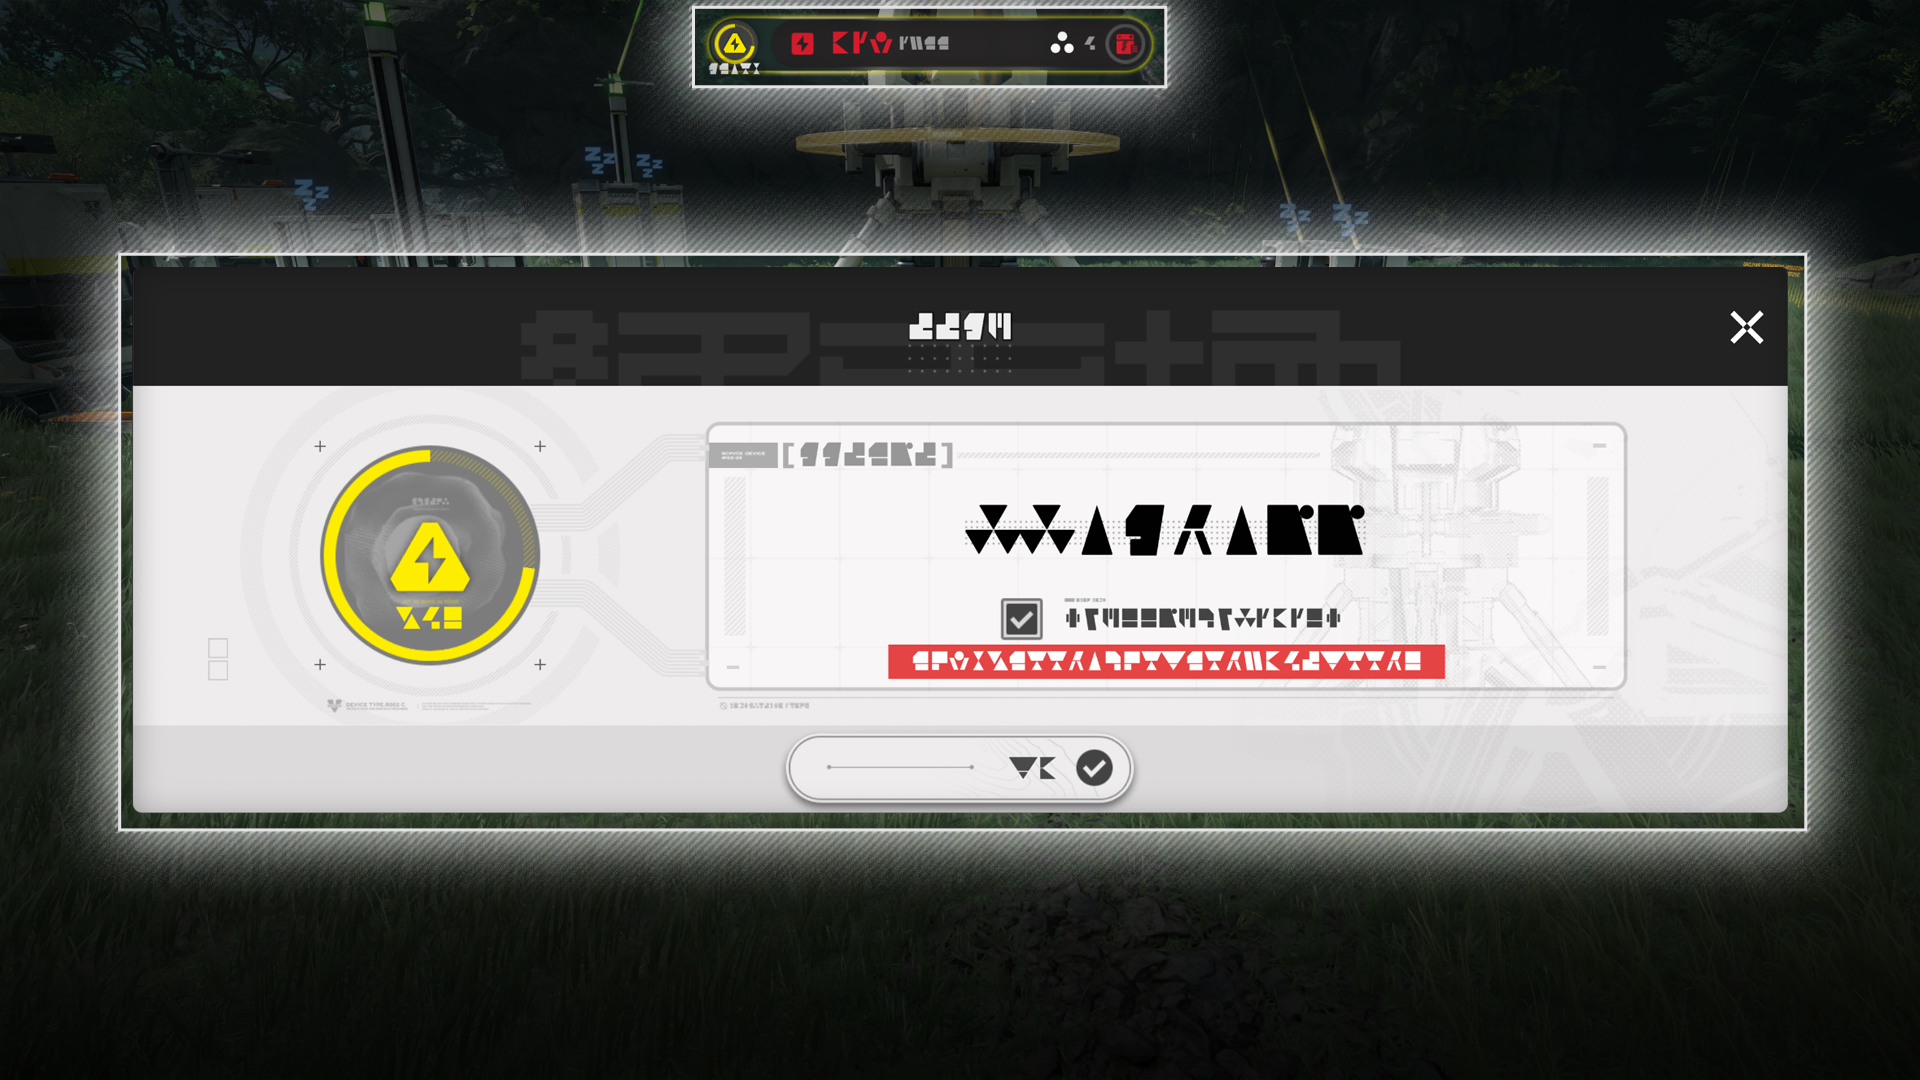
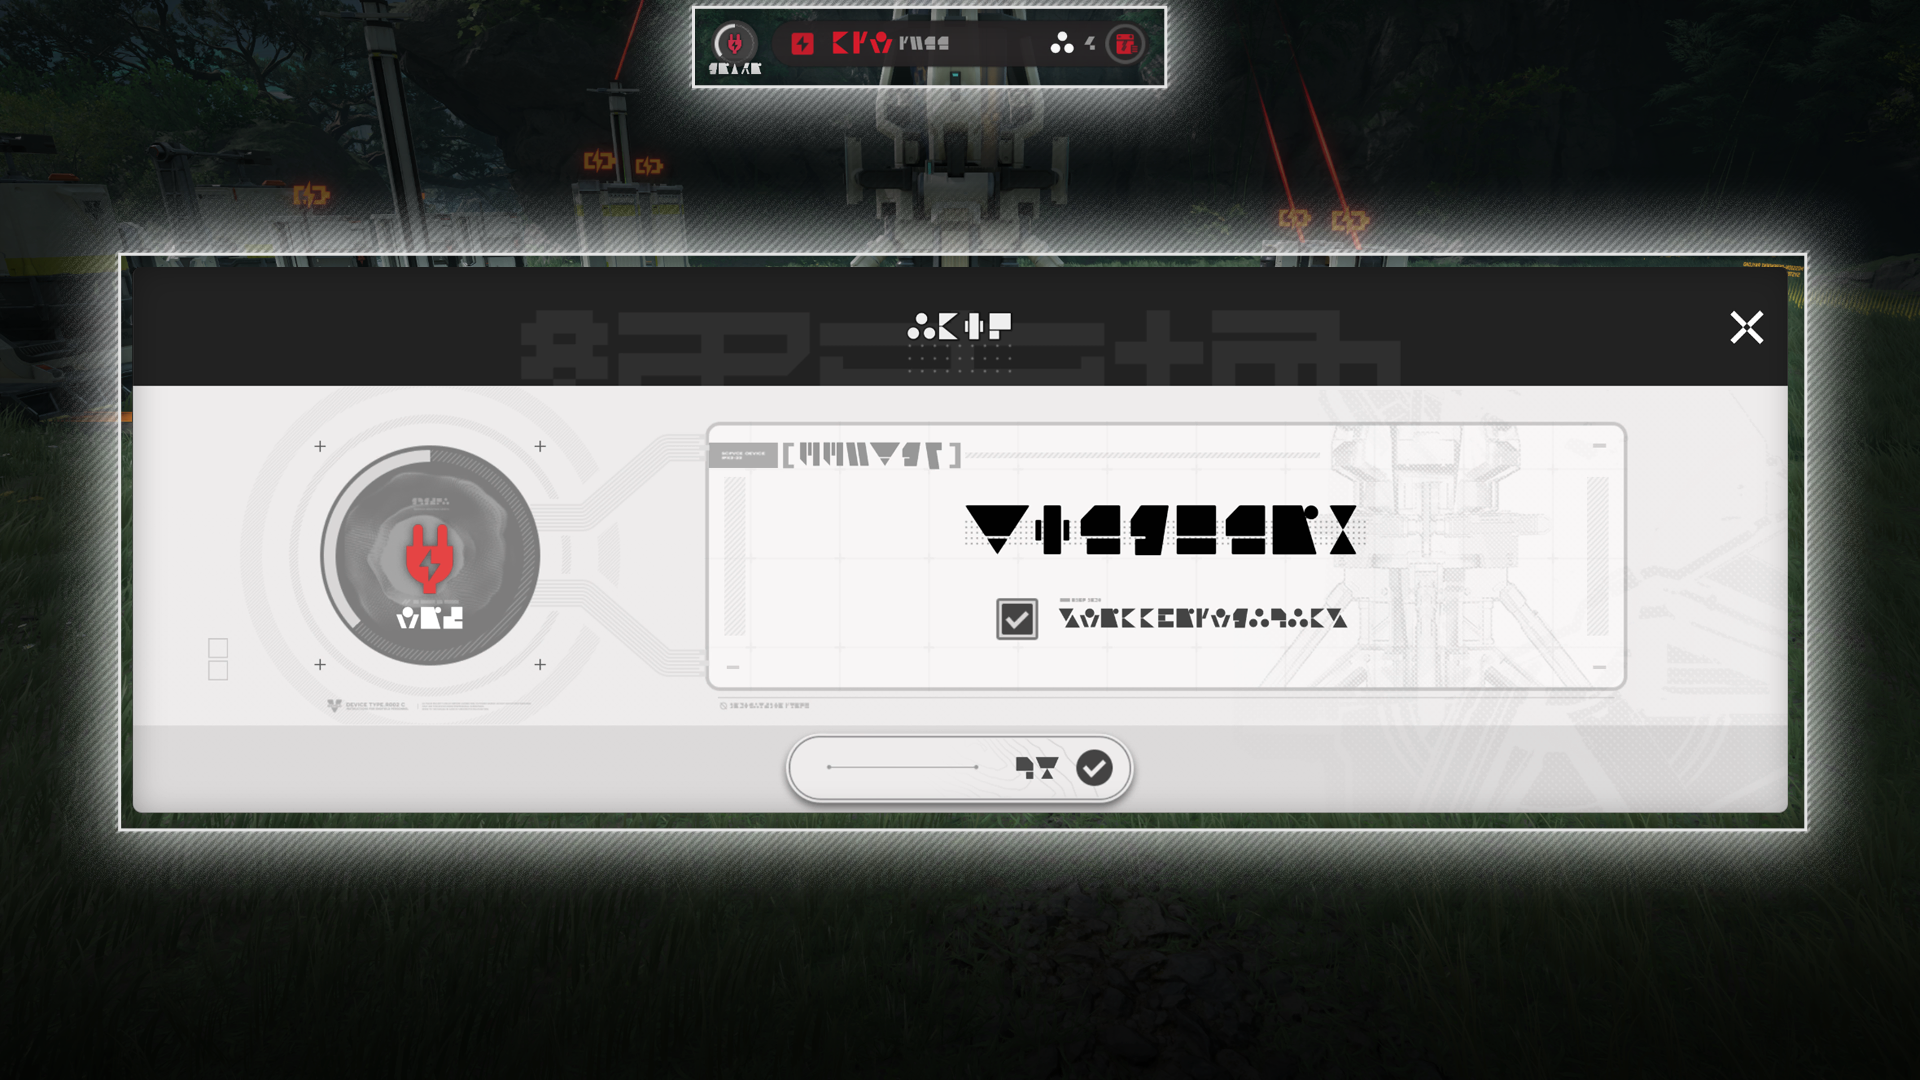
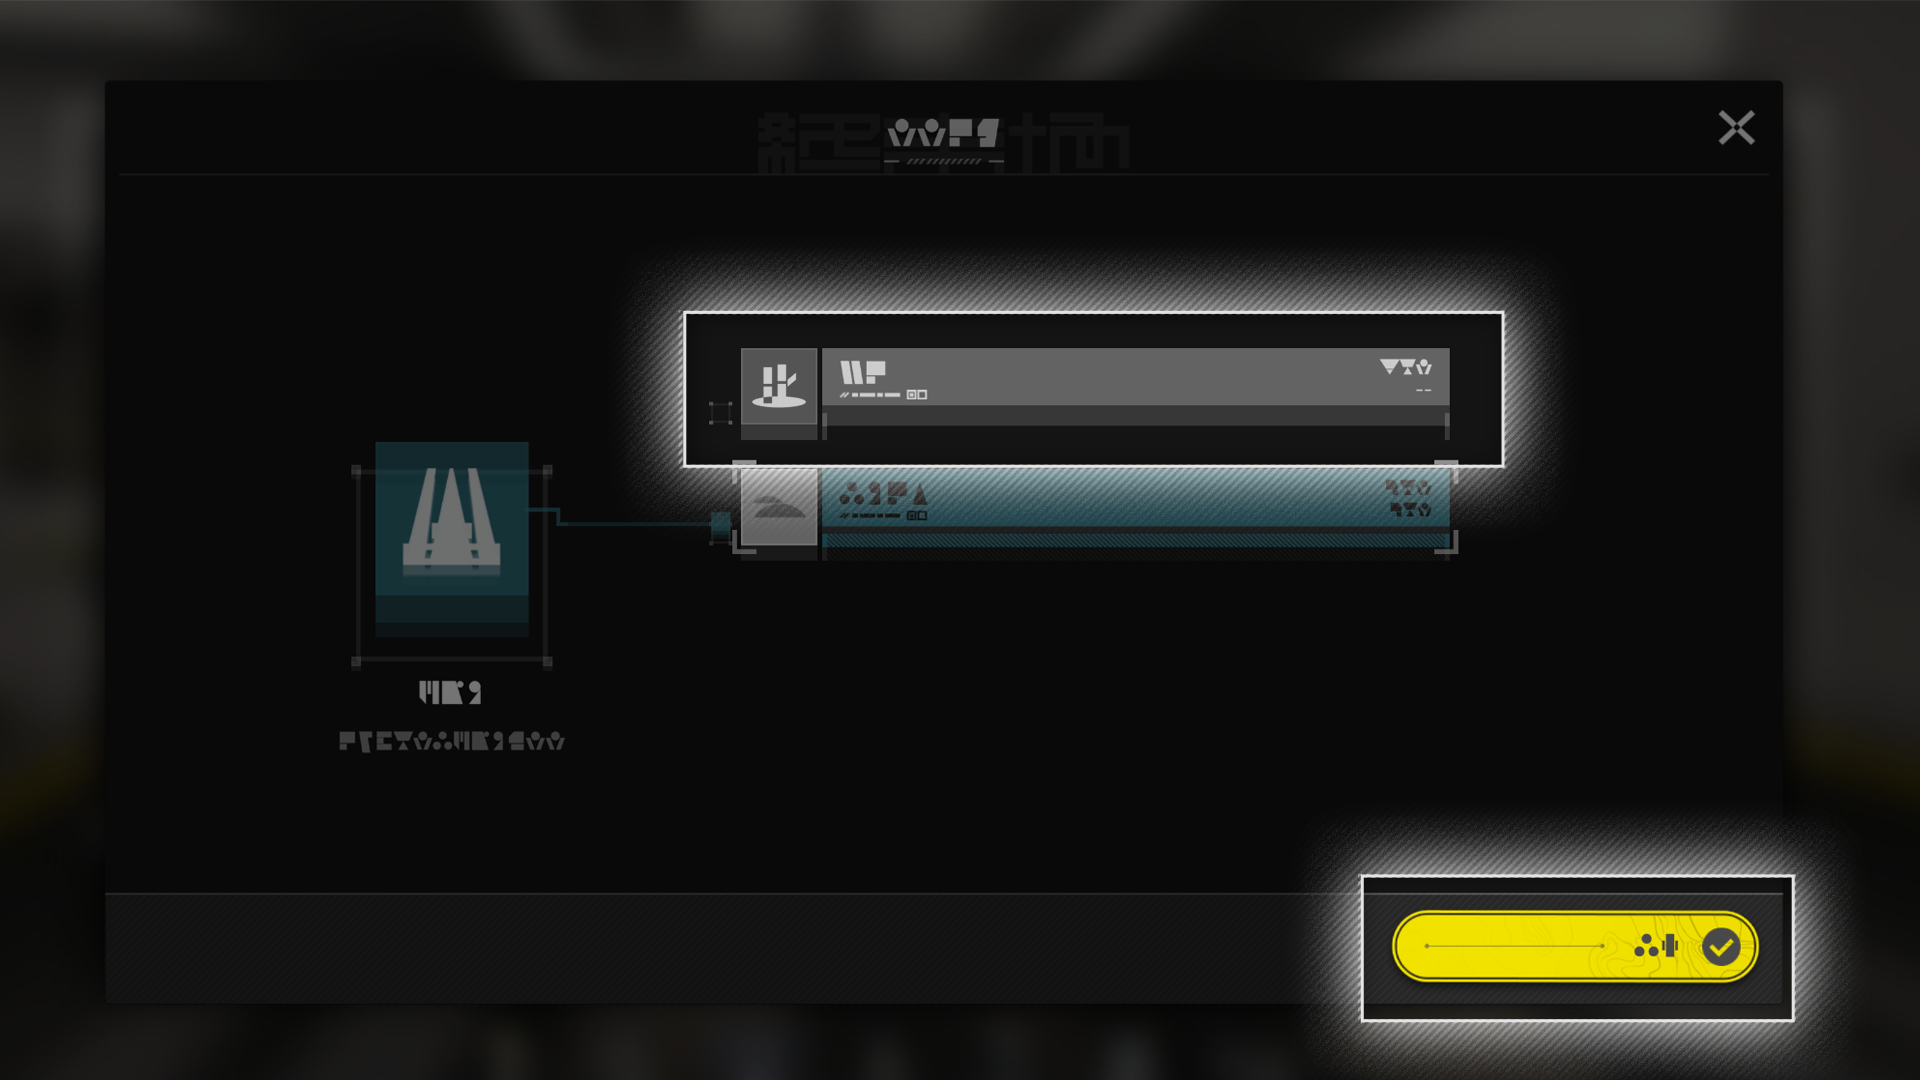
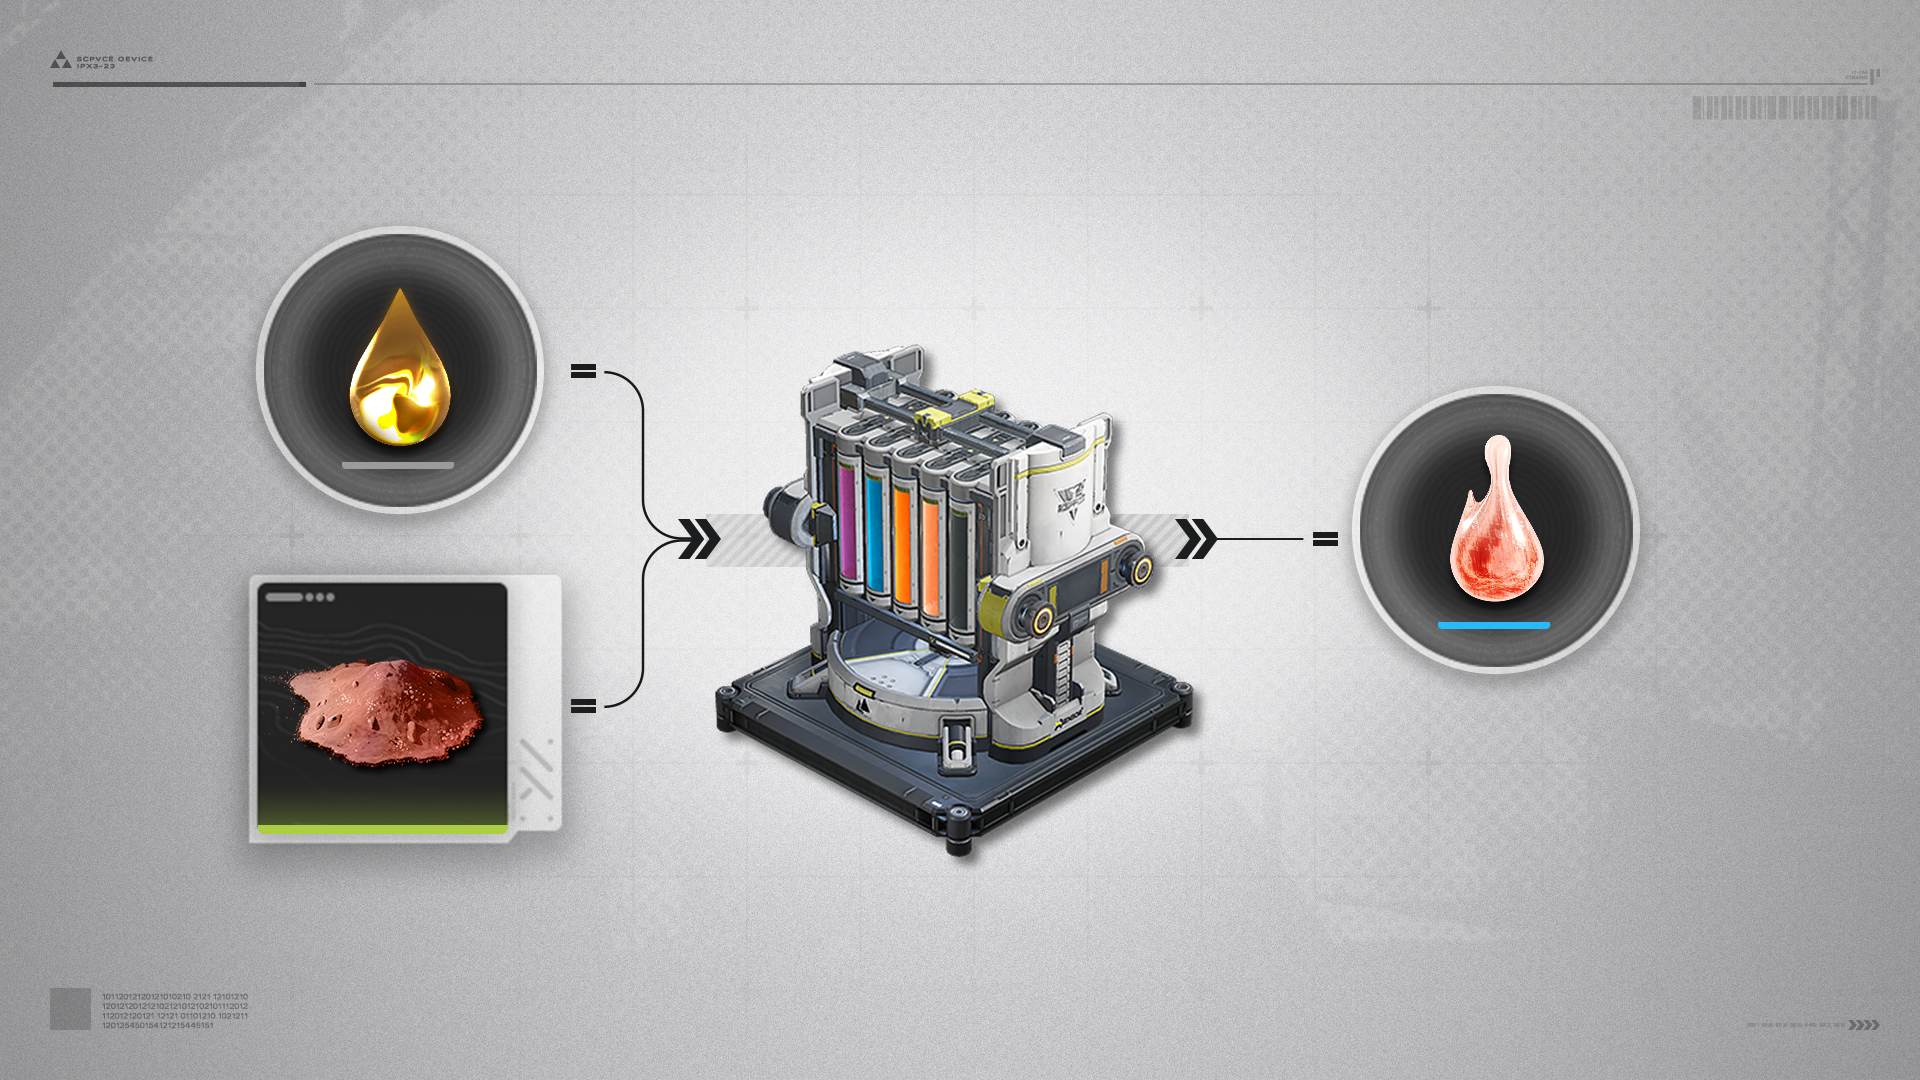
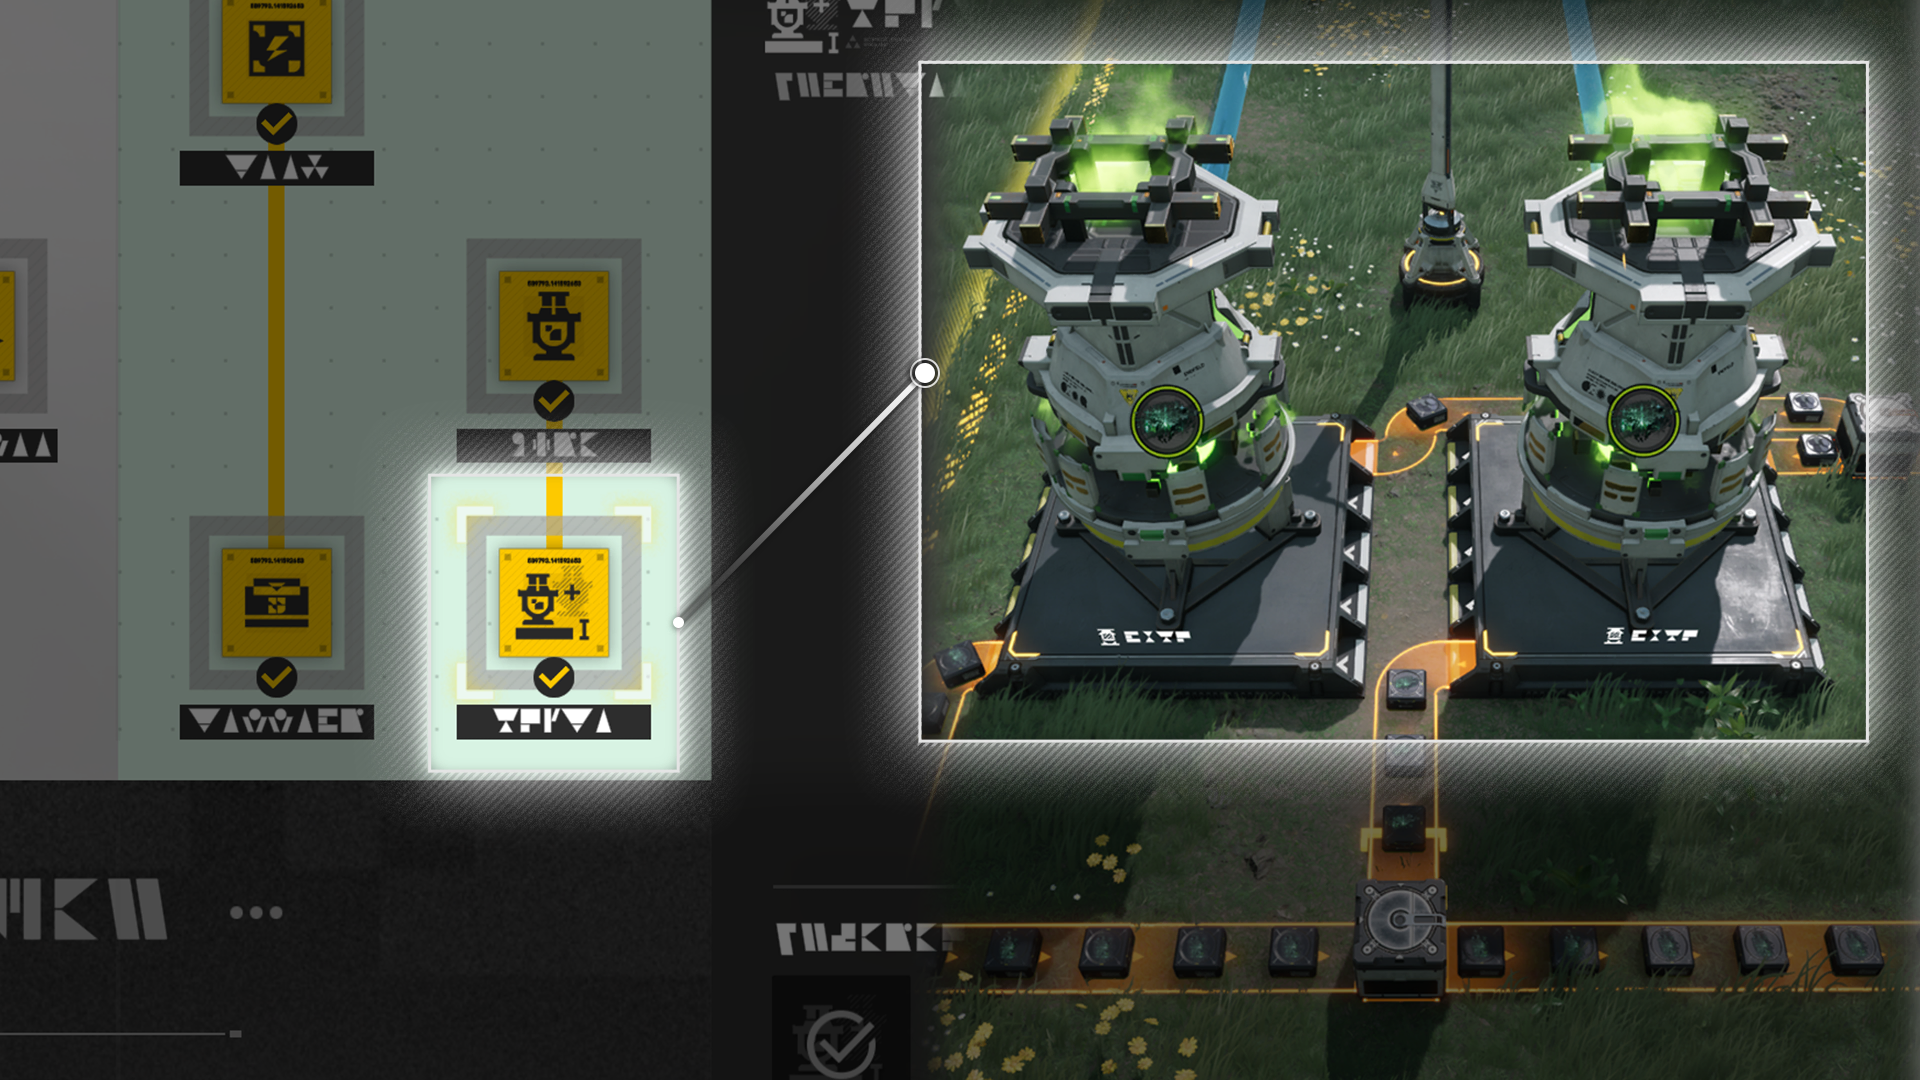
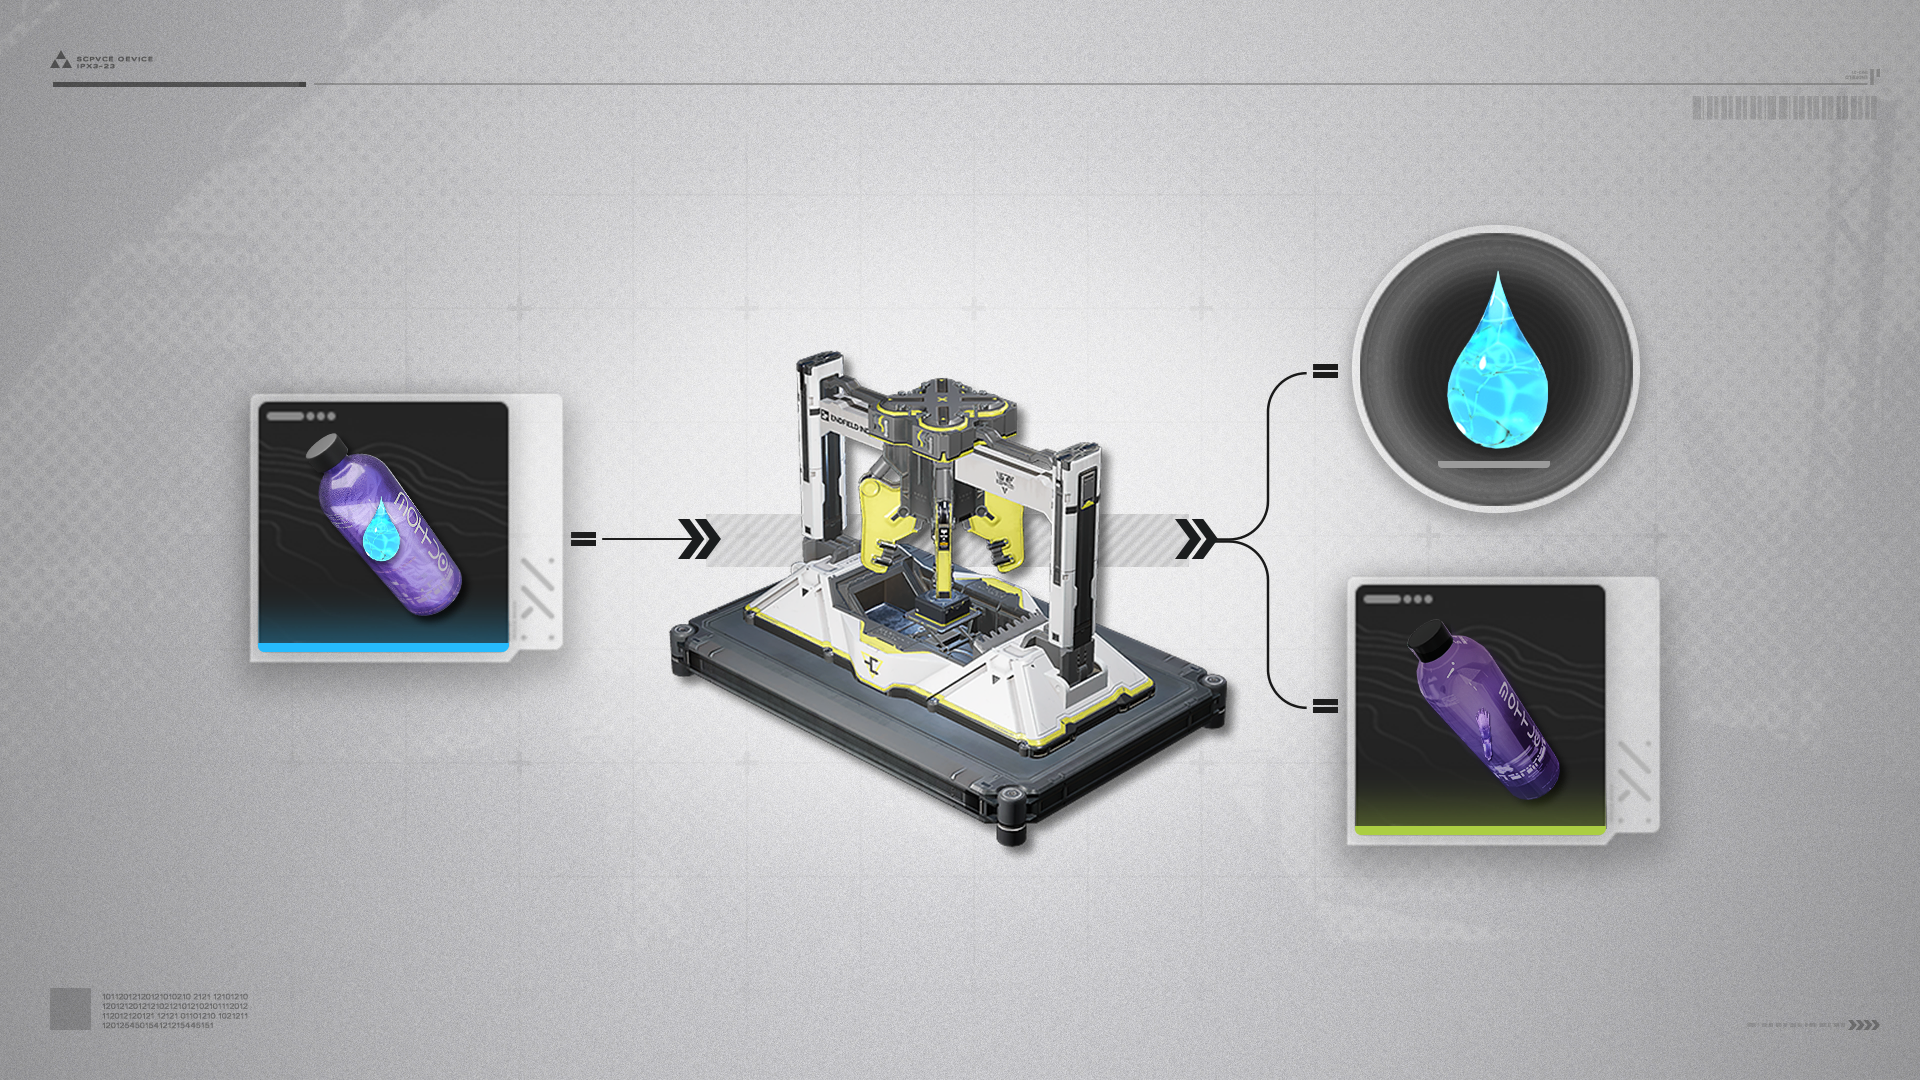
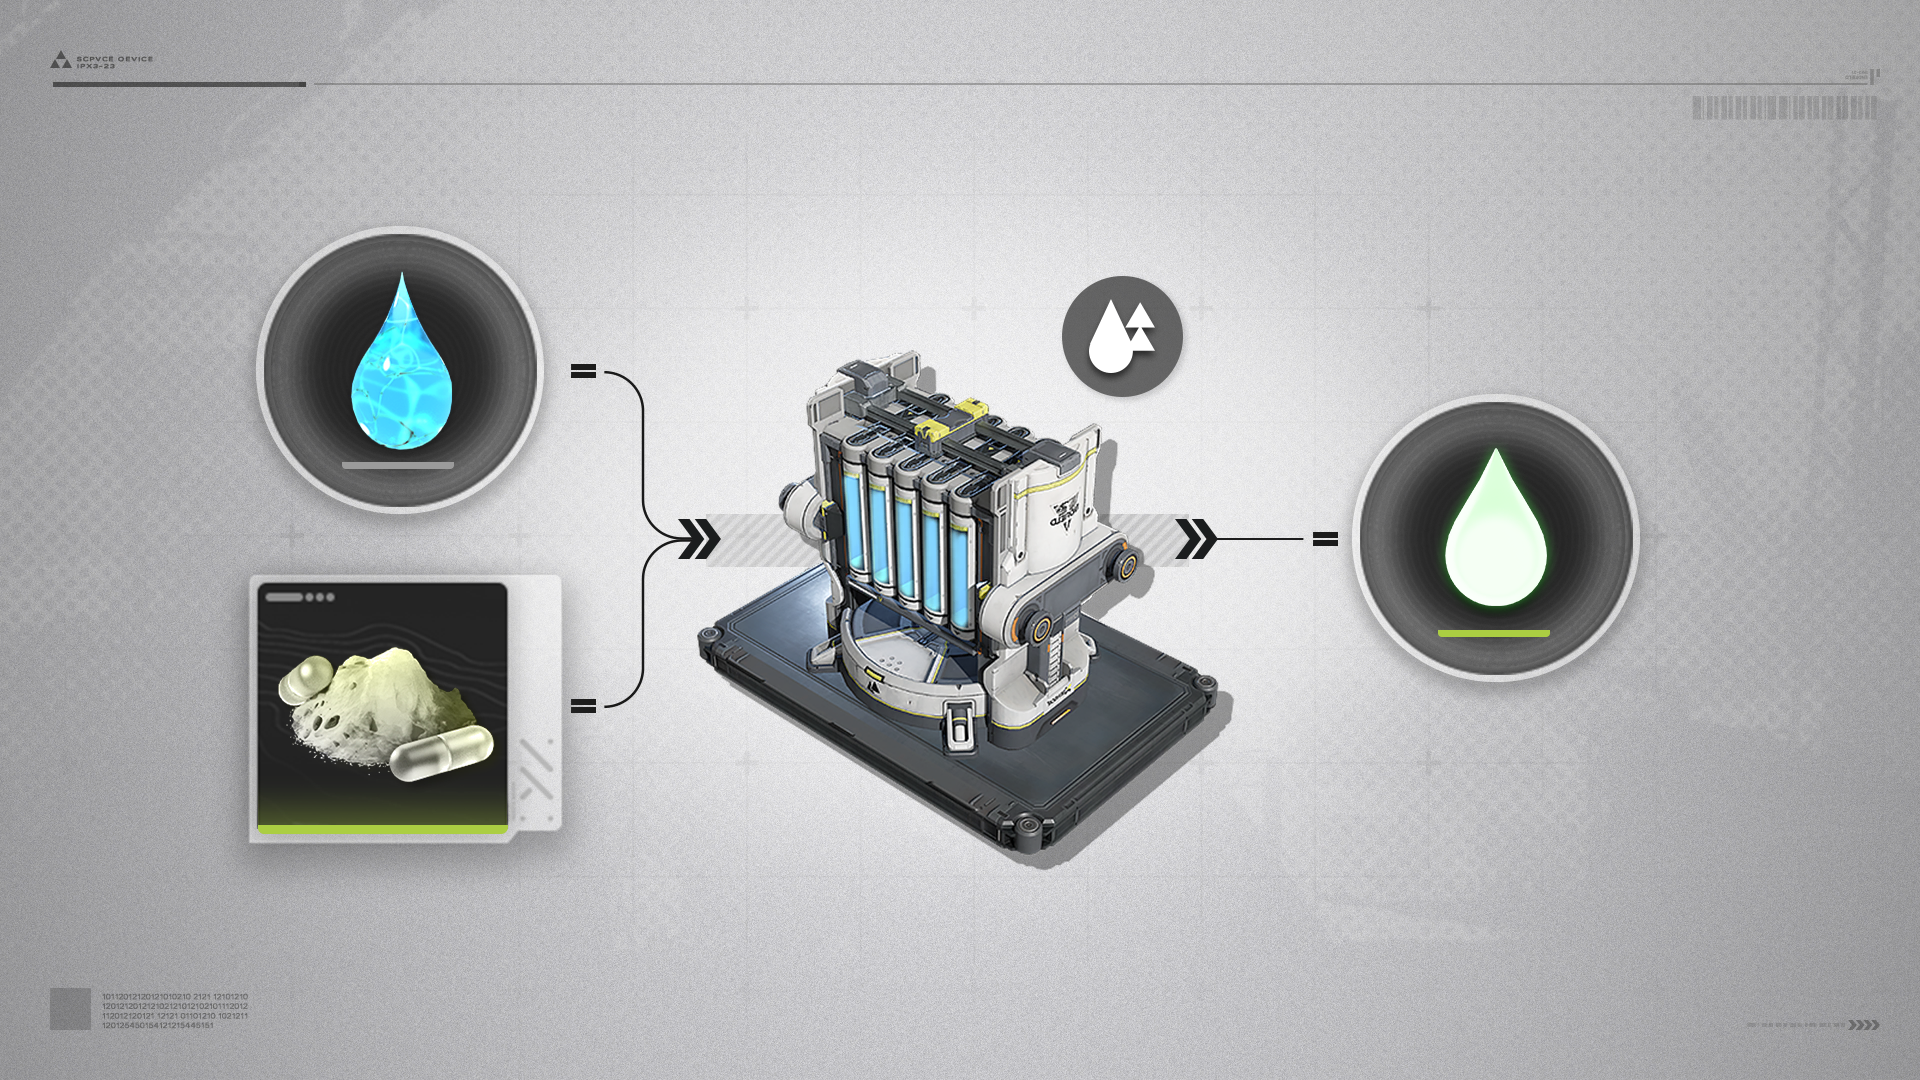
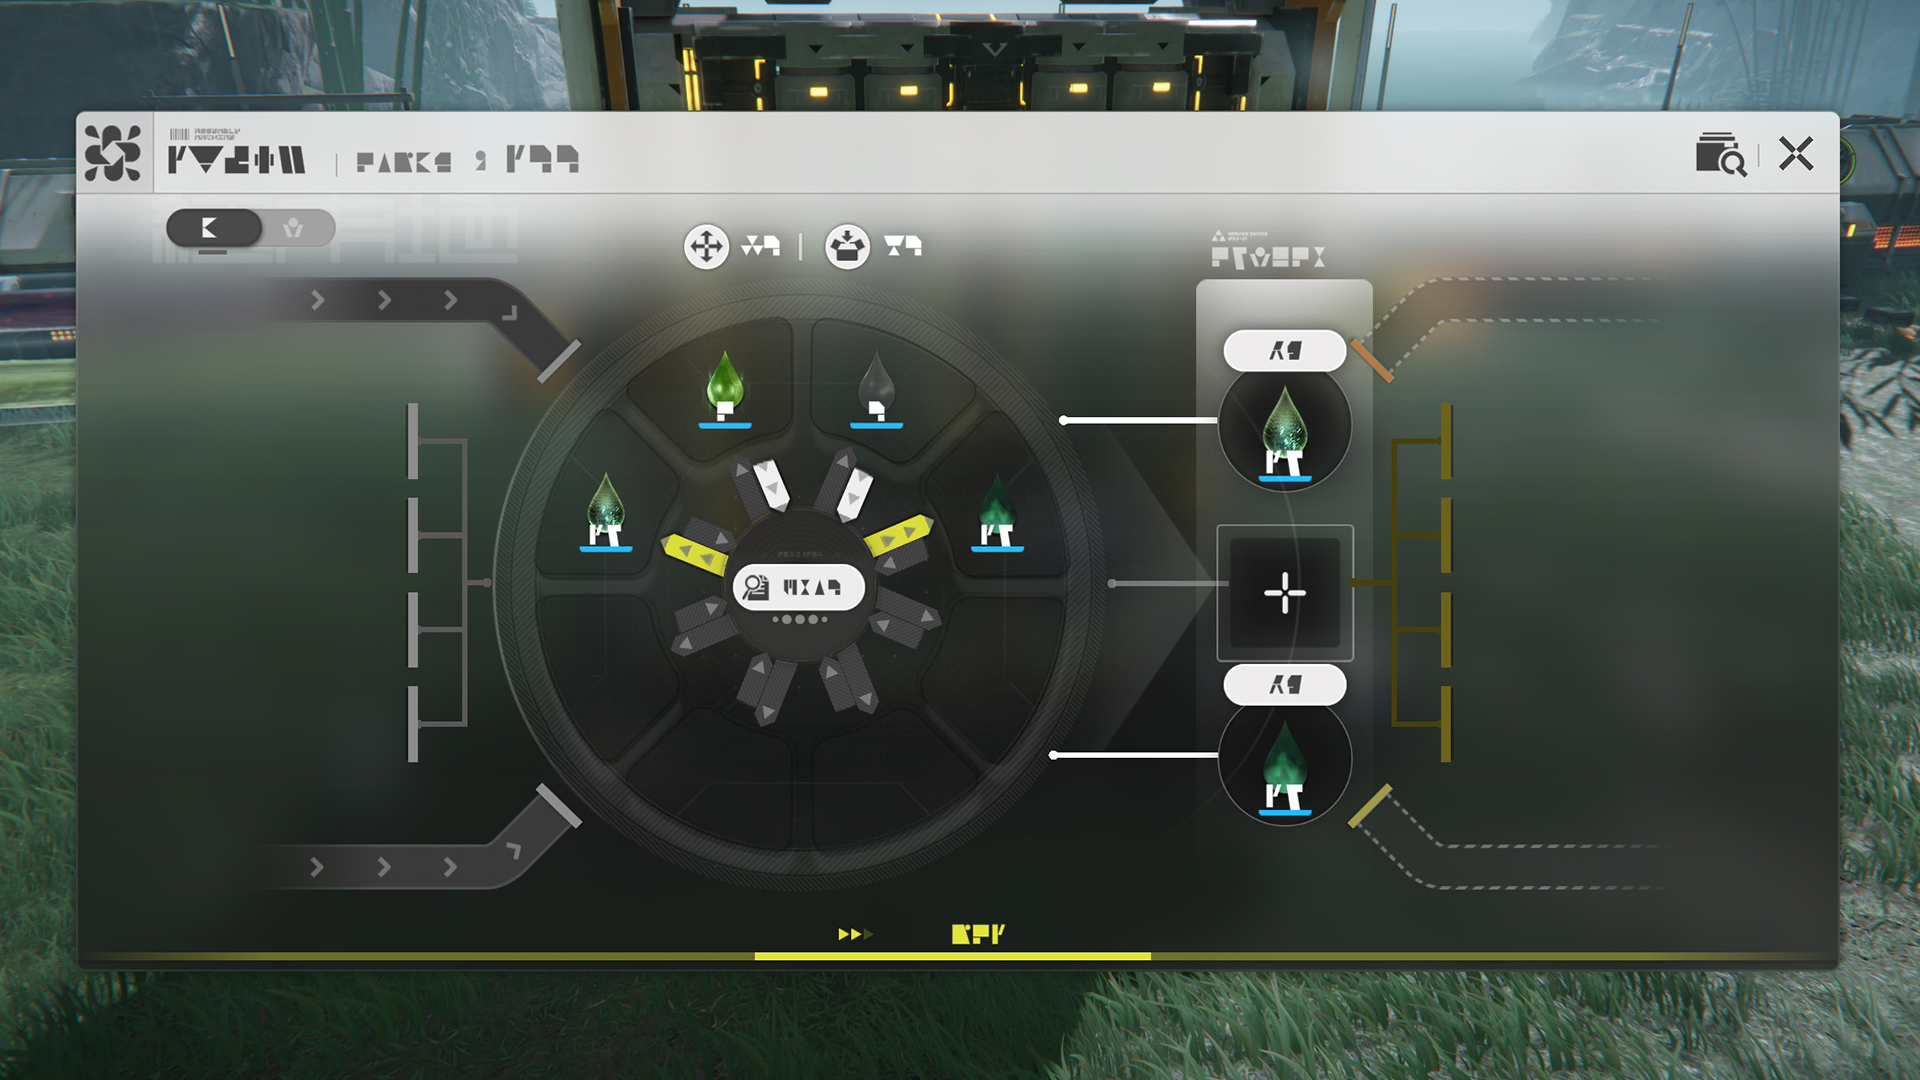
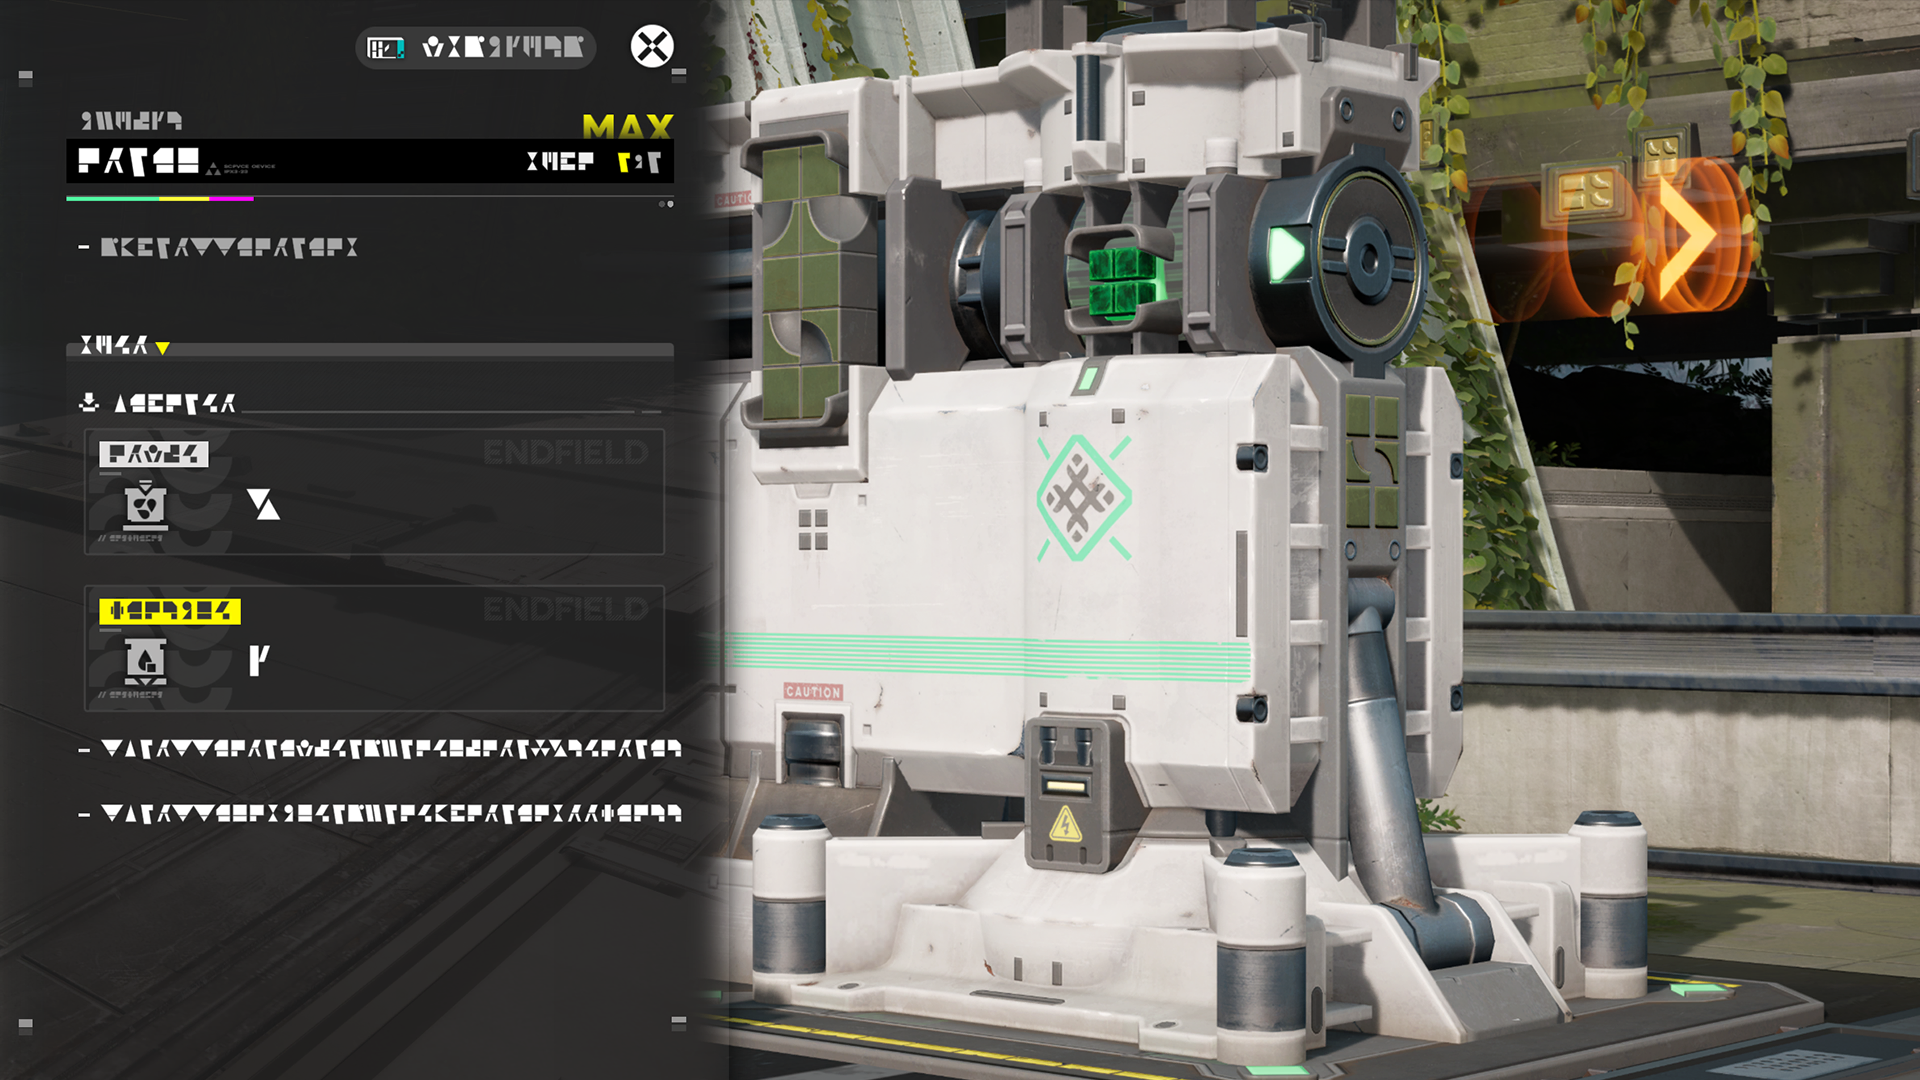
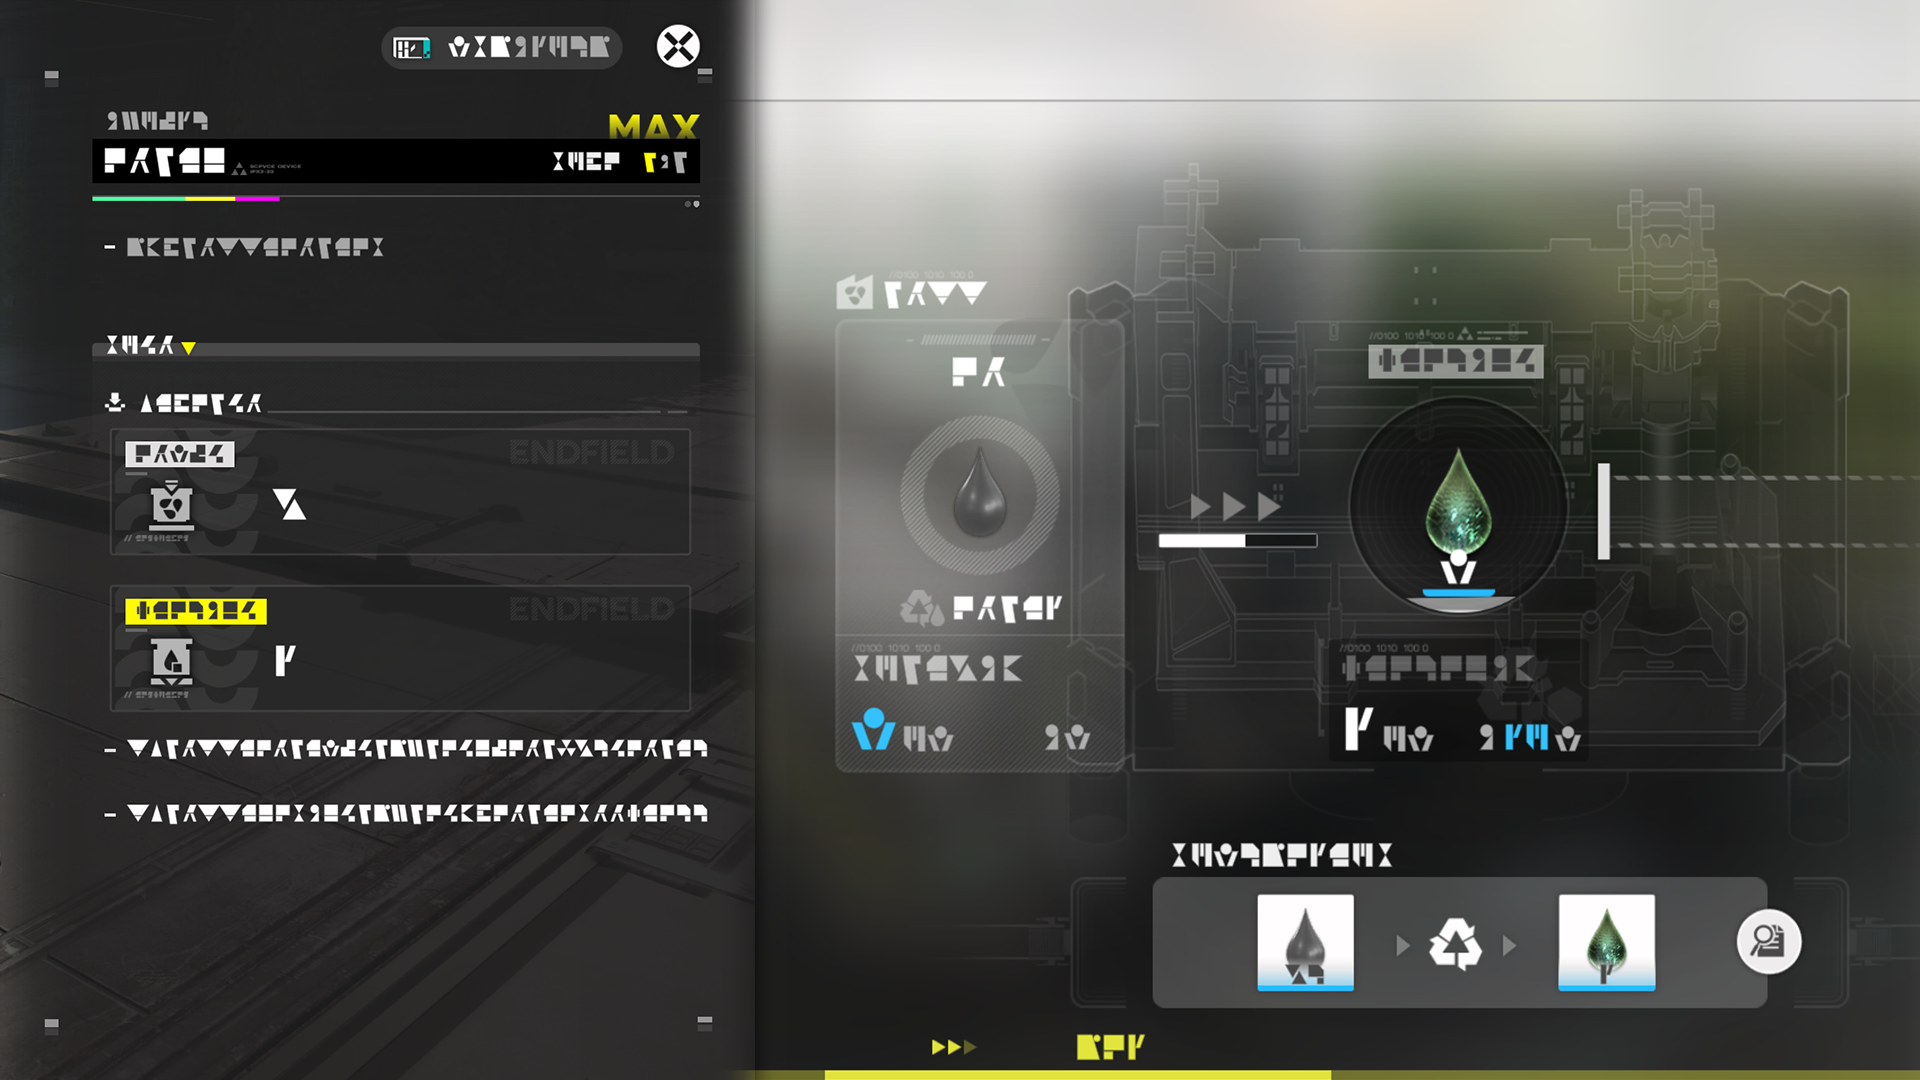
Facility Control Panel: Logistics Info

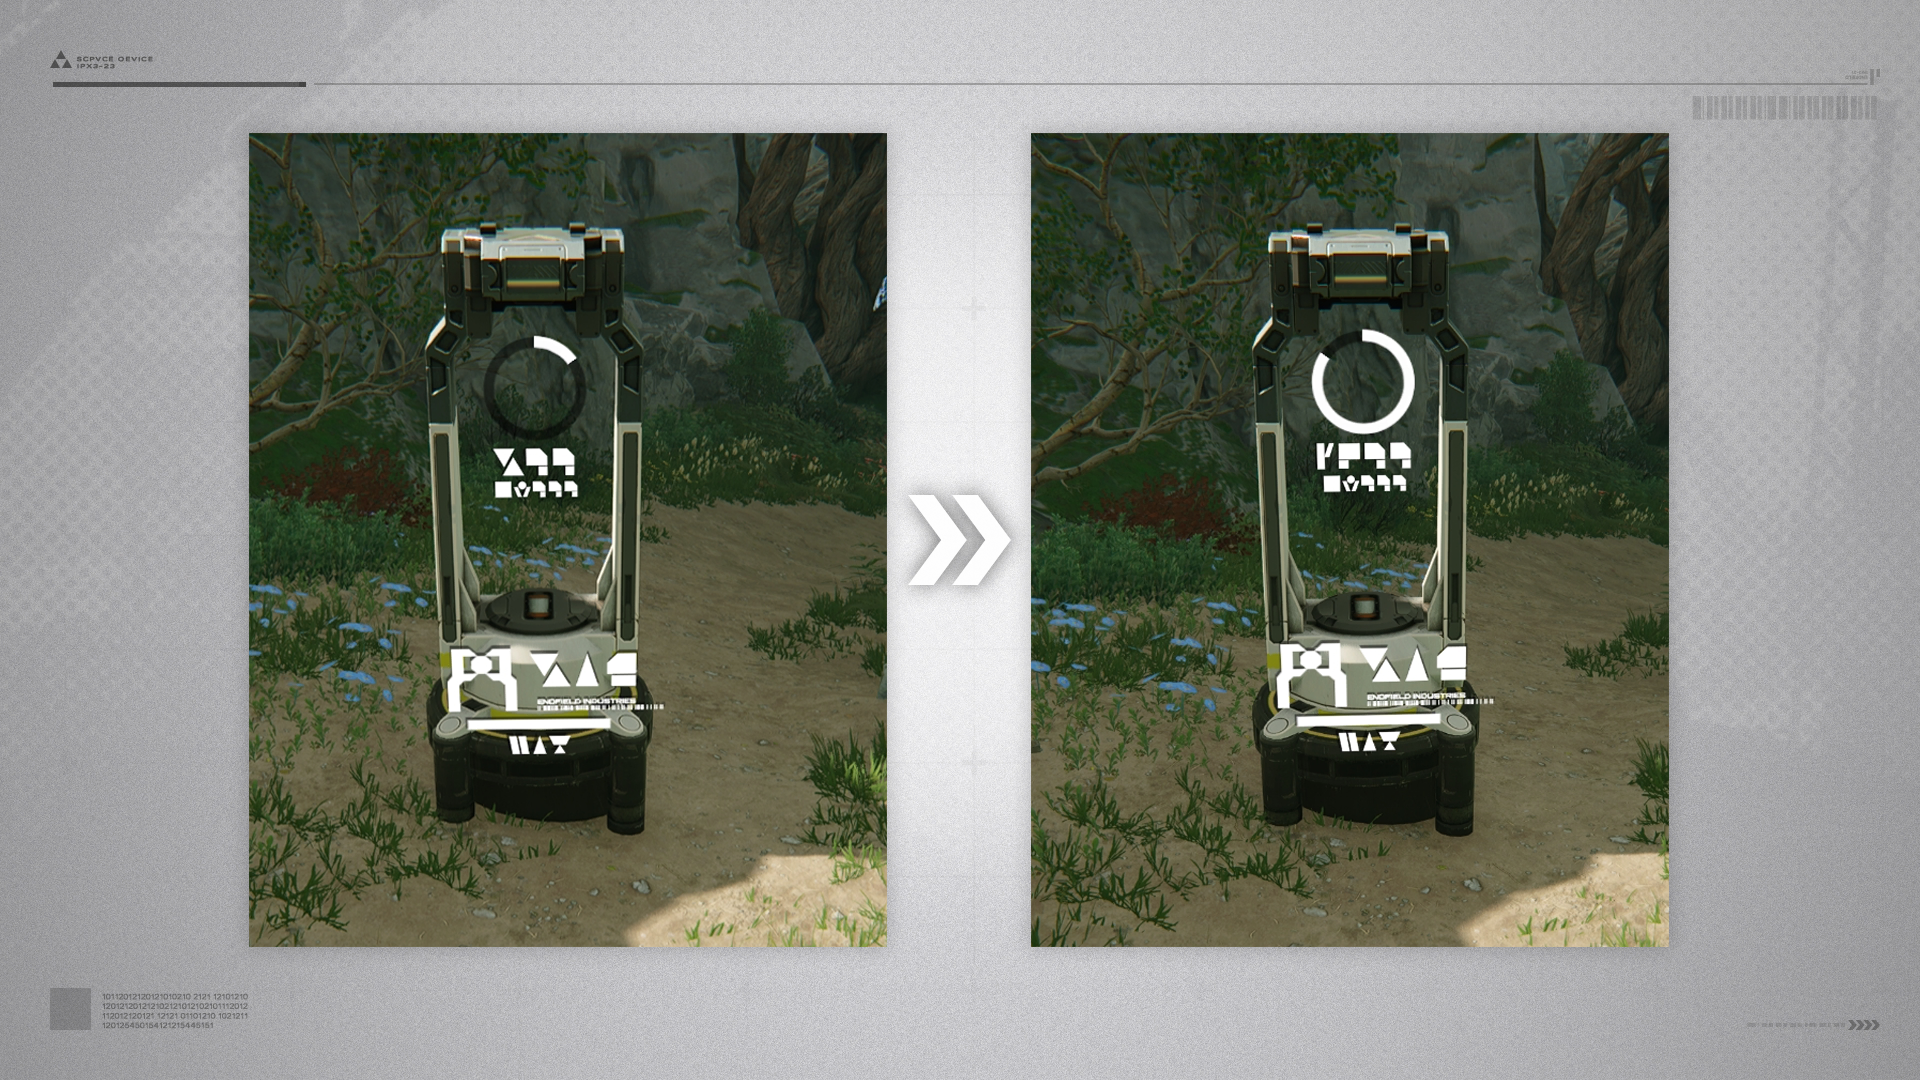
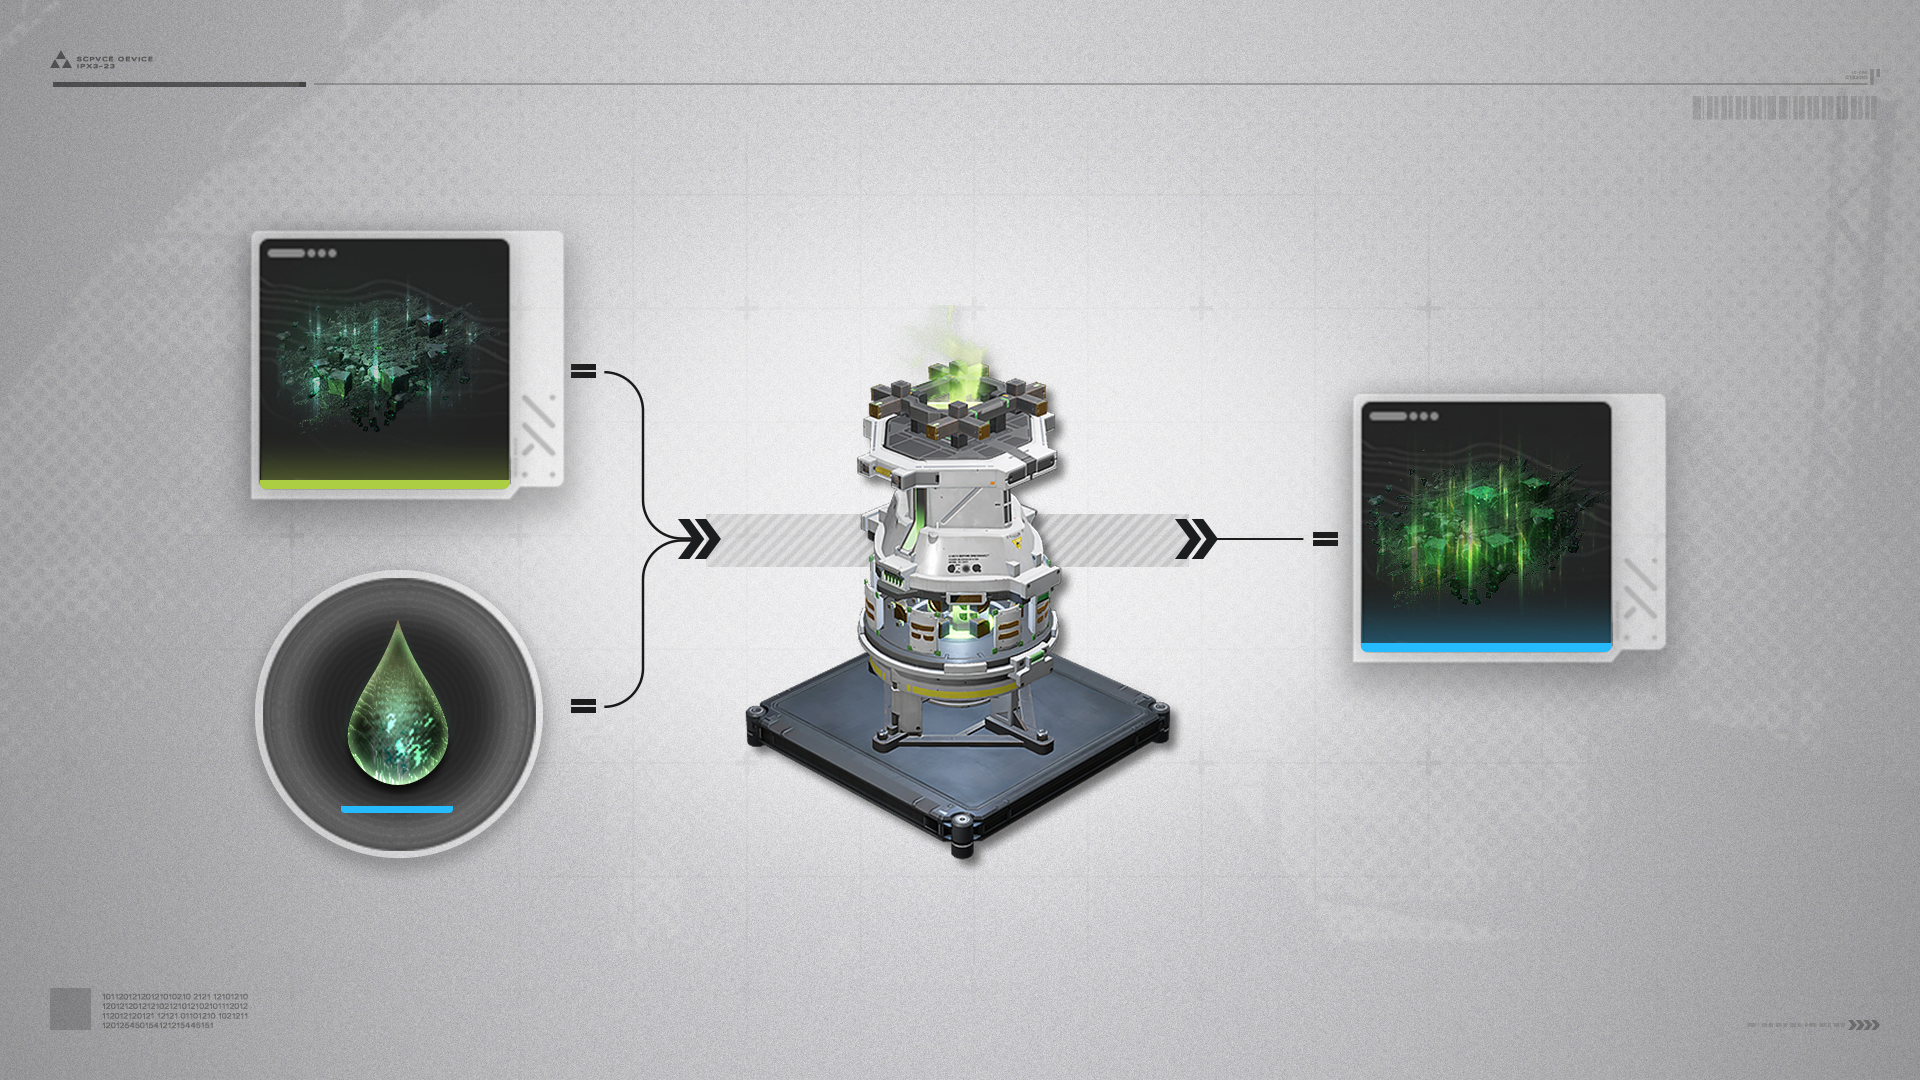
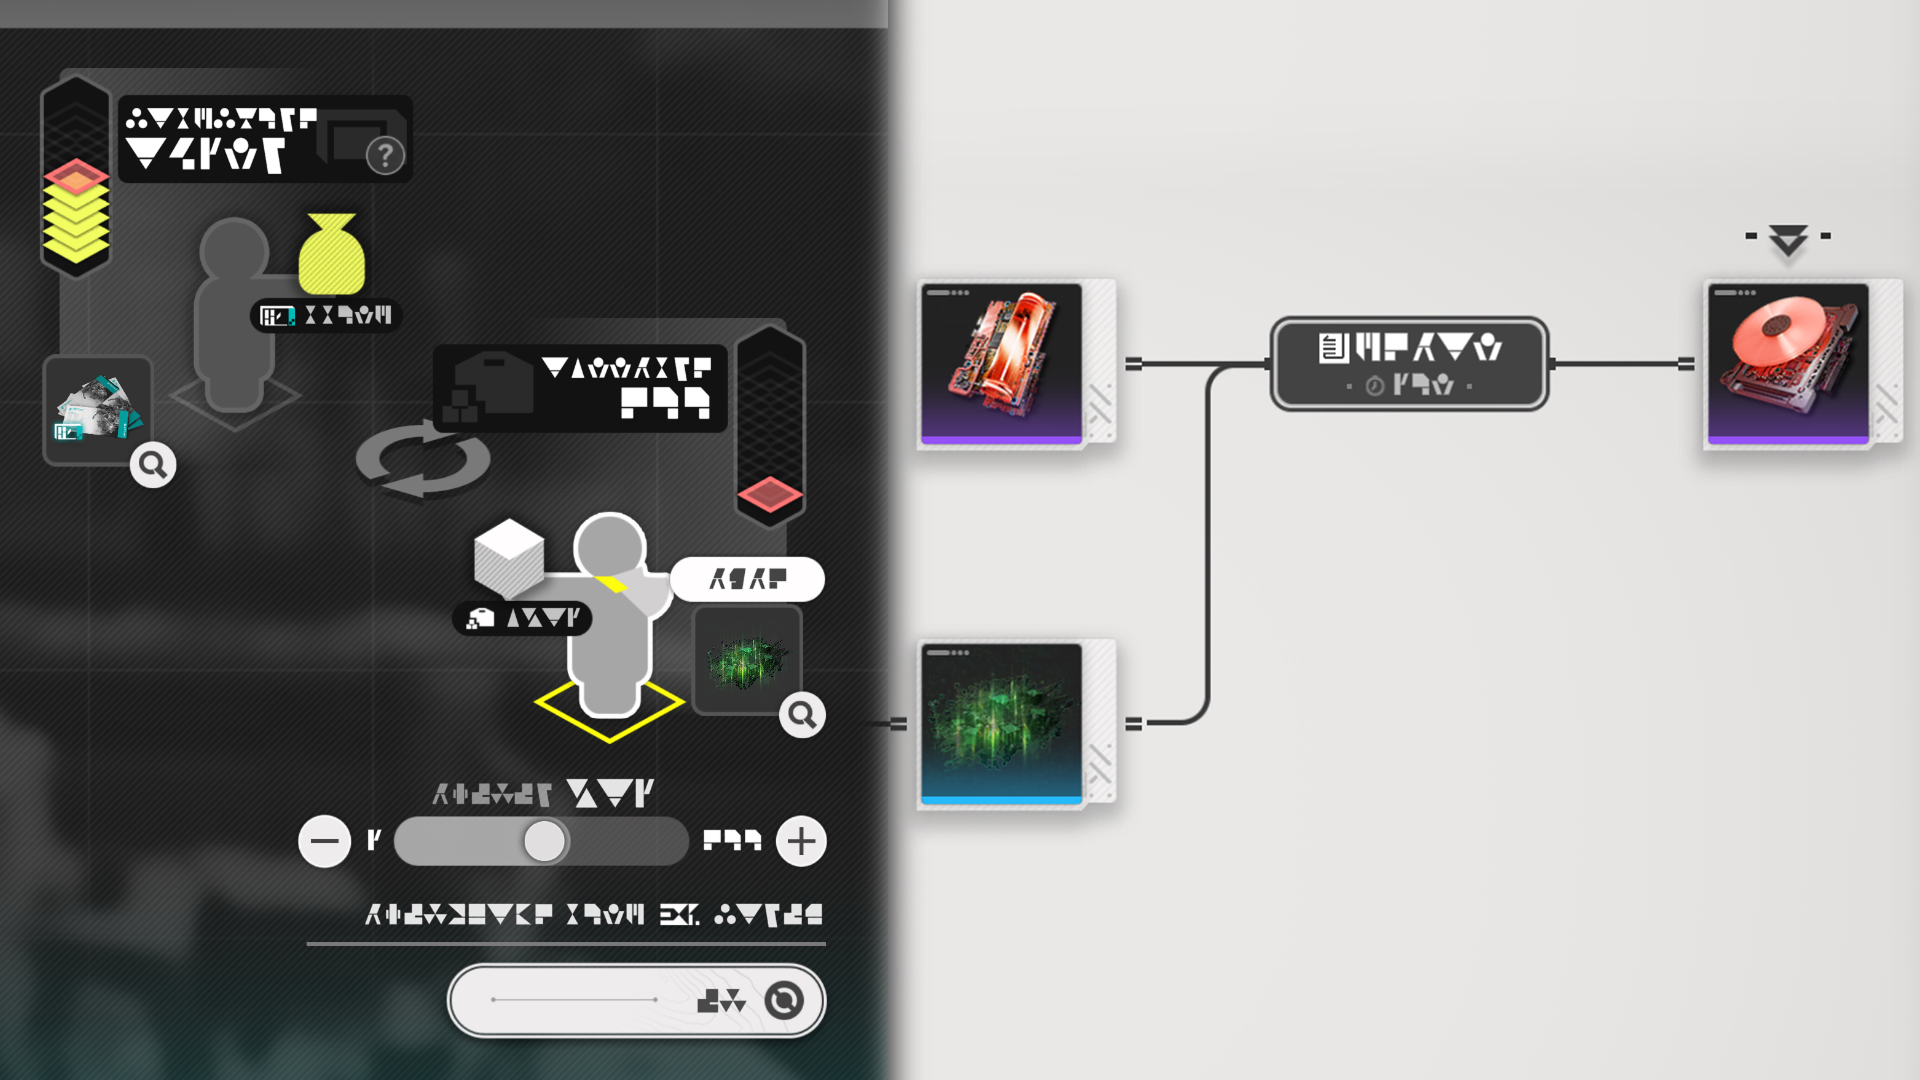
The control panel of transport belts shows their logistics info. The left side represents the facility's input ports and auto-loading of materials from incoming transport belts. The right side shows the facility's output ports and auto-unloading of products to outgoing transport belts.

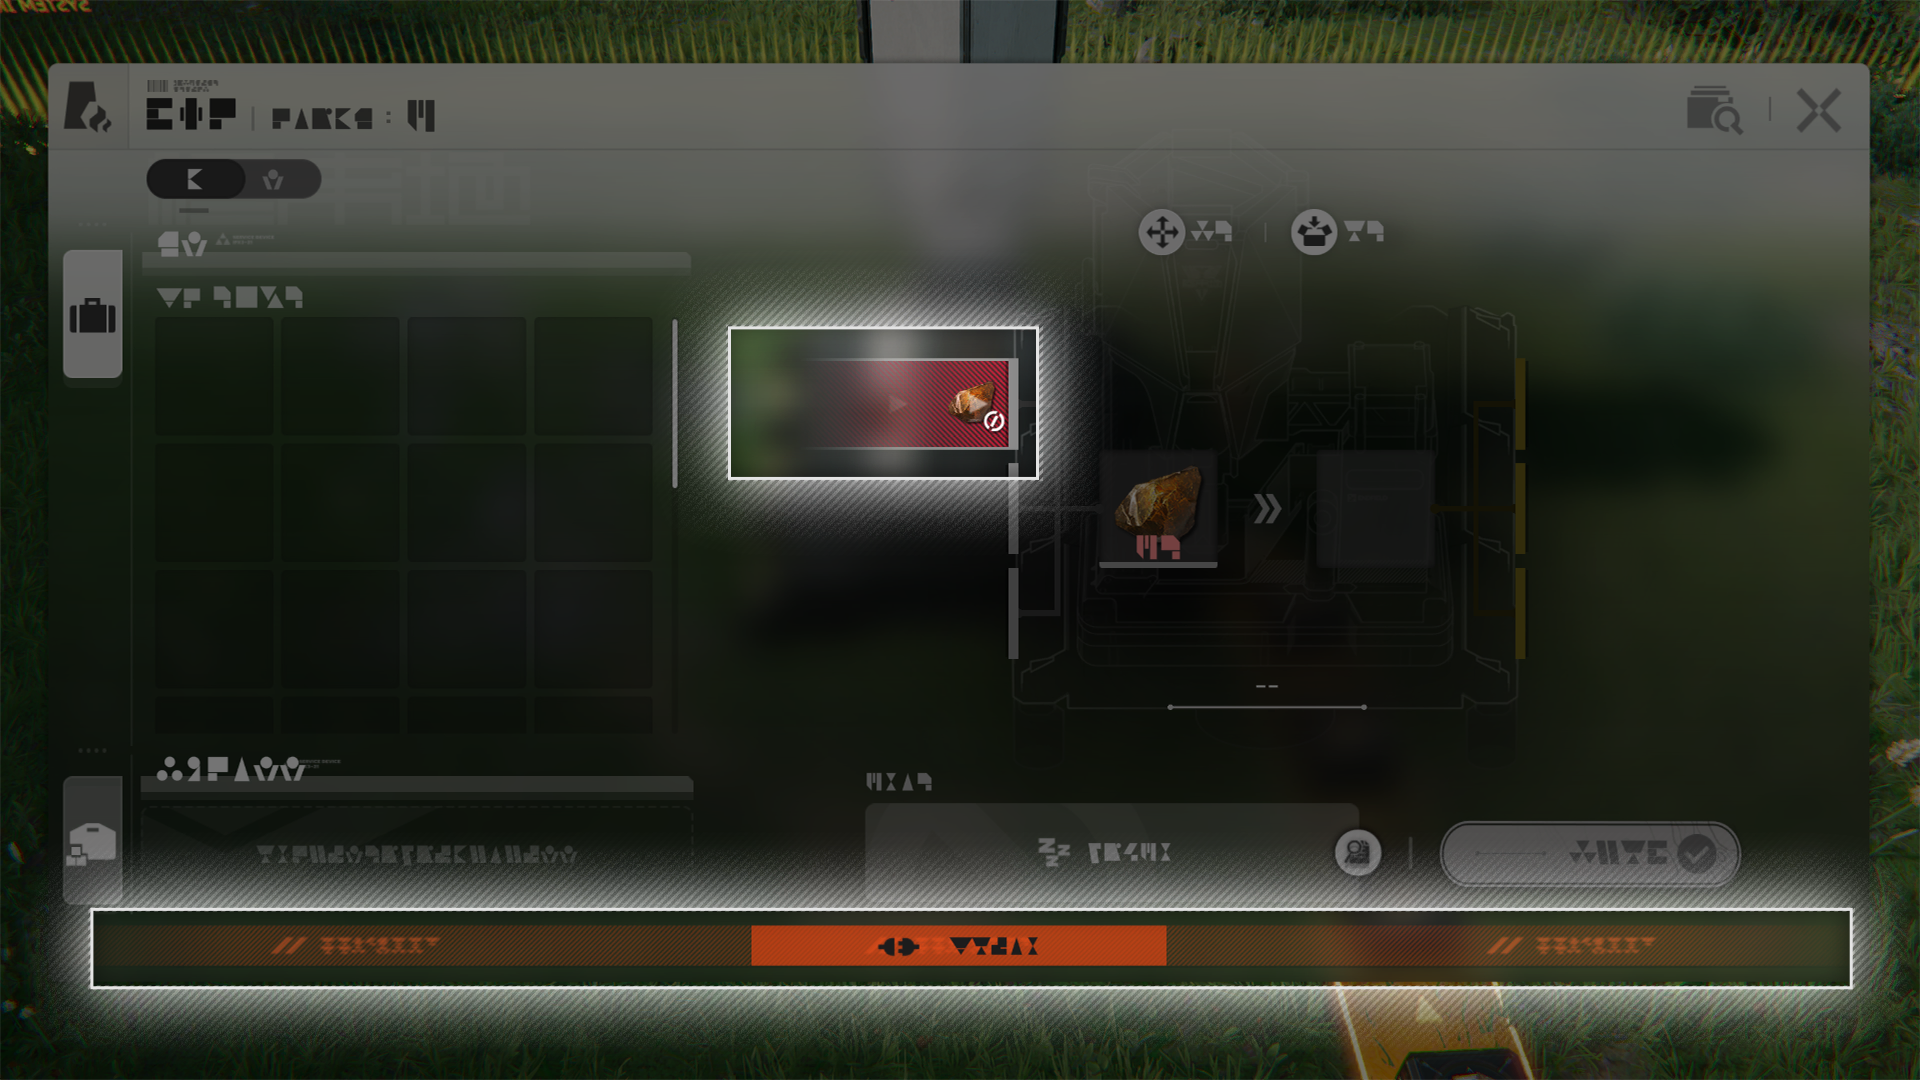
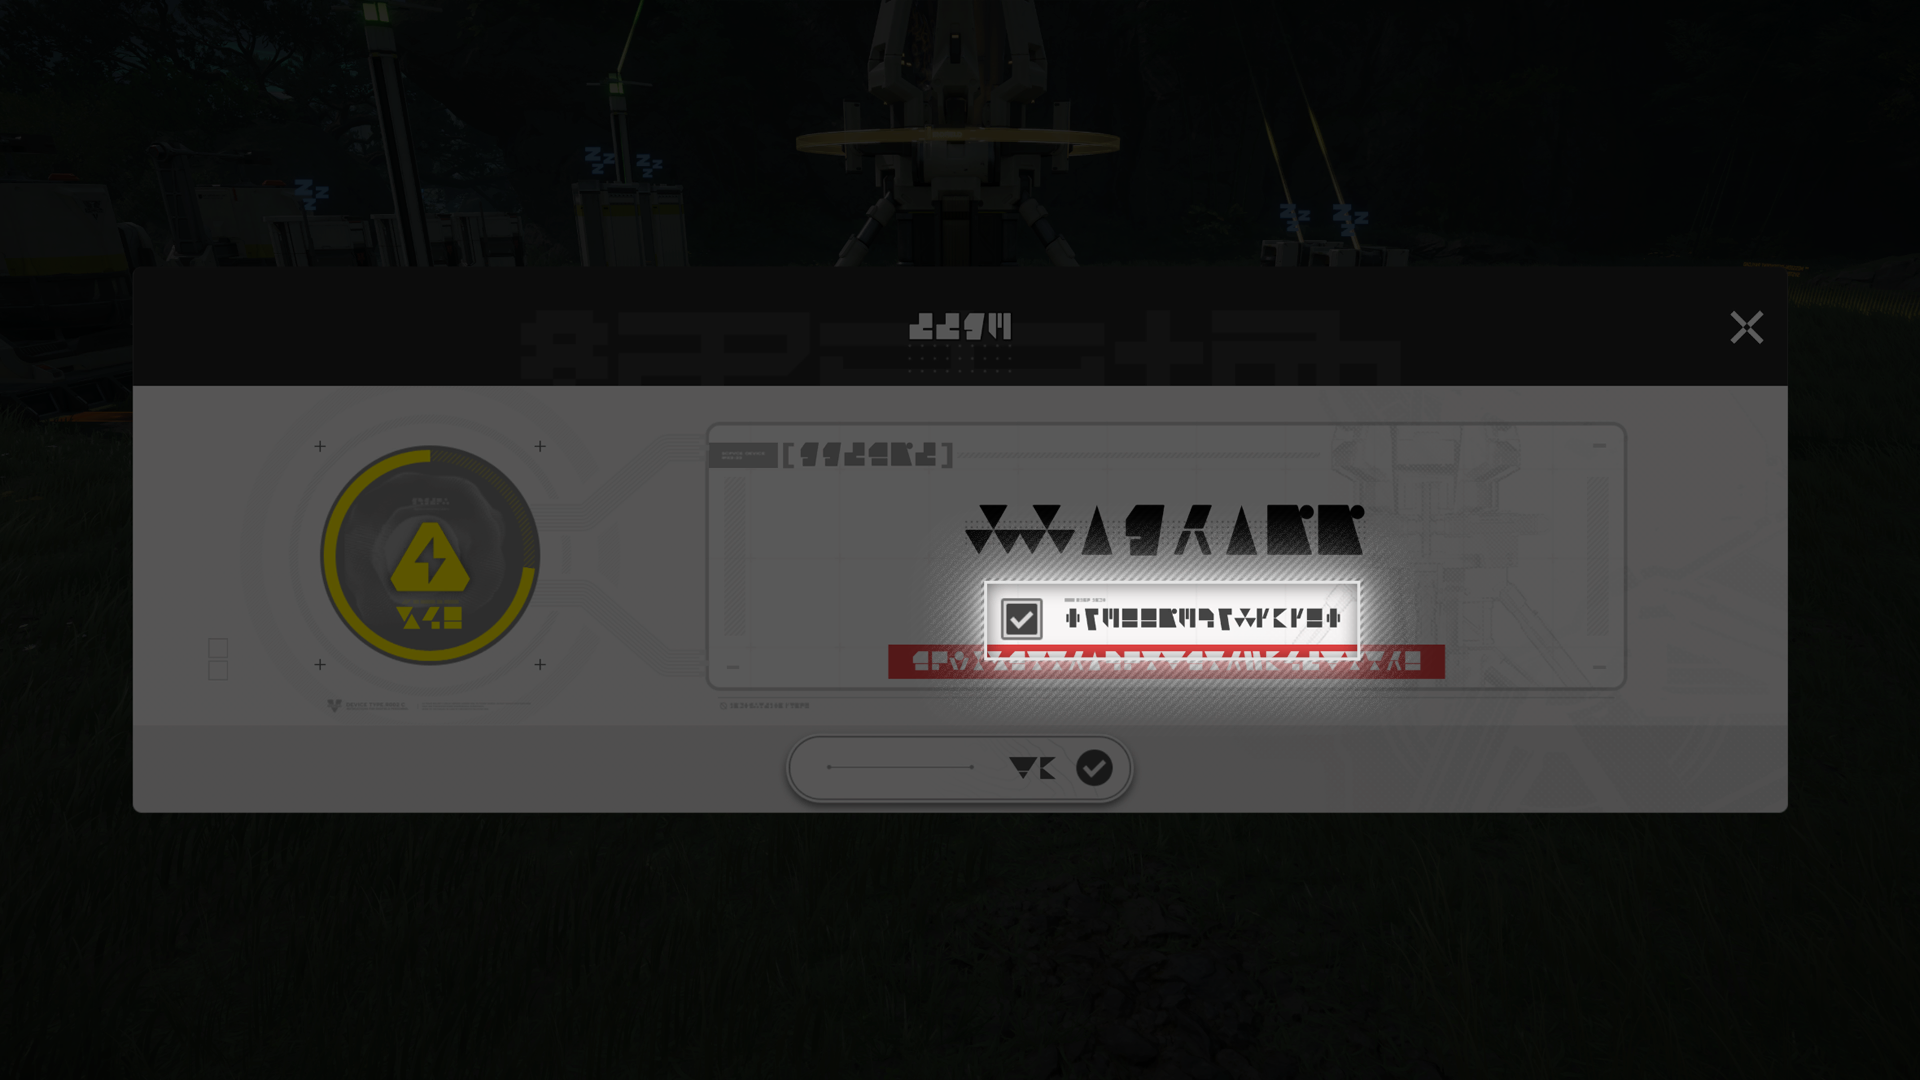
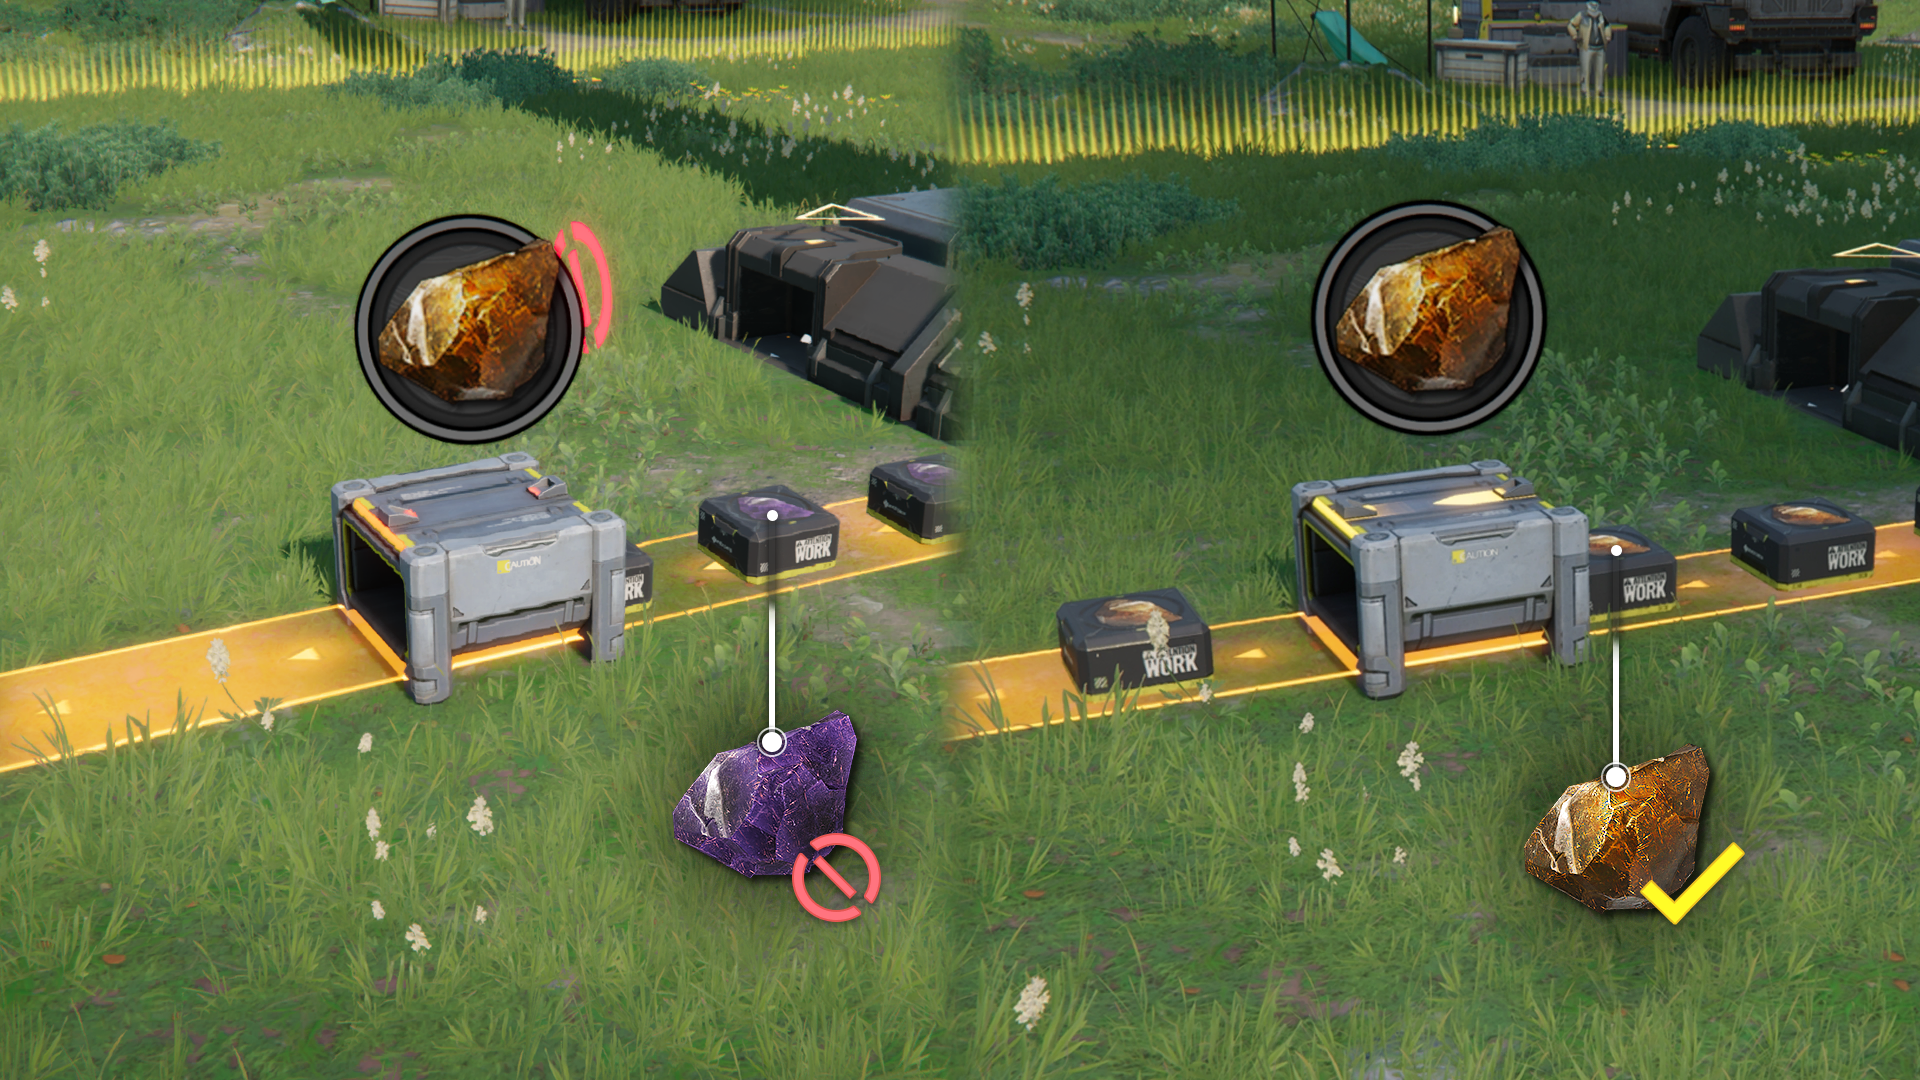
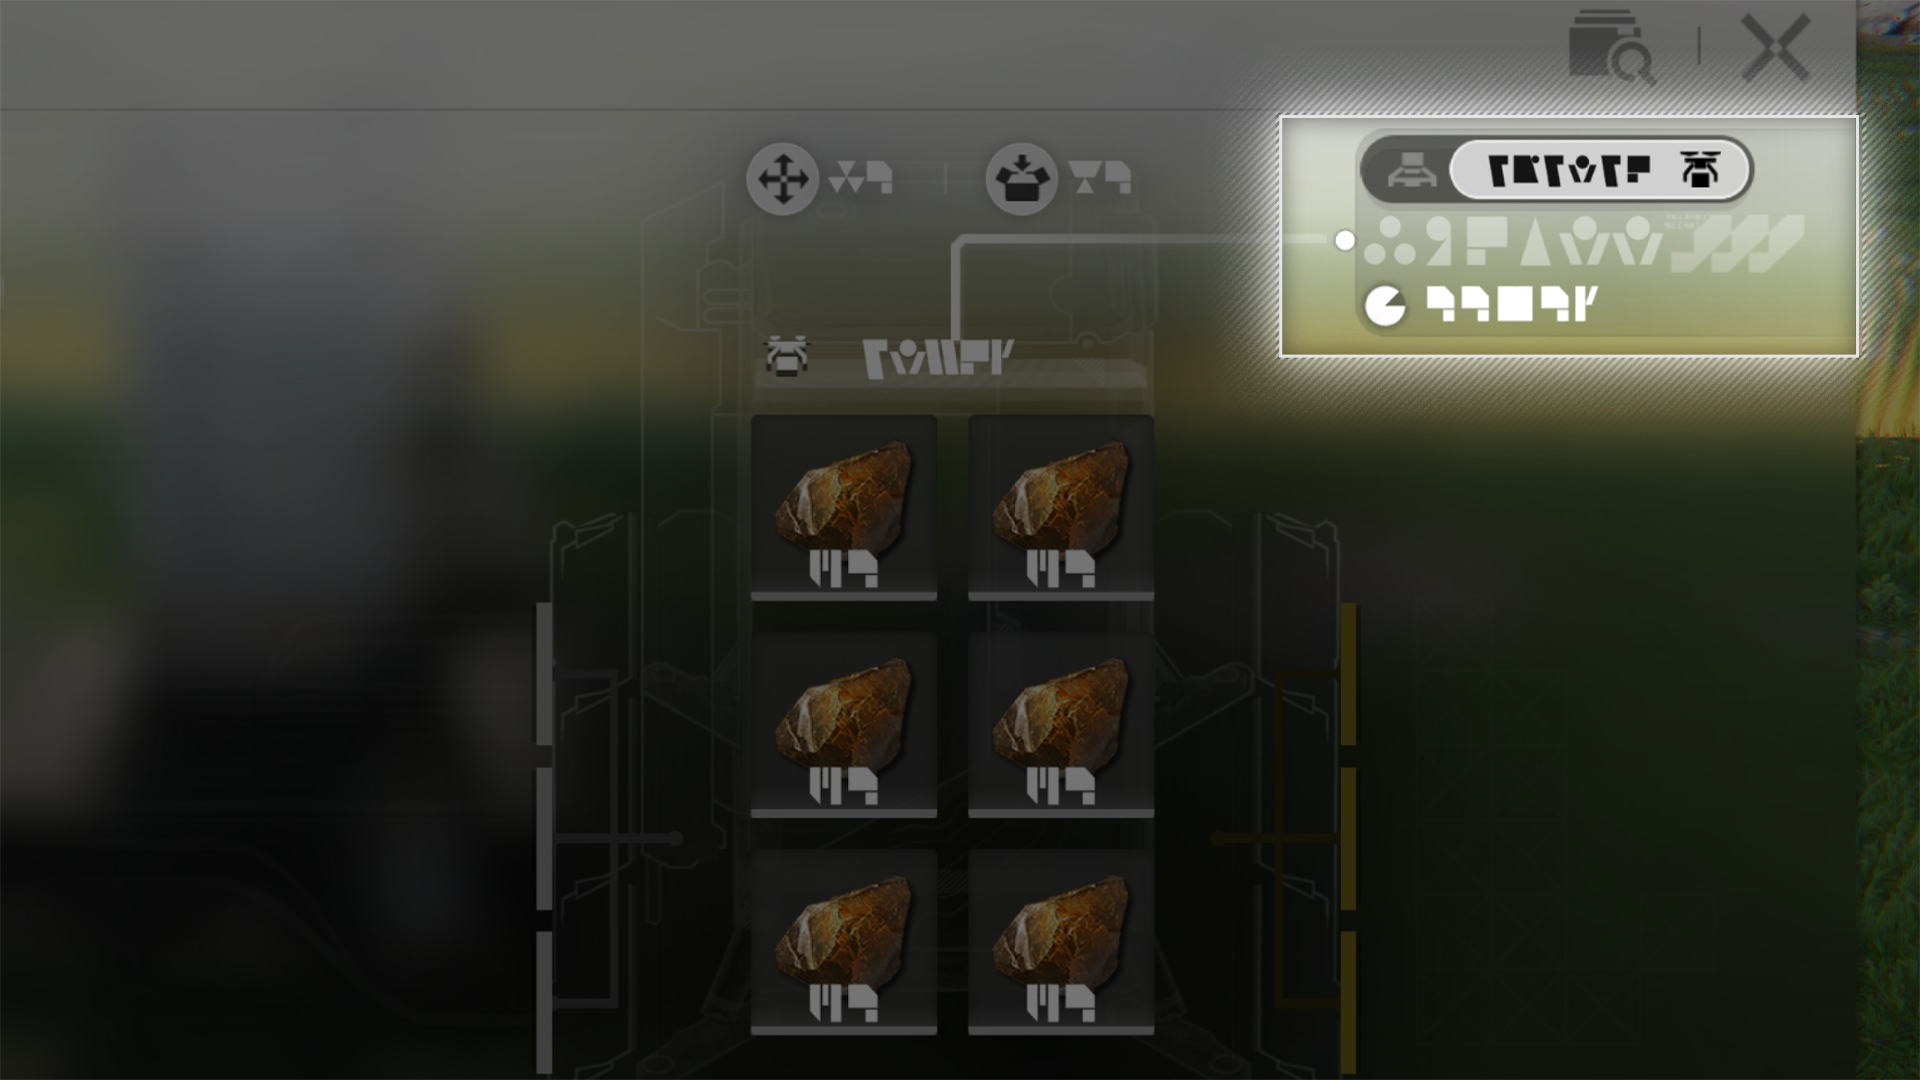
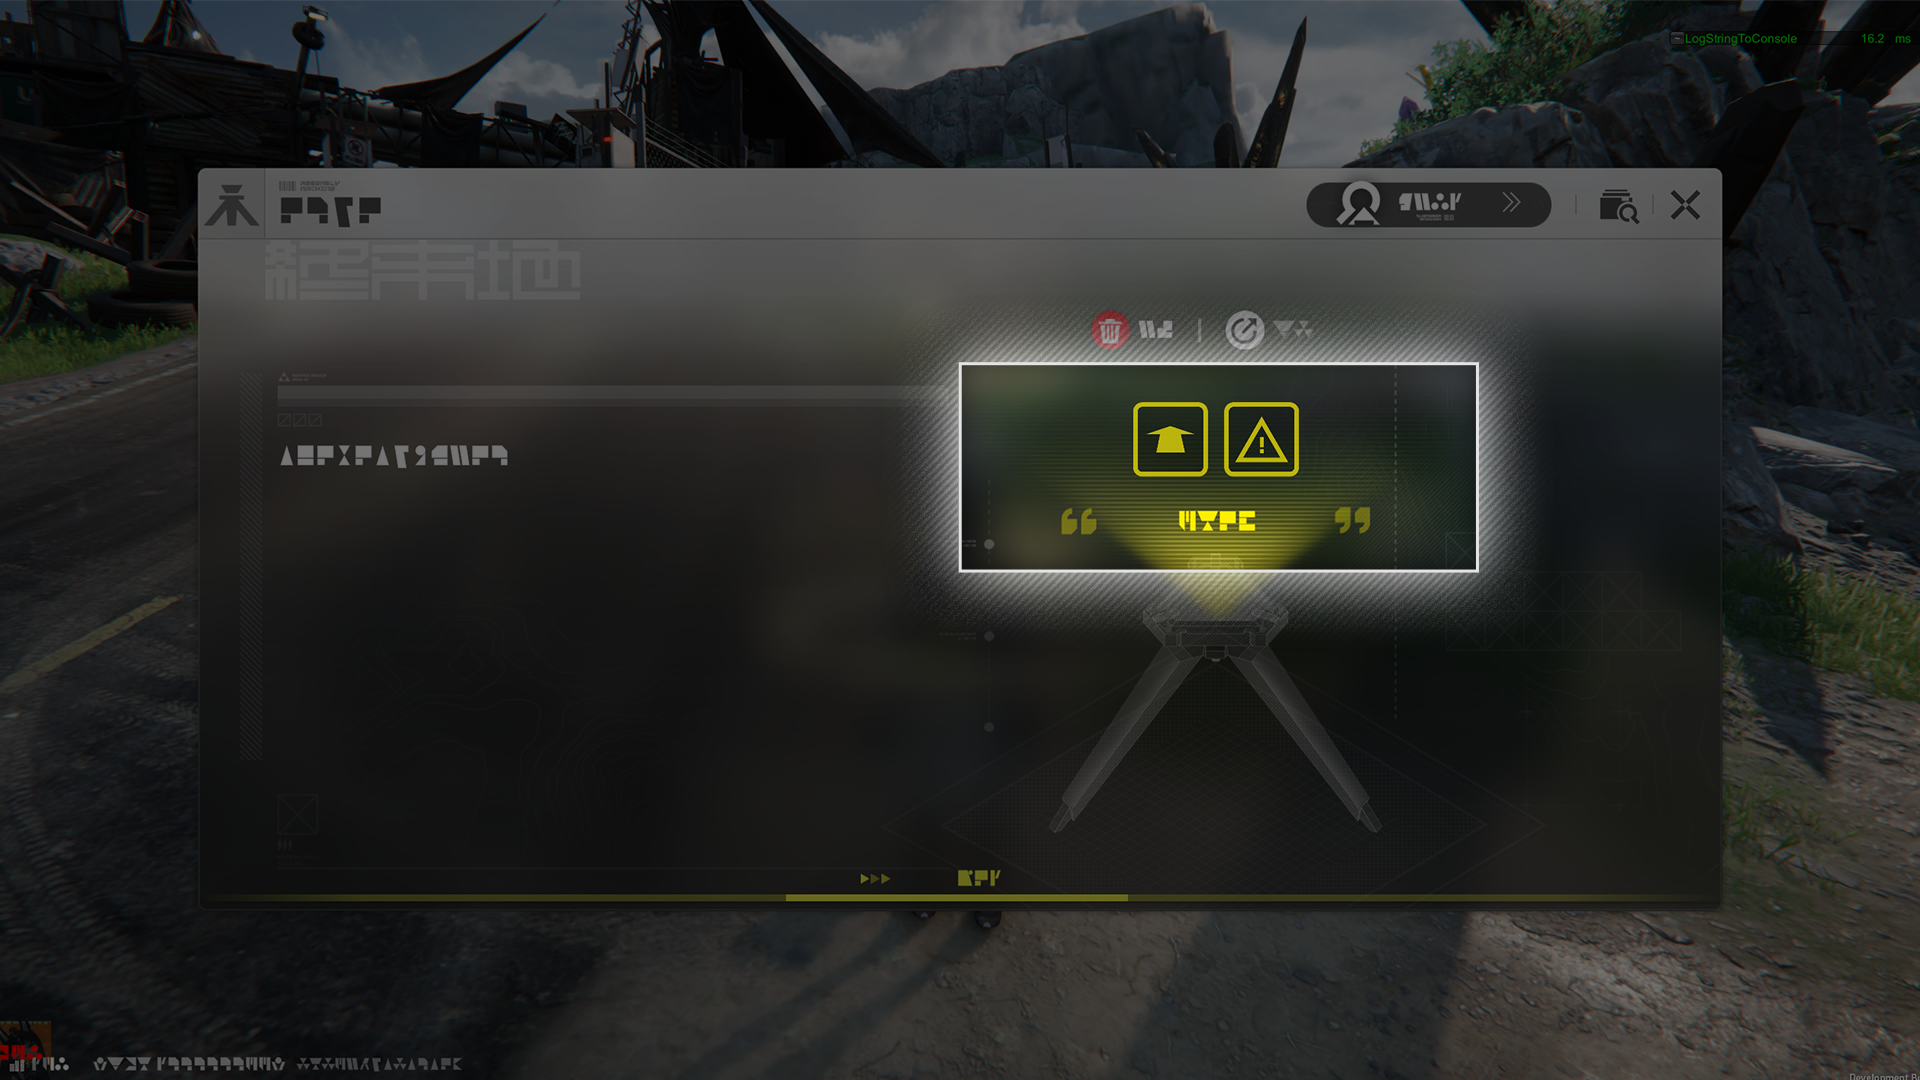
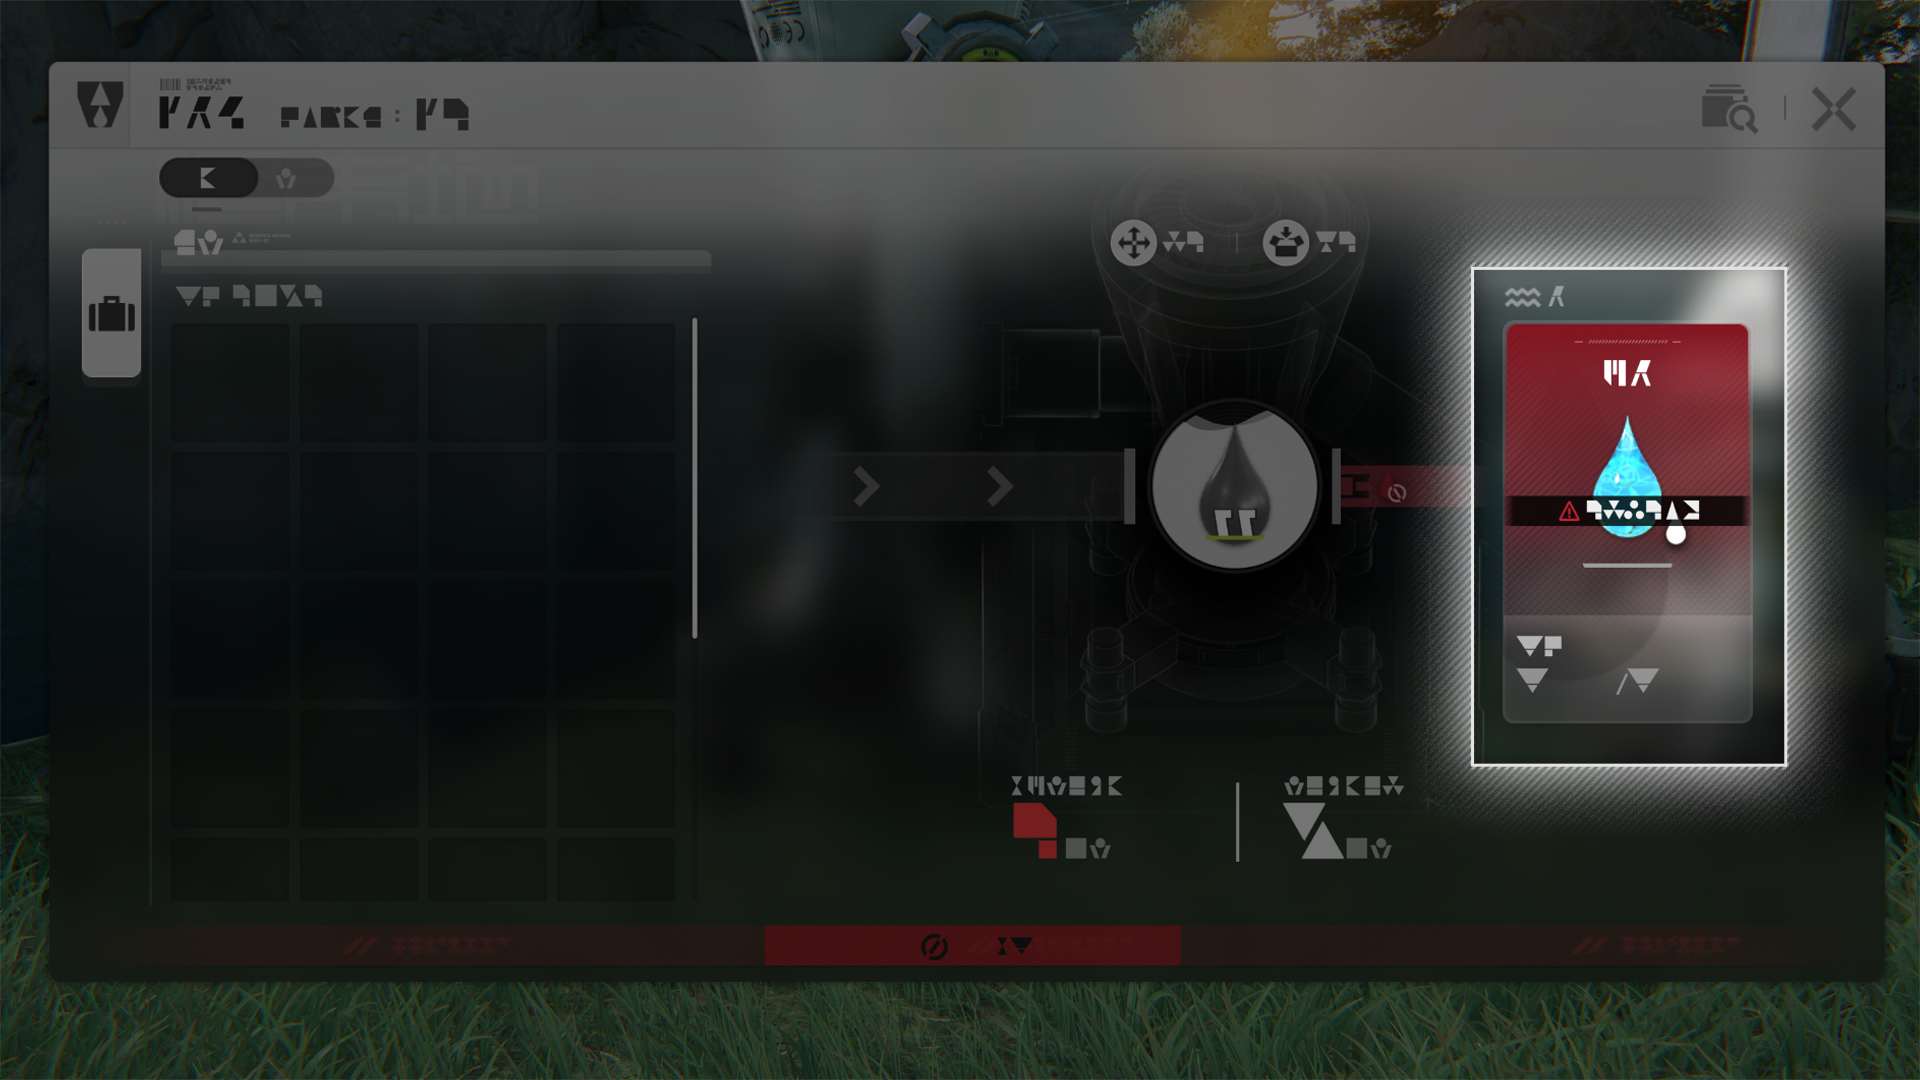
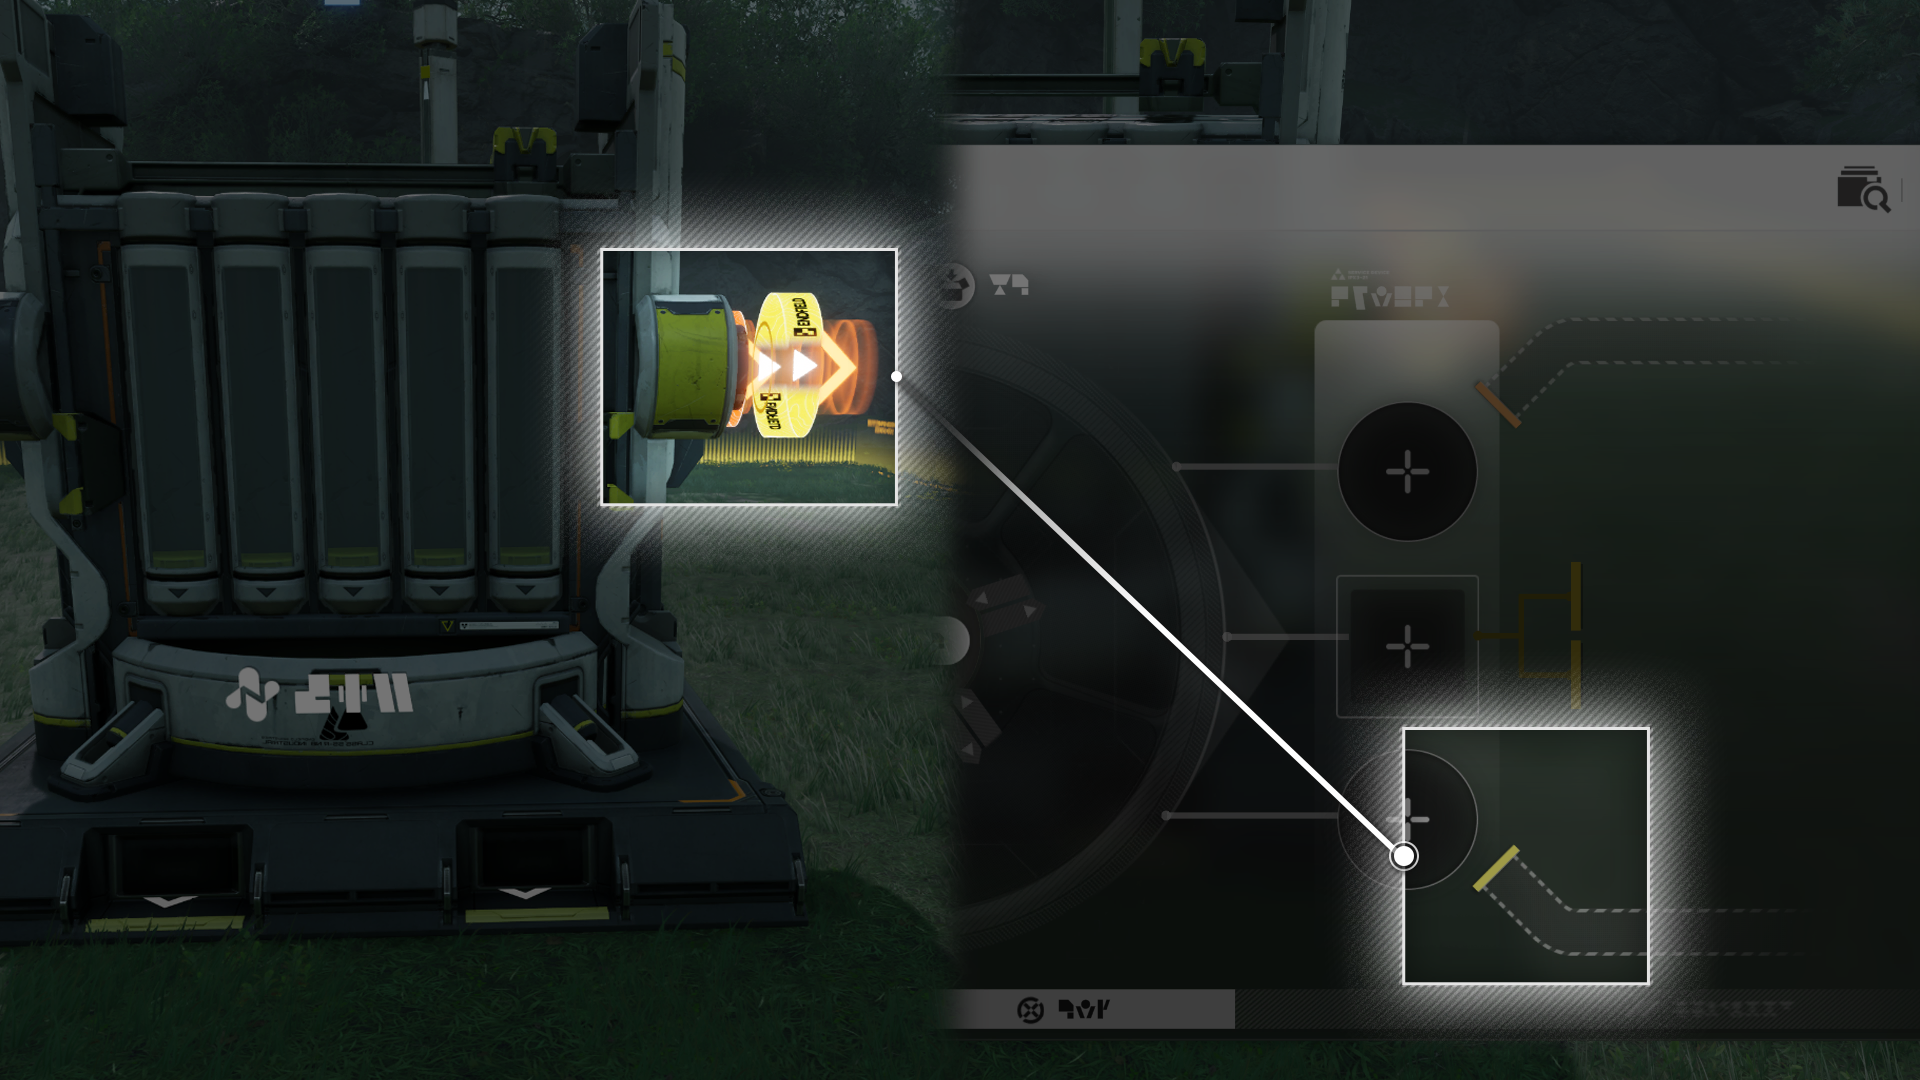
Transport Belt: Abnormal Statuses

When a facility is clogged, the facility will stop loading materials or unloading products. The bottom part of the facility panel will also display warning signs that the facility is clogged.

Related Tutorials

AIC Factory Plan

AIC Factory Plan (1)

The AIC Factory Plan shows a detailed AIC Factory technology research tree. Every node represents an AIC technology.

AIC Factory Plan (2)

The AIC Factory Plan is divided into 3 phases. Progress through the main mission and acquire Expansion Cores to unlock the next phase.

AIC Technology and Guides

Use the AIC Factory Plan to view tutorials on various AIC technologies.

Related Tutorials

Wuling AIC Plan

In the region of Wuling, switch to the Wuling AIC Plan to research new AIC technologies. Protocol Dataloggers can also be collected in Wuling to earn Wuling AIC Index.

Related Tutorials

Protocol Datalogger

Many Protocol Dataloggers can be found scattered across Talos-II. Approach and interact with them to acquire AIC Index.

Finding Protocol Dataloggers

The locations of Protocol Dataloggers are already marked on the map. Use map markers to find these Protocol Dataloggers.

Related Tutorials

Simulation

Simulations are used to simulate different scenarios for using the AIC Factory. Once activated, the simulation can be directly accessed via the Operational Manual or AIC Factory Plan. Completing simulations also provides a relevant system blueprint.

Related Tutorials

Expansion Management System

Every Core AIC Area can be upgraded. Approach the AIC Steward near the Core AIC Area to open the upgrade screen.

Upgrade Purchase

Regional stock bills can be spent to upgrade the Core AIC Area. An upgraded Core AIC Area will be bigger. Exploration progress will also make other functions available.

Protocol Capacity and Restrictions

Every region has its own Protocol Capacity. Different facilities take up different amounts of Protocol Capacity and placing them outside the Core AIC Area uses up the Capacity. If Protocol Capacity of a region has been used up, no more facilities can be placed in that region.

Mining Rig

Mining Rigs are facilities specialized for mining ores. They can only be placed on mining spots.

Mining Rig: Mineral Mining

Different mining rigs can mine different minerals. Lower tier mining rigs are incapable of mining higher tier minerals.

Related Tutorials

Portable Originium Rig

The Portable Originium Rig mines Originium Ore and uses a fraction of it to power itself. It does not need to be connected to the power grid to keep mining Originium Ore.

Portable Originium Rig: Manual Ore Collection

Remember to return to Portable Originium Rigs regularly to manually gather the mined Originium Ore. The Portable Originium Rig will stop mining when its Originium Ore storage cache is full.

Related Tutorials

Electric Mining Rig

The Electric Mining Rig can mine higher tier minerals but must be powered in order to work. Use the Electric Pylon to supply it with power.

Electric Mining Rig: Belt-free Transfer

The Electric Mining Rig has belt-free transfer features that automatically deliver mined ores from its cache to the Depot.

Related Tutorials

Electric Mining Rig Mk II

The Electric Mining Rig Mk II is an improved version of the Electric Mining Rig. It is capable of mining harder minerals such as Ferrium Ore.

Hydro Mining Rig

The Hydro Mining Rig only needs Clean Water to work, and does not require power. It can extract rarer minerals such as Cuprium Ore.

Cuprium Ore

Cuprium Ore is a raw material for making higher tier products such as Yazhen Syringes [A] and Cuprium Components.

Cuprium Ore: Mining Method

Mining Cuprium Ore requires the use of Hydro Mining Rigs. Wuling AIC II factory technology Hydro Mining must be researched first to construct this AIC Factory facility.

Refining Unit

AIC facilities can process different materials to produce various factory goods and products. Refining Units can refine.
Typical product: Origocrust, made by placing Originium Ore in the Refining Unit.

Refining Unit: Fluid Mode

The Fluid Mode lets the Refining Unit use fluid-related formulas for production. Typical product: Cuprium. Use the control panel to manually switch the Refining Unit back to Solid Mode.

Shredding Unit

Shredding Units can shred materials into powder.
Typical product: Originium Powder, made by placing Originium Ore in the Shredding Unit.

Gearing Unit

The Gearing Unit can process materials with the [Gear] tag to produce materials for gear assembly.
Typical product: Amethyst Component, made by placing Origocrust and Amethyst Fiber in the Gearing Unit.

Gear Component

Gear components are essential for gear assembly. Different components are needed to assemble gear of different quality.

Fitting Unit

The Fitting Unit can process materials with the [Fit] tag to produce facility construction materials or other things.
Typical product: Amethyst Part, made by placing Amethyst Fiber in the Fitting Unit.

Moulding Unit

The Moulding Unit can process materials with the [Mould] tag to make materials for making medication and food production.
Typical product: Amethyst Bottle, made by placing Amethyst Fiber in the Moulding Unit.

Filling Unit

The Filling Unit can process materials with the [Fill] tag to produce various medications or processed foods.
Typical product: Buck Capsule [C], made by placing Amethyst Bottle and Buckflower Powder in the Filling Unit.

Filling Unit: Fluid Mode

After unlocking Fluid Mode for the Filling Unit, the facility can produce with fluid-related formulas.
Typical product: Yazhen Solution in Ferrium Bottles, made by placing Yazhen Solution and Ferrium Bottle in the Filling Unit.

Packaging Unit

Packaging Unit (1)

The Packaging Unit can process materials with the [Package] tag to make explosives or batteries. Typical product 1: LC Battery, made by placing Amethyst Part and Originium Powder in the Packaging Unit.

Packaging Unit (2)

Typical product 2: Industrial Explosive, made by placing Amethyst Part and Aketine Powder in the Packaging Unit.

Thermal Bank

The Thermal Bank is a facility that generates electrical power. It raises the power output of the regional power grid to supply power to more facilities. Thermal Banks consume Originium Ore and batteries to generate power. Batteries generate more power than Originium Ore and greatly improve power output efficiency of Thermal Banks.

Protocol Automation-Core: Power Reserves Depletion

Protocol Automation-Core: Power Reserves Depletion (1)

When the Protocol Automation-Core (PAC) runs out of power reserves, build more Thermal Banks to generate power and build up the power reserves again. Facilities can also be switched OFF to reduce power consumption.

Protocol Automation-Core: Power Reserves Depletion (2)

Switch to top view mode and use bulk actions to select multiple facilities. The selected facilities can then be switched OFF with a bulk action to reduce power consumption more quickly.

Related Tutorials

Planting Unit

The Planting Unit can grow seeds of common plants and raise them to maturity.
Typical product: Buckflower, grown from Buckflower Seeds placed in the Planting Unit.

Planting Unit: Fluid Mode

After unlocking Fluid Mode for the Planting Unit, the facility can grow crops that require fluids.
Typical product: Jincao, made by placing Clean Water and Jincao Seed in the Planting Unit.

Seed-Picking Unit

Seed-Picking Unit (1)

The Seed-Picking Unit can pick seeds from common plants.
Typical product: Buckflower Seed, picked from Buckflowers placed in the Seed-Picking Unit.

Seed-Picking Unit (2)

Seed-Picking Units can be used to pick seeds from rare plants that cannot be grown quickly.
Typical product: Reed Rye Seed, picked from Reed Rye placed in the Seed-Picking Unit.

Grinding Unit

The Grinding Unit can process materials with the [Grind] tag to make dense and finer powders with the help of grinding auxiliaries.
Typical product: Dense Ferrium Powder, made by placing Ferrium Powder and Sandleaf Powder in the Grinding Unit.

Item Control Port

Item Control Port (1)

Item Control Port can limit items allowed to pass through transport belts.

Item Control Port (2)

Use the Item Control Port to limit the quantity of items passing through the belt. It can also be used in blueprints to mark the type of items to be used on a blueprint.

Depot Bus

The Depot Bus uses Depot Loaders and Depot Unloaders to move items into and out of the Depot respectively.

Depot Loader and Unloader

Interact with a Depot Unloader to select a Depot item, then connect the Depot Unloader to a transport belt to automatically unload the selected item from the Depot. Moving items to a Depot Loader via a connected transport belt will automatically store them in the Depot.

Depot Loader and Unloader: Placement

The Depot Loader and Depot Unloader can be placed anywhere right next to the entire length of the Depot Bus.

Related Tutorials

Splitter

Splitter (1)

The Splitter can split the product flow of 1 transport belt to up to 3 transport belts.

Splitter (2)

Select the Splitter from the Facility List to place it, OR drag it into the facilities hotbar then use hotkeys to place it instead.

Belt Bridge

The Belt Bridge allows a transport belt to go over another without disrupting the flow of items on both belts.

Converger

The Converger can converge product flows of 3 transport belts into a single belt.

Protocol Stash

Protocol Stash (1)

The Protocol Stash can store items. When powered, the Protocol Stash can also deliver stored items to the Depot on a regular basis.

Protocol Stash (2)

The Protocol Stash can also be connected to transport belts to move its stored contents out.

Memo Beacon

Memo Beacon (1)

After reaching certain phases of exploration, Memo Beacons left by other explorers may start to appear.

Memo Beacon (2)

Memo Beacons may include icons and messages that other explorers wish to convey about the location.

Easy Stash

Easy Stash (1)

Easy Stashes can be directly connected to a local Depot to quickly load and unload various items.

Easy Stash (2)

Easy Stashes connected to the power grid will also appear in the scenes of other players. Their contents may help them greatly.

Zipline Pylon

Zipline Pylon (1)

Set up zipline routes with Zipline Pylons to quickly zip from one Pylon to another. Approach a Zipline Pylon to latch on to it to start ziplining. Other Zipline Pylons can be selected as the destination to quickly zip to it, as long as there are no obstacles along the way.

Zipline Pylon (2)

Only a limited number of zipline facilities can be placed in an area due to their expensive maintenance. Hence, zipline routes must be planned carefully.

Zipline Tower

Zipline Tower (1)

The Zipline Tower is an improved version of the Zipline Pylon. It has a longer zipline range and allows the creation of zipline routes that pass through multiple Zipline Towers in a single trip.

Zipline Tower (2)

After latching onto a Zipline Tower, another Zipline Tower within zipping range can be selected as the next "node". Any Zipline Tower can only be selected as the "node" once. Do this a few times to create a linked one-way route and zip from the first to the last Zipline Tower without stopping.

Zipline Tower (3)

When ziplining along a linked route and approaching a Zipline Tower, a button prompt indicating the next node to move to will appear on screen. Press the button within the time limit to continue ziplining to the next node in the link without stopping.

Combat Facility

The Gun Tower is a combat facility. When operational, it automatically attacks enemy targets within its attack range.

Combat Facilities: Attack Range

When placing a combat facility, the blue circle indicates its attack range. Combat facilities will automatically attack enemy targets within their attack range.

Combat Facilities: Placement Limit

The number of combat facilities that can be placed is limited by Protocol Capacity as well as a separate Combat Facilities Limit. Both restrictions will be displayed when placing combat facilities.

Related Tutorials

Combat Facility: Charging

Combat Facilities: Charging (1)

Combat facilities must be powered and have enough charges to attack enemies. Combat facility charging status is visible from its appearance. The charging ring shown in the facility panel also indicates its charging status.

Combat Facilities: Charging (2)

Once connected to the power grid, the combat facility will slowly charge itself. There is also a charge limit. A combat facility must consume charges to attack, and will be unable to attack if it lacks the minimum charges required.

Related Tutorials

Medical Tower

When charged by the power grid or batteries, Medical Towers can convert their charges into treatment for restoring the HP of team operators nearby.

Grenade Tower

When charged by the power grid or batteries, Grenade Towers can automatically attack enemies within range. The grenades they fire will explode upon hitting the enemy to deal damage to a group of enemies.

Beam Tower

When charged by the power grid or batteries, Beam Towers can automatically attack enemies within range. Beam Towers deal high damage against a single enemy but have a slow rate of fire.

LN Tower

When charged by the power grid or batteries, LN Towers can automatically attack enemies within range. LN crystals deal limited damage but they can slow the movement of enemies hit.

Heavy Gun Tower

When charged by the power grid or batteries, Heavy Gun Towers can automatically attack enemies within range. The Heavy Gun Tower deals higher damage than the Gun Tower.

Omnidirectional Sonic Tower

When charged by the power grid or batteries, the Omnidirectional Sonic Tower can automatically attack enemies within the area. The tower emits non-damaging sonic waves that stun enemies they hit.

Surge Tower

When charged by the power grid or batteries, Surge Towers can automatically attack enemies within range. After hitting an enemy, the arc surge can chain up to 2 times to deal damage to nearby enemies.

Sentry Tower

When charged by the power grid or batteries, Sentry Towers can automatically attack enemies within range. When facing multiple enemies, Sentry Towers will first attack higher threat targets. They also have a long attack range.

HE Grenade Tower

When charged by the power grid or batteries, HE Grenade Towers can automatically attack enemies within range. The HE Grenade Tower deals higher damage than the Grenade Tower.

Marsh Gas Mk I

A powered Marsh Gas Mk I automatically attacks enemies within range to deal area DMG and slow them down.

Deluge Tower

When charged by the power grid or batteries, Deluge Towers can automatically attack enemies within range. The tower fires a stream of deluge at approaching enemies. The stream pushes back small and medium enemies along the direction of the attack.

AF1 Armor Fragger

When charged by the power grid or batteries, AF1 Armor Fragger can automatically attack enemies within range. The tower fires a flaming jet to attack approaching enemies. The flaming jet continuously deals Heat DMG to enemies within range.

Regional Depot

Wuling is a region (like Valley IV) and has its own Wuling Depot. When exploring a region, you can only access its local depot.

Depot Switching at Dijiang

After unlocking multiple depots, go to Dijiang to manually switch the currently connected regional depot to manage it accordingly.

Related Tutorials

Regional Transfer

Regional transfer is a function that transfers items and goods from one region to another. It can be used at the PAC - Protocol Management. There are 2 modes of Regional Transfer: Stockpile Transfer and Metastorage Transfer, respectively unlocked by reaching specific Regional Development Levels in the source region.

Stockpile Transfer

Stockpile Transfer deducts goods from the source depot and transfers the same amount of goods to the depot of the destination region.

Metastorage Transfer

Metastorage Transfer is the direct transfer of goods to the destination region without deducting any goods from the source region storage. This mode of transfer is unlocked when the source region reaches a higher Regional Development Level.

Pipeline

Refer to the input and output arrows on the ground to make pipeline connections.

Pipeline: Placement

There is a length limit when placing pipelines. When a pipeline is placed, a pipe support is also auto-placed at the very end. The next pipeline section can begin from that pipe support.

Pipe Logistics Units

Pipe Splitter

Pipe Splitters can split 1 pipeline into 2 or 3 pipelines to divide fluid flow.

Pipe Converger

The Pipe Converger can converge up to 3 pipelines into a single pipeline.

Pipe Bridge

The Pipe Bridge allows a pipeline to go over another without disrupting the flow of fluids in both pipelines.

Pipe Logistics Units: Usage

Use the Facility List panel to select and place a pipeline logistics unit directly, or drag it into the hotbar and place it with hotkeys.

Conduit

Conduit Inlets can form underground pipeline connections with Conduit Outlets for fluid transportation.
Once a conduit connection is formed, fluids entering the Conduit Inlet can be automatically transported to the connected Conduit Outlet.

Fluid Tank

A Fluid Tank can store a single type of fluid delivered to it via pipelines.

Fluid Pump

Fluid Pump: Placement

The Fluid Pump must be placed near lakes or other water bodies. The pump inlet must be within the water body itself.

Fluid Pump: Acquiring Fluids

Use Electric Pylons to power the Fluid Pump and acquire fluids at a stable rate.

Related Tutorials

Fluid Supply Unit

Fluid Supply Unit: Placement

Fluid Supply Units can only be placed near a lake or other water bodies. When placed, its fluid outlet must be above the water body.

Fluid Supply Unit: Fluid Supplying

The Fluid Supply Unit must be connected to the power grid to supply fluids to the specified area.

Fluids Cannot be Mixed

If the fluid to be supplied by the Fluid Supply Unit differs from the existing fluid in the target pool, the Fluid Supply Unit will be unable to work.

Related Tutorials

Xiranite Pylon

Xiranite Pylons are exclusive to the region of Wuling. When placed outside the Core AIC Area, they auto-connect to the PAC and Xiranite Relays within an 80-meter radius; and to Xiranite Pylons and other power facilities within a 30-meter radius. However, they cannot connect to other power facilities within the Core AIC Area. When placed inside the Core AIC Area, they only auto-connect to the PAC. Xiranite Pylons can be used for powering facilities within range and power transmission across short distances.

Xiranite Relay

Xiranite Relays are exclusive to the region of Wuling. When placed outside the Core AIC Area, they auto-connect to the PAC and any Xiranite power facilities within an 80-meter radius, but cannot connect to other power facilities within the Core AIC Area. When placed inside the Core AIC Area, they only auto-connect to the PAC. Xiranite Relays can be used for power transmission and powering facilities within a short range.

Forge of the Sky

The Forge of the Sky produces Xiranite. This material is needed to construct special facilities, assemble special gear of Wuling, and can be helpful during exploration. Forges of the Sky are special facilities of Wuling and can only be placed in that region.

Forge of the Sky: Placement Limit

Only a limited number of Forges of the Sky can be placed. Research certain AIC technologies to place more Forges.

Separating Unit

Separating Units can physically separate certain items. An example would be separating a filled bottle into an empty bottle and its fluid content.

Wuling Depot Bus

Wuling Depot Bus (1)

Depot Bus Sections can be placed in the Core AIC Area.

Wuling Depot Bus (2)

The Depot Bus Section must be connected to a Depot Bus Port or other active Depot Bus Sections. Once active, Depot Loaders and Depot Unloaders can be attached to the Depot Bus.

Reactor Crucible

Reactor Crucible (1)

The Reactor Crucible can perform reactions or dissolve solids to make solutions.
Typical product: Jincao Solution, made by placing Clean Water and Jincao Powder in the Reactor Crucible.

Reactor Crucible (2)

When using the Reactor Crucible, the product outlets must be manually set to move fluid and solid materials out of the facility.

Reactor Crucible (3)

Use the Reactor Crucible's indicator colors to differentiate between the fluid outlet pipelines.

Reactor Crucible: Larger Cache

Expanding the cache of the Reactor Crucible lets it perform more reaction formulas at once.

Related Tutorials

Sprinkler

Sprinkler (1)

Connect the Sprinkler to a source of water to sprinkle water to the target.

Sprinkler (2)

The Sprinkler is smart and will automatically stop sprinkling the target if it no longer needs watering.

Water Treatment Unit

The Water Treatment Unit can slowly remediate and purify Sewage, Xircon Effluent, and Inert Xircon Effluent to make the AIC Factory pollution-free.
Report Issue